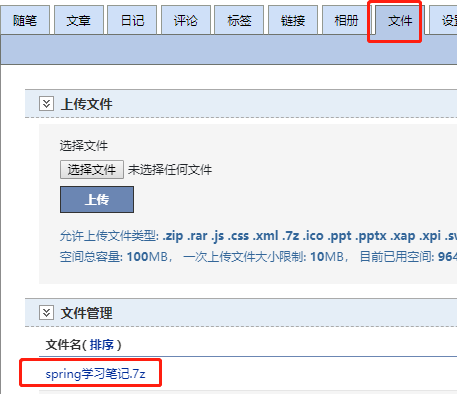
1导入jar包
2编写配置文件
<?xml version="1.0" encoding="UTF-8"?>
<beans xmlns="http://www.springframework.org/schema/beans"
       xmlns:xsi="http://www.w3.org/2001/XMLSchema-instance"
       xmlns:tx="http://www.springframework.org/schema/tx"
       xmlns:aop="http://www.springframework.org/schema/aop"
       xmlns:context="http://www.springframework.org/schema/context"
       xmlns:p="http://www.springframework.org/schema/p"
       xsi:schemaLocation="http://www.springframework.org/schema/beans
        http://www.springframework.org/schema/beans/spring-beans-3.2.xsd
        http://www.springframework.org/schema/context
        http://www.springframework.org/schema/context/spring-context-3.2.xsd
        http://www.springframework.org/schema/tx
        http://www.springframework.org/schema/tx/spring-tx-3.2.xsd
        http://www.springframework.org/schema/aop
        http://www.springframework.org/schema/aop/spring-aop-3.2.xsd">


<!-- 配置数据源 -->
    <bean id="person" class="com.cn.Person">
        <property name="age" value="22"></property>
        <property name="name" value="spring1"></property>
    </bean>

</beans>
3编写一个普通的java类 测试
public class TestApp {
    public static void main(String[] args) {
        ApplicationContext applicationContext = new ClassPathXmlApplicationContext("applicationContext.xml");
        Person p =(Person) applicationContext.getBean("person");
        int age = p.getAge();
        System.out.println(age);
        p.sayHello();
    }
}
