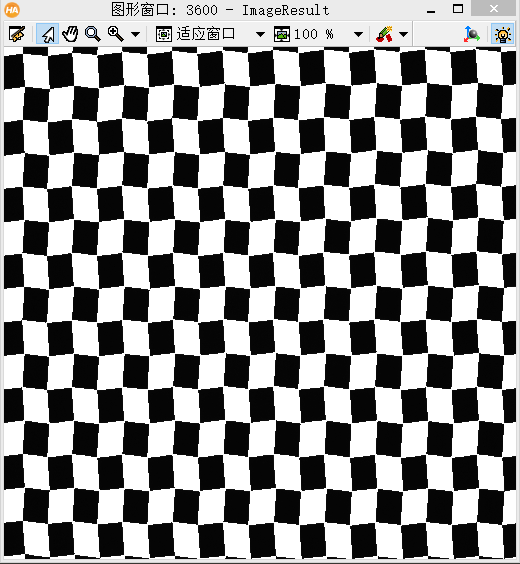
灰度线性变换:图像相加
 1 *关闭过程更新,不更新变量窗口,让程序更快
 2 dev_update_off ()
 3 *读取图片
 4 dev_open_file_dialog ('read_image', 'default', 'default', Selection)
 5 read_image (Image, Selection)
 6
 7 *图像转为灰度图
 8 rgb1_to_gray (Image, GrayImage)
 9
10 *图像相加,c(a+b)+d  0.8x(GrayImage+GrayImage)+100
11 add_image (GrayImage, GrayImage, ImageResult, 0.8, 100)
12
13 *获得图像区域以及坐标
14 get_domain (GrayImage, Domain)
15 get_region_points (Domain, Rows, Columns)
16
17 *获得图像每个坐标的灰度
18 get_grayval (GrayImage, Rows, Columns, Grayval)
19
20 *循环改变灰度值,灰度值高于30的,赋值为255,即白色
21 for i := 0 to |Grayval|-1 by 1
22     if (Grayval[i]>30)
23         Grayval[i]:=255
24     endif
25 endfor
26
27 *灰度赋值
28 set_grayval (ImageResult, Rows, Columns, Grayval)
效果图:
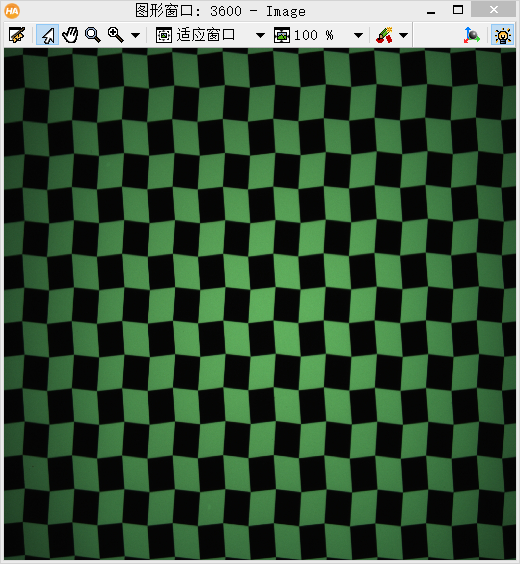
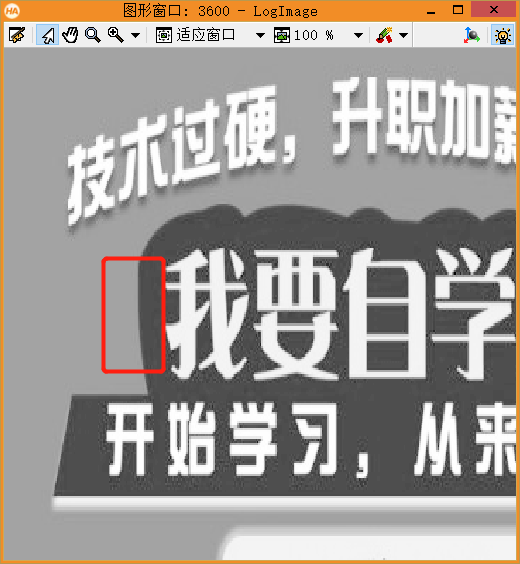
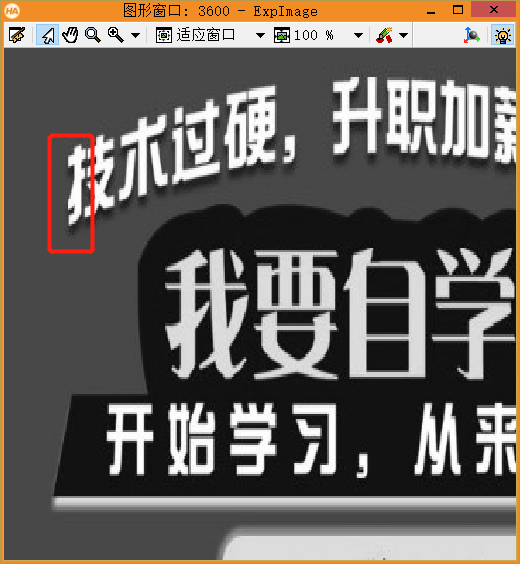
灰度非线性变换:常用有对数函数、指数函数
对数函数一般是提高低范围的像素,压缩高范围的像素
指数函数一般是提高高范围的像素,压缩低范围像素
1 *图像取对数
2 log_image (GrayImage, LogImage, 'e')
3 * set_grayval (LogImage, Rows, Columns, Grayval)
4 *图像取指数
5 exp_image (LogImage, ExpImage, 'e')
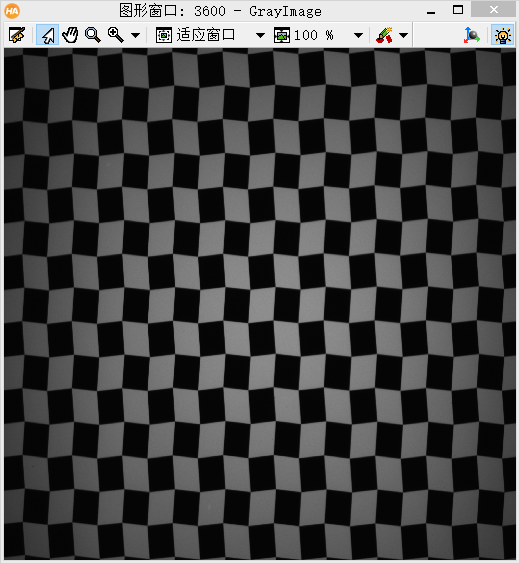
效果图:红框内边缘对比度提高了

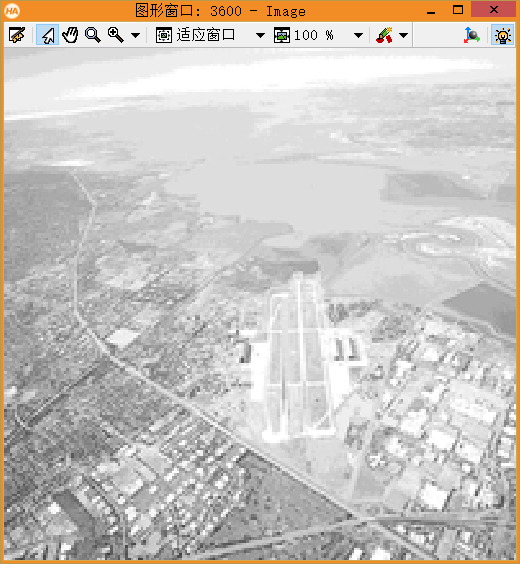
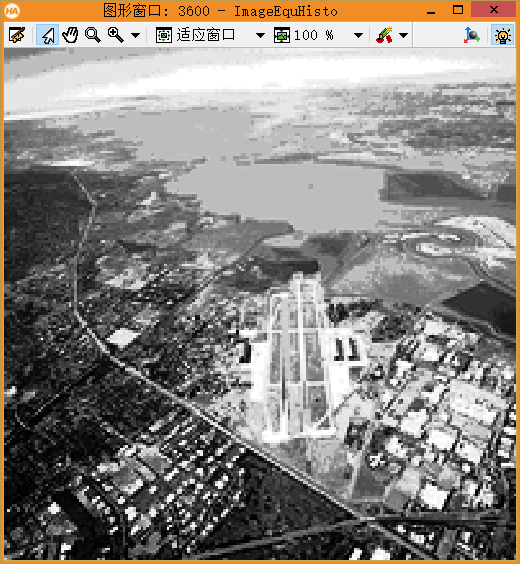
灰度直方图变换:对图像中的像素灰度做映射变换,但是这种映射是基于灰度直方图的
1 *图像均衡化
2 equ_histo_image (GrayImage, ImageEquHisto)
效果图:使得图像分辨更清晰