在微服务中网关必不可缺。网关包含了路由,认证,服务发现,日志记录等等。
本文通过使用Ocelot创建微服务网关。Ocelot是一个开源的API网关,功能强大,包括路由,负载均衡,请求聚合,认证,鉴权,限流熔断等等,通过配置即可完成。
在上文微服务-基于Consul的服务注册与发现(1) 中通过Consul实现了服务注册与发现,健康检查,负载均衡功能。
Ocelot能够集成Consul,组合搭配使用使得项目更加健全。
大致操作如下:
(1)创建空的WebAPI项目MicService.GateWayDemo
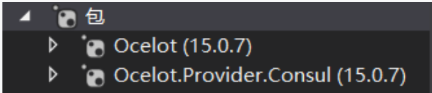
引入Nuget包Ocelot和Ocelot.Provider.Consul
(2)配置
需要添加一个json文件来添加Ocelot配置,我们新建文件Configuration.json
最简单的配置如下:
BaseUrl是我们外部暴露的Url
{
    "ReRoutes": [],
    "GlobalConfiguration": {
        "BaseUrl": "https://api.mybusiness.com"
    }
}
其中必不可少的是这两个根节点:ReRoutes和GlobalConfiguration。ReRoutes是一个数组,每个元素代表一个路由,下面是完整的路由配置和说明:
 1 {
 2   "DownstreamPathTemplate": "/",
 3   "UpstreamPathTemplate": "/",
 4   "UpstreamHttpMethod": [
 5       "Get"
 6   ],
 7   "AddHeadersToRequest": {},
 8   "AddClaimsToRequest": {},
 9   "RouteClaimsRequirement": {},
10   "AddQueriesToRequest": {},
11   "RequestIdKey": "",
12   "FileCacheOptions": {
13       "TtlSeconds": 0,
14       "Region": ""
15   },
16   "ReRouteIsCaseSensitive": false,
17   "ServiceName": "",
18   "DownstreamScheme": "http",
19   "DownstreamHostAndPorts": [
20       {
21           "Host": "localhost",
22           "Port": 51876,
23       }
24   ],
25   "QoSOptions": {
26       "ExceptionsAllowedBeforeBreaking": 0,
27       "DurationOfBreak": 0,
28       "TimeoutValue": 0
29   },
30   "LoadBalancer": "",
31   "RateLimitOptions": {
32       "ClientWhitelist": [],
33       "EnableRateLimiting": false,
34       "Period": "",
35       "PeriodTimespan": 0,
36       "Limit": 0
37   },
38   "AuthenticationOptions": {
39       "AuthenticationProviderKey": "",
40       "AllowedScopes": []
41   },
42   "HttpHandlerOptions": {
43       "AllowAutoRedirect": true,
44       "UseCookieContainer": true,
45       "UseTracing": true
46   },
47   "UseServiceDiscovery": false
48 }
Downstream是下游服务配置
UpStream是上游服务配置
Aggregates 服务聚合配置
ServiceName, LoadBalancer, UseServiceDiscovery 配置服务发现
AuthenticationOptions 配置服务认证
RouteClaimsRequirement 配置Claims鉴权
RateLimitOptions为限流配置
FileCacheOptions 缓存配置
QosOptions 服务质量与熔断
DownstreamHeaderTransform头信息转发
Configuration.json文件
 1 {
 2   "ReRoutes": [
 3     {
 4       "DownstreamPathTemplate": "/{url}", //下游请求地址模板
 5       "DownstreamScheme": "http", //请求协议
 6       "UpstreamPathTemplate": "/{url}",
 7       "UpstreamHttpMethod": [ "Get", "Post" ],
 8       //负载均衡 最少连接数
 9       "LoadBalancerOptions": {
10         "Type": "LeastConnection"
11       },
12       "ServiceName": "MicServiceName", //Consul配置中服务的name名字
13       "UseServiceDiscovery": true //是否启用服务发现
14     }
15   ],
16   "GlobalConfiguration": {
17     //Consul服务发现的地址和端口
18     "ServiceDiscoveryProvider": {
19       "Host": "localhost",
20       "Port": 8500
21     },
22     "BaseUrl": "http://192.168.1.1:5000"
23   }
24 }
(3)修改Program.cs
 1 public static IHostBuilder CreateHostBuilder(string[] args) =>
 2 Host.CreateDefaultBuilder(args)
 3  .ConfigureAppConfiguration(conf =>
 4  {
 5      conf.AddJsonFile("configuration.json", optional: false, reloadOnChange: true);
 6  })
 7 .ConfigureWebHostDefaults(webBuilder =>
 8 {
 9     webBuilder.UseStartup<Startup>();
10 });
(4)修改Startup.cs
 public void ConfigureServices(IServiceCollection services)
{
    services.AddOcelot().AddConsul();
}
public void Configure(IApplicationBuilder app, IWebHostEnvironment env)
{
    app.UseOcelot();//整个进程的管道换成Ocelot
}
(5).运行测试
在上期基础上运行和测试,可以详见:微服务-基于Consul的服务注册与发现(1)
开启Consul,在安装包文件夹下,输入命令行 consul.exe agent -dev
在项目MicService文件夹下的bin/Debug/netcoreapp3.1中输入命令行如下所示,运行微服务:
dotnet MicService.dll --urls="http://*:7003" --ip="127.0.0.1" --port=7003 --weight=1 --text="7003"
dotnet MicService.dll --urls="http://*:7002" --ip="127.0.0.1" --port=7002 --weight=1 --text="7002"
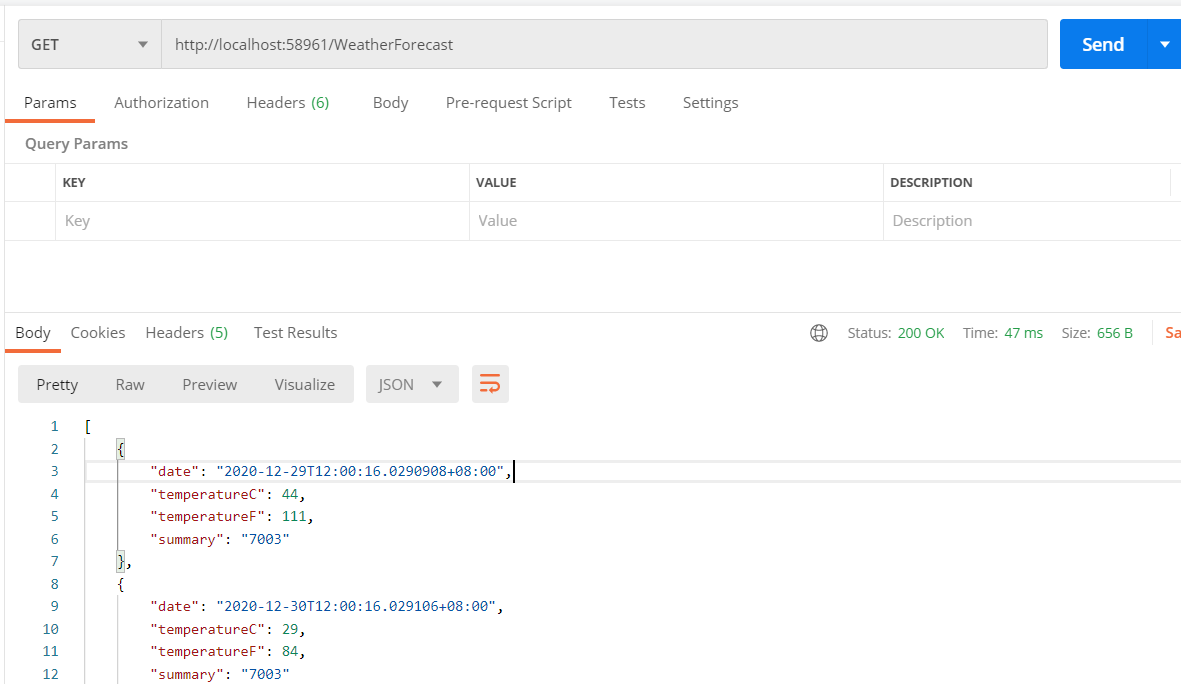
运行MicService.GateWayDemo,其中端口号可在LaunchSettings.json中设置
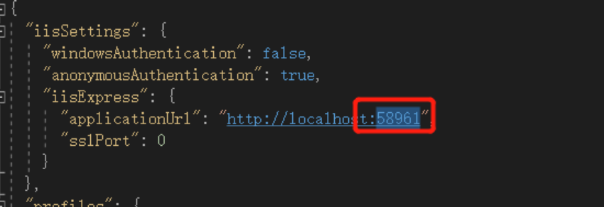
通过Postman访问58961端口,会自动映射到7002或7003端口下的接口