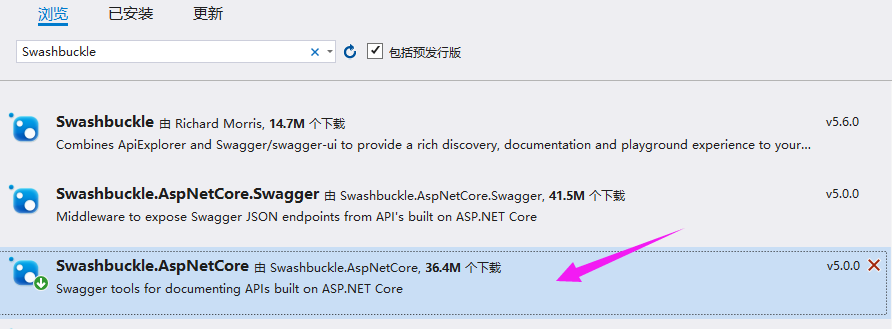
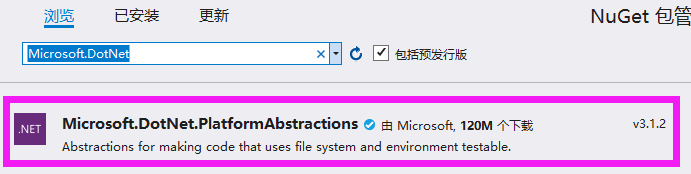
首先第一步,需要引入两个包
在nuget管理器中分别搜索 Swashbuckle 和 Microsoft.DotNet
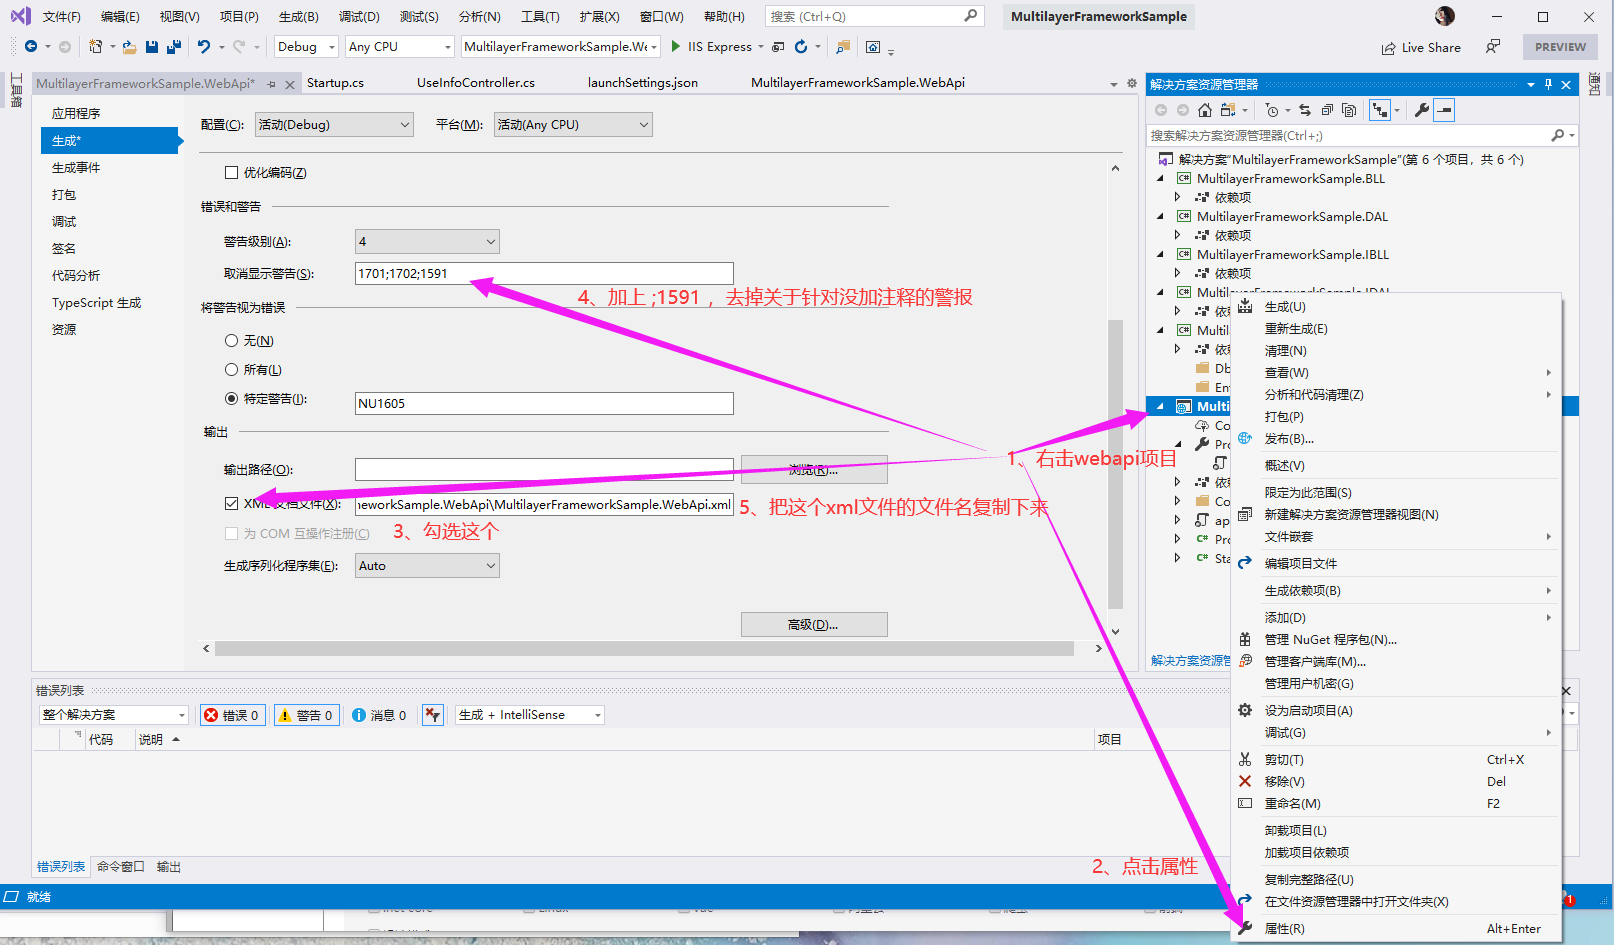
第一步,设置项目属性
第二步,服务注册

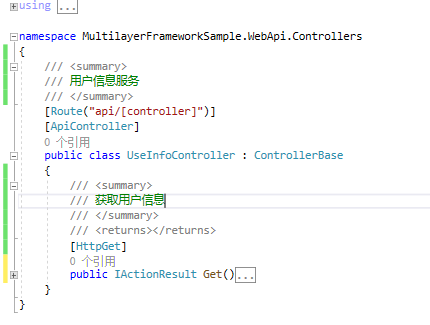
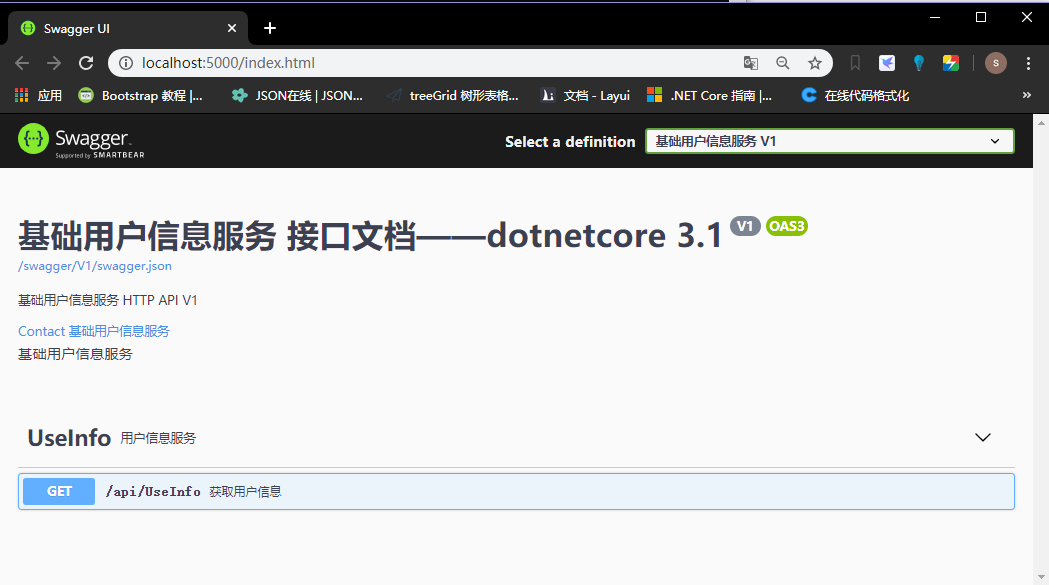
private readonly string apiName = "基础用户信息服务";
 1            #region swagger
 2             services.AddSwaggerGen(c =>
 3             {
 4                 c.SwaggerDoc("V1", new OpenApiInfo
 5                 {
 6                     Version = "V1",//版本号
 7                     Title = $"{apiName} 接口文档——dotnetcore 3.1",//编辑标题
 8                     Description = $"{apiName} HTTP API V1",//编辑描述
 9                     Contact = new OpenApiContact { Name = apiName, Email = "sogood12138@163.com" },//编辑联系方式
10                     License = new OpenApiLicense { Name = apiName }//编辑许可证
11                 });
12                 c.OrderActionsBy(o => o.RelativePath);
13
14                 var xmlPath = Path.Combine(Microsoft.DotNet.PlatformAbstractions.ApplicationEnvironment.ApplicationBasePath, "MultilayerFrameworkSample.WebApi.xml");// 配置接口文档文件路径
15                 c.IncludeXmlComments(xmlPath, true); // 把接口文档的路径配置进去。第二个参数表示的是是否开启包含对Controller的注释容纳
16             });
17             #endregion
第三步,添加swagger中间件
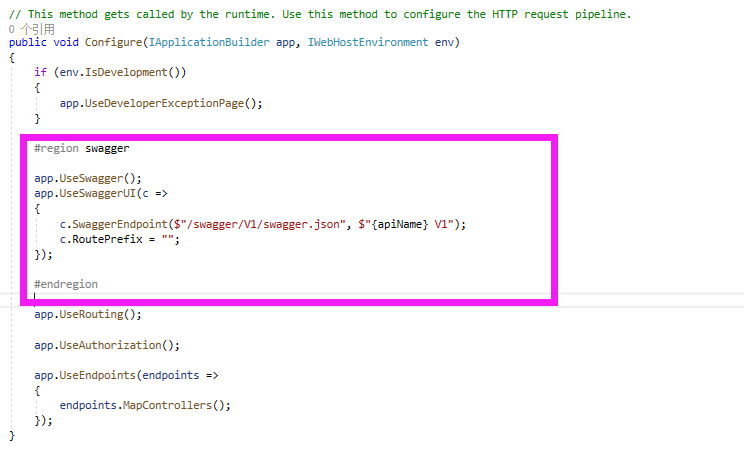
 1            #region swagger
 2
 3             app.UseSwagger();
 4             app.UseSwaggerUI(c =>
 5             {
 6                 c.SwaggerEndpoint($"/swagger/V1/swagger.json", $"{apiName} V1");
 7                 c.RoutePrefix = "";
 8             });
 9
10             #endregion
第四步,修改launchSettings.json文件,让网站一启动的时候,自动进入swagger界面
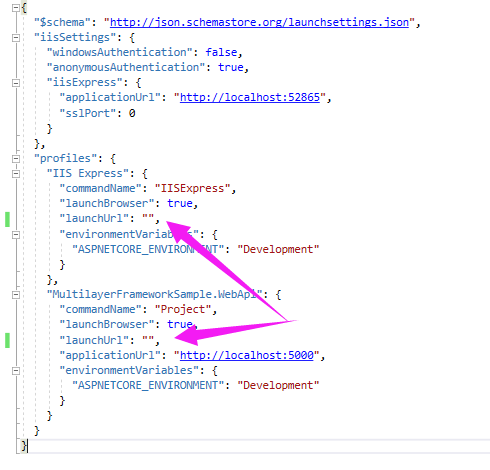
把这俩都改成空字符串即可。
第五步,在控制器和方法上写上注释,然后运行网站,查看效果