1、W3AF简介
W3AF是一个web应用安全的攻击、审计平台,通过增加插件来对功能进行扩展,这是一款用python写的工具,支持GUI,也支持命令行模式。
W3AF目前已经集成了非常多的安全审计及攻击插件,并进行了分类,小菜们在使用的时候,可以直接选择已经分类好的插件,只需要填写上URL地址就可以对目标站点进行安全审计了,是一款非常好使用的工具,并且集成了一些好用的小工具,如自定义request功能、Fuzzy request功能、代理功能、加解密功能,支持非常多的加解密算法,我们完全可以使用W3AF就完成对一个网址的安全审计工作。
2、官方网站
https://github.com/andresriancho/w3af/
3、部署安装
如果是Linux, BSD or Mac操作系统,可以使用命令行:
# 下载安装包
git clone --depth 1 https://github.com/andresriancho/w3af.git
# 进入程序目录
cd w3af
# 执行GUI安装
./w3af_gui
4、技巧性的知识来了
1)、初次执行完成,会生成类似下面的消息,但是可以直接执行sh文件
root@kali:/opt/w3af# ./w3af_gui
Your python installation needs the following modules to run w3af:
pyclamd github git.util pybloomfilter phply nltk tblib pdfminer OpenSSL ndg lxml scapy.config guess_language cluster ntlm Halberd darts.lib.utils jinja2 vulndb markdown psutil ds_store termcolor mitmproxy ruamel.ordereddict Flask yaml tldextract pebble acora esmre diff_match_patch bravado_core vulners ipaddresses subprocess32 xdot
After installing any missing operating system packages, use pip to install the remaining modules:
sudo pip install pyClamd==0.4.0 PyGithub==1.21.0 GitPython==2.1.3 pybloomfiltermmap==0.3.14 phply==0.9.1 nltk==3.0.1 tblib==0.2.0 pdfminer==20140328 pyOpenSSL==18.0.0 ndg-httpsclient==0.4.0 lxml==3.4.4 scapy==2.4.0 guess-language==0.2 cluster==1.1.1b3 python-ntlm==1.0.1 halberd==0.2.4 darts.util.lru==0.5 Jinja2==2.10 vulndb==0.1.1 markdown==2.6.1 psutil==5.4.8 ds-store==1.1.2 termcolor==1.1.0 mitmproxy==0.13 ruamel.ordereddict==0.4.8 Flask==0.10.1 PyYAML==3.12 tldextract==1.7.2 pebble==4.3.8 acora==2.1 esmre==0.3.1 diff-match-patch==20121119 bravado-core==5.12.1 vulners==1.3.0 ipaddresses==0.0.2 subprocess32==3.5.4 xdot==0.6
External programs used by w3af are not installed or were not found.Run these commands to install them on your system:
npm install -g retire@2.0.3
npm update -g retire
A script with these commands has been created for you at /tmp/w3af_dependency_install.sh(重点在这,这里已经生成了相应的安装命令,可以直接sh执行脚本文件, . /tmp/w3af_dependency_install.sh)
2)、无论怎么安装,都会出现类似上面的错误,那是因为依赖的软件版本有问题了,怎么办?
a.使用pip install xxxxxx(相应的依赖包),可以查看插件版本
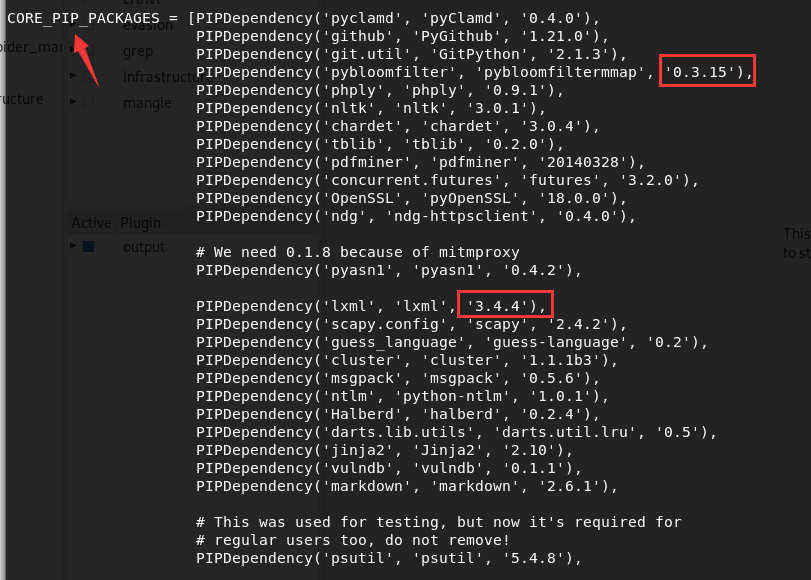
b.然后找到下面这个文件:~/w3af/w3af/core/controllers/dependency_check/requirements.py

找到下面这个列表字段,红框部分的版本信息,改成你用pip install xxxx看到的对应的插件的版本号
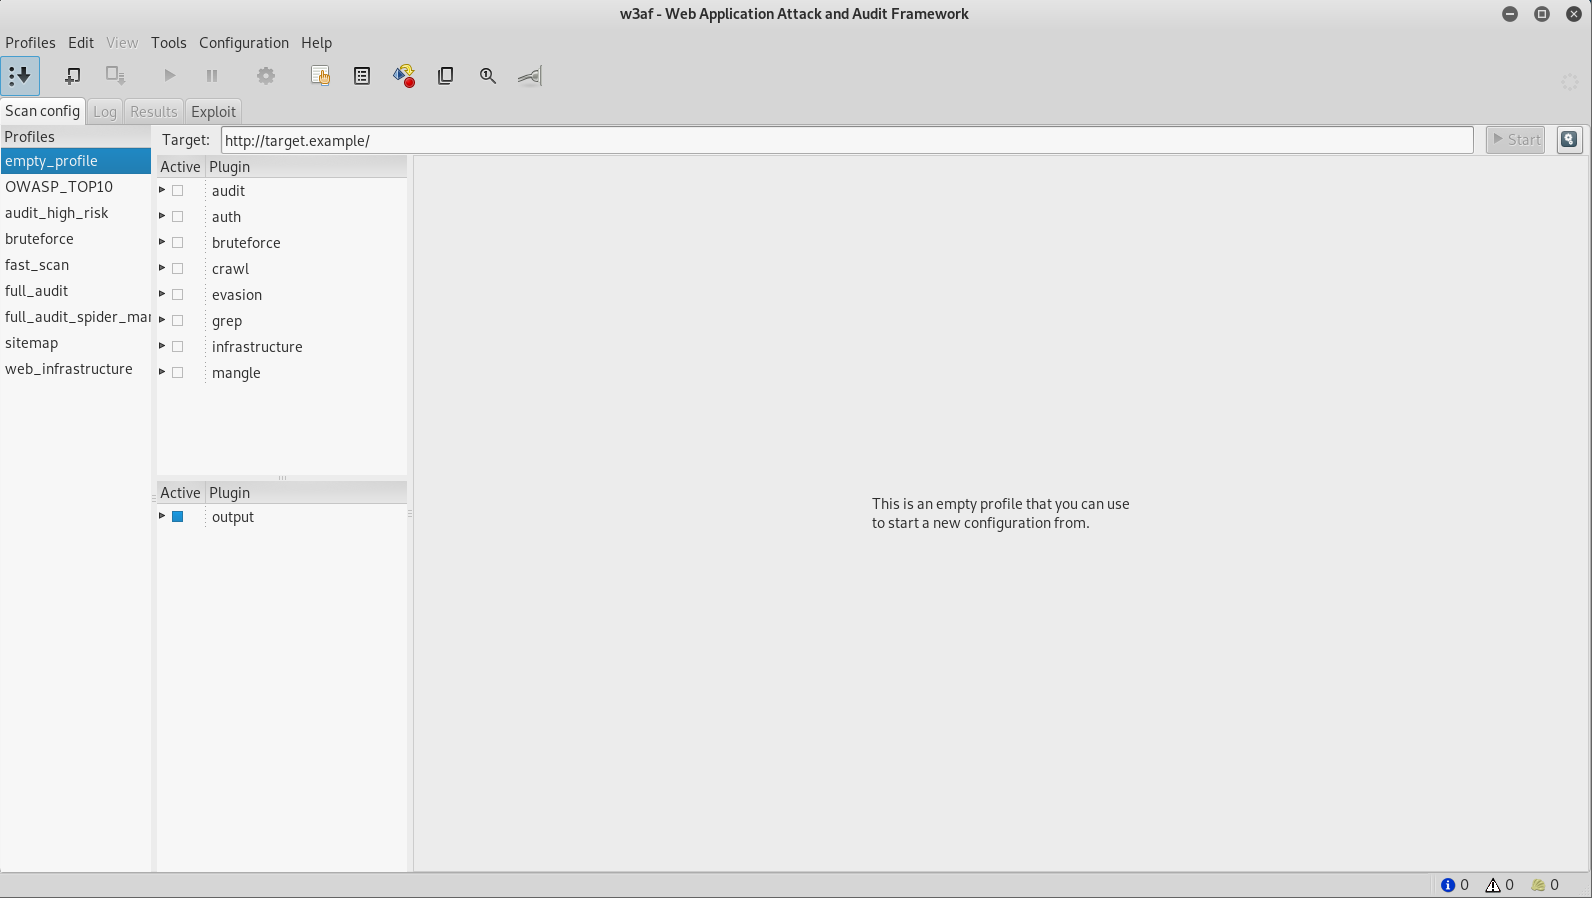
直到运行./w3af_console 没有错误,并进入到w3af命令行为止

或者是可以打开./w3af_gui界面为止

执行完./w3af_gui后,没有报错,并进入到界面上,就说明成功了。(恭喜,安装完成)