官方文档: https://spring.io/guides/gs/rest-service/ 参考:http://blog.csdn.net/u013360850/article/details/53415005
1:spring boot 的需要脚本添加插件,首先创建多模块gradle项目,根目录的src classpath删除了。
2:在根工程build.gradle文件中添加配置。
group 'com.li'
version '1.0-SNAPSHOT'
apply plugin: 'java'
apply plugin: 'application'
sourceCompatibility = 1.8
subprojects {
apply plugin: 'java'
apply plugin: 'eclipse'
apply plugin: 'idea'
version = '1.0'
// JVM 版本号要求
sourceCompatibility = 1.8
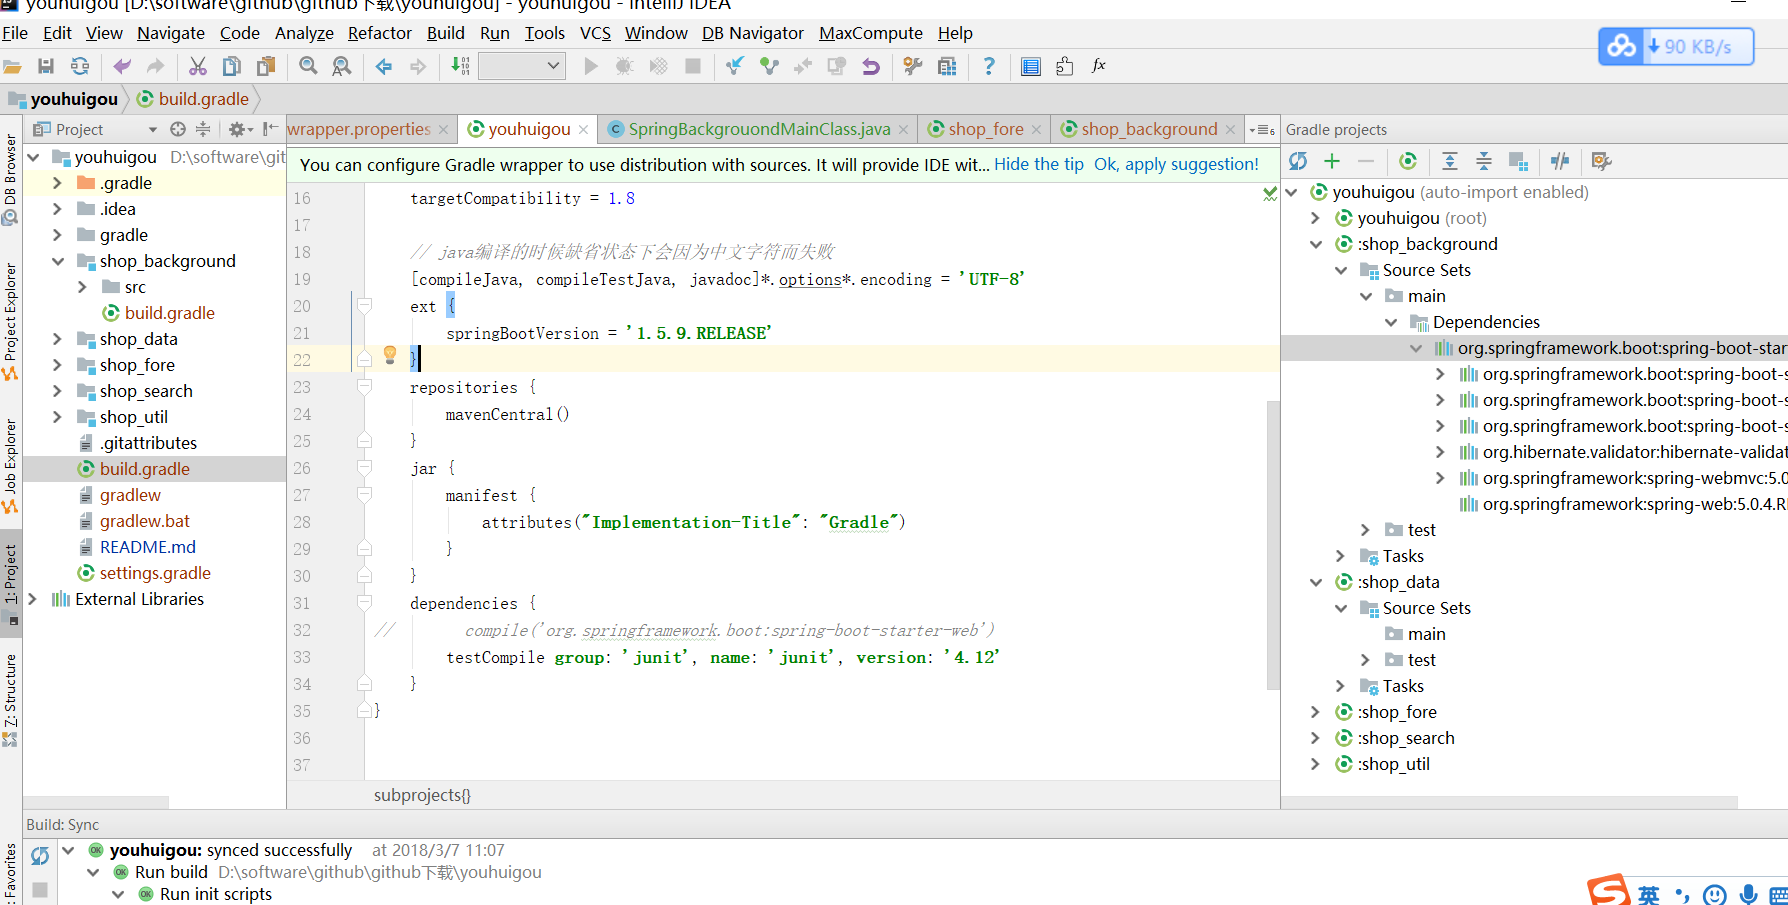
targetCompatibility = 1.8
// java编译的时候缺省状态下会因为中文字符而失败
[compileJava, compileTestJava, javadoc]*.options*.encoding = 'UTF-8'
ext {
springBootVersion = '1.5.9.RELEASE'
}
repositories {
//maven { url "http://maven.springframework.org/release" } //添加maven源
//maven { url "https://maven.fabric.io/public" } }
mavenCentral()
}
jar {
manifest {
attributes("Implementation-Title": "Gradle")
}
}
dependencies {
// compile('org.springframework.boot:spring-boot-starter-web')
testCompile group: 'junit', name: 'junit', version: '4.12'
}
}
3:要在子模块中添加 springboot依赖,要不然解析不了classpath组件。
buildscript {
    repositories {
        mavenCentral()
    }
    dependencies {
        classpath("org.springframework.boot:spring-boot-gradle-plugin:2.0.0.RELEASE")
    }
}
group 'com.li'
version '1.0-SNAPSHOT'
apply plugin: 'java'
apply plugin: 'org.springframework.boot'
apply plugin: 'io.spring.dependency-management'

sourceCompatibility = 1.8

repositories {
    mavenCentral()
}

dependencies {
    testCompile group: 'junit', name: 'junit', version: '4.12'
}

dependencies {
    compile("org.springframework.boot:spring-boot-starter-web")
    testCompile('org.springframework.boot:spring-boot-starter-test')
}
4:加入依赖成功,可以按照上面的链接进行创建工程。
5:打jar 包,直接在build下面运行 bootRepackage , 在 build/lib下面找到jar包,直接运行 java -jar ...jar