Harbor 简要安装说明
下载最新的离线安装文件
链接:https://pan.baidu.com/s/1ZEjgnI3YmhsdVOm7h7SWcQ
提取码:GSNB
复制这段内容后打开百度网盘手机App,操作更方便哦--来自百度网盘超级会员V4的分享
我这是使用的是 2.1 的版本进行安装的.
找一个磁盘空间比较大的Linux服务器进行部署, 最好是比较稳定的机器不会总重启
tar -xf harbor-offline-installer-v2.1.0.tgz
然后将 harbor 移动到一个比较正式一点的目录
比如/harbor
安装脚本非常脚本.
./install.sh即可
但是建议先进行一下修改, 需要注意的是 2.1 与之前版本的 配置文件发生了变化, 之前是conf 文件, 现在是yaml 文件了.
需要修改的地方也不是很多.
# Configuration file of Harbor

# The IP address or hostname to access admin UI and registry service.
# DO NOT use localhost or 127.0.0.1, because Harbor needs to be accessed by external clients.
hostname: yourhostame

# http related config
http:
  # port for http, default is 80. If https enabled, this port will redirect to https port
  port: 80

# https related config
https:
  # https port for harbor, default is 443
  port: 443
  # The path of cert and key files for nginx
  certificate: /harbor/cert/Nginx/yourcrt
  private_key: /harbor/cert/Nginx/yourkey
- 注意 后面有 admin 和 数据库的密码 为了安全起见, 建议修改一下默认用户密码. 避免出现安全问题.
# Remember Change the admin password from UI after launching Harbor.
harbor_admin_password: yourpassword

# Harbor DB configuration
database:
  # The password for the root user of Harbor DB. Change this before any production use.
  password: yourpassword
  # The maximum number of connections in the idle connection pool. If it <=0, no idle connections are retained.
  max_idle_conns: 50
  # The maximum number of open connections to the database. If it <= 0, then there is no limit on the number of open connections.
  # Note: the default number of connections is 1024 for postgres of harbor.
  max_open_conns: 1000

# The default data volume
data_volume: /data
建议开启 443 然后我这边用的 腾讯云上面的 域名和证书. 注意 使用的是ngix里面的证书
然后执行 install 即可.
我这边推送了一下 效果为:
[root@10.110.80.19 /data/registry/docker/registry/v2]du -ah --max-depth=2
84K     ./repositories/gscloud
84K     ./repositories
2.3G    ./blobs/sha256
2.3G    ./blobs
2.3G    .
[root@10.110.80.19 /data/registry/docker/registry/v2]
注意如果不知道如何处置, 可以使用 admin 登录即可,
登录效果为:
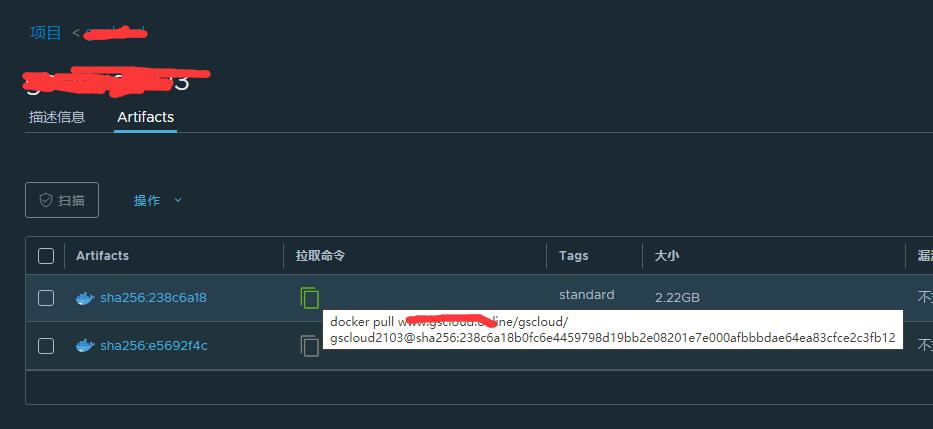
注意 为了简单起见, 建议创建一公开的项目, 这样不需要用户密码就可以 push和pull 镜像了.