在我们现在的项目中,或多或少的都会涉及到定时任务,Spring在3.0之后引入了SpringSchedule,这让我们在使用Spring的时候,可以很容易的整合SpringSchedule.但是好用归好用,用的时候还是有一些点注意的.
SpringSchedule 中提供的定时任务,默认是单线程执行的,也就是说如果任务较多,或者某一个任务执行耗时比较久,那么显然易见,会很容易导致其余任务排队以及阻塞.
既然存在这种问题,那么怎么去避免这种问题?这时候大家很容易想到的就是使用线程池,多个线程去跑定时任务.没错,正确的解决方案就是配置线程池.
之所以默认是单线程执行的,是因为当我们没有配置taskSchedule的时候,默认创建的是一个单线程的线程池。具体代码解析参考:https://blog.csdn.net/weixin_40318210/article/details/78149692
先看一下没配置线程池的情况下的任务执行线程日志:
定时任务业务类的代码如下:
@Component
public class TaskConfig {

    private static final SimpleDateFormat dateFormat = new SimpleDateFormat("HH:mm:ss");

    @Scheduled(fixedDelayString = "5000") //单机
    public void getTask1() throws InterruptedException {
        //竞争锁逻辑代码 .....


        System.out.println("任务1,当前时间:" + dateFormat.format(new Date())+",线程号:"+Thread.currentThread().getName());
        //throw new RuntimeException("xxxxx");
        Thread.sleep(10000);
    }

    @Scheduled(cron = "0/5 * *  * * ?")
    public void getTask2() {
        System.out.println("任务2,当前时间:" + dateFormat.format(new Date())+",线程号:"+Thread.currentThread().getName());
    }

}
任务执行日志为:
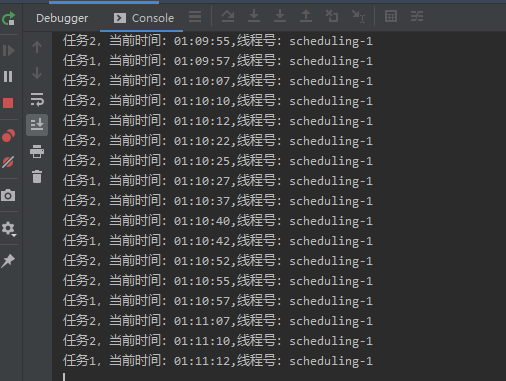
可以看到执行这两个任务的线程总是同一个线程.
那么我们现在加入线程池的配置,配置代码如下:
@Configuration
public class ScheduleConfig implements SchedulingConfigurer {

    public void configureTasks(ScheduledTaskRegistrar taskRegistrar) {
        taskRegistrar.setScheduler(taskExecutor());
    }

    //配置线程池---触发器和任务共用的
    @Bean(destroyMethod="shutdown")
    public Executor taskExecutor() {
        return Executors.newScheduledThreadPool(10);
    }
}
接下来我们再观察一下定时任务的执行信息:
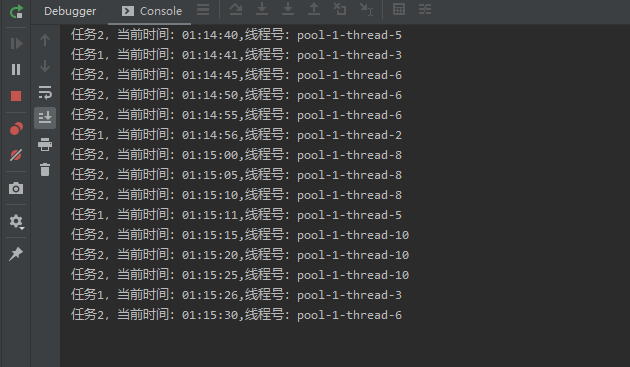
现在看到是加入线程池后,每次执行的定时任务的线程在不断的变化,同时这两个任务也可以并行的执行,可以避免任务的阻塞与排队.
如果你的代码中使用了SpringSchedule,而且还没有使用线程池,那么赶紧去修改吧.