函数参数
函数参数包括位置参数,关键字参数,动态参数(*args, **args)三种。
传参的过程是形式参数的赋值。
*args传入的参数是元组形式,**args传入的参数是字典形式。
示例代码如下:(这部分直接看代码实例会更清楚静态参数与动态参数如何混用)


  1 #!/usr/bin/env python
  2 # -*- coding:utf-8 -*-
  3 # def story(**kwargs):
  4 #     return 'Once upon a time,there was a '\
  5 #             '%(job)s called %(name)s.' % kwargs
  6 # print(story(job = 'king',name = 'bolen'))
  7 #
  8 # def power(x,y,*others):
  9 #     if others:
 10 #         print('received redundant parameters:',others)
 11 #     return pow(x,y)
 12 # power(2,3,)
 13
 14 def interval(start,stop = None,step = 1):
 15     if stop is None:
 16         start,stop=0,start
 17     result = []
 18     i = start
 19     while i < stop:
 20         result.append(i)
 21         i+=step
 22     return  result
 23
 24 -----------------------shell excute-------------------------------
 25 >>> story(job = 'king',name = 'bolen')
 26 'Once upon a time,there was a king called bolen.'
 27 >>> parms = {'job':'engineer','name':'jack'}
 28 >>> story(**parms)
 29 'Once upon a time,there was a engineer called jack.'
 30 >>> del parms['job']
 31 >>> parms
 32 {'name': 'jack'}
 33 >>> story(job = '小王子',**parms)
 34 'Once upon a time,there was a 小王子 called jack.'
 35
 36 >>> power(2,3)
 37 8
 38 >>> power(y=3,x=2)
 39 8
 40 >>> parms = (5,)*2
 41 >>> type(parms)
 42 <class 'tuple'>
 43 >>> power(*parms)
 44 3125
 45 >>> parms
 46 (5, 5)
 47
 48
 49 >>> interval(10)
 50 [0, 1, 2, 3, 4, 5, 6, 7, 8, 9]
 51 >>> interval(1,6)
 52 [1, 2, 3, 4, 5]
 53 >>> interval(2,12,3)
 54 [2, 5, 8, 11]
 55 >>> power(*interval(3,7))
 56 received redundant parameters: (5, 6)
 57 81
 58
变量作用域
函数内部的变量称为局部变量,全局无法访问局部变量,函数内部正常也无法访问全局变量,除非以如下方式:
函数内读取全局变量:(慎重引用全局变量,容易出错)
  1 >>> def com(para):
  2 	print(para+globals()['para'])
  3 >>> com('yingying')
  4 yingyingbolen
函数内声明全局变量:
  1 >>> def ch_global():
  2 	global x
  3 	x +=1
  4 >>> x =  1
  5 >>> ch_global()
  6 >>> x
  7 2
Python内置函数
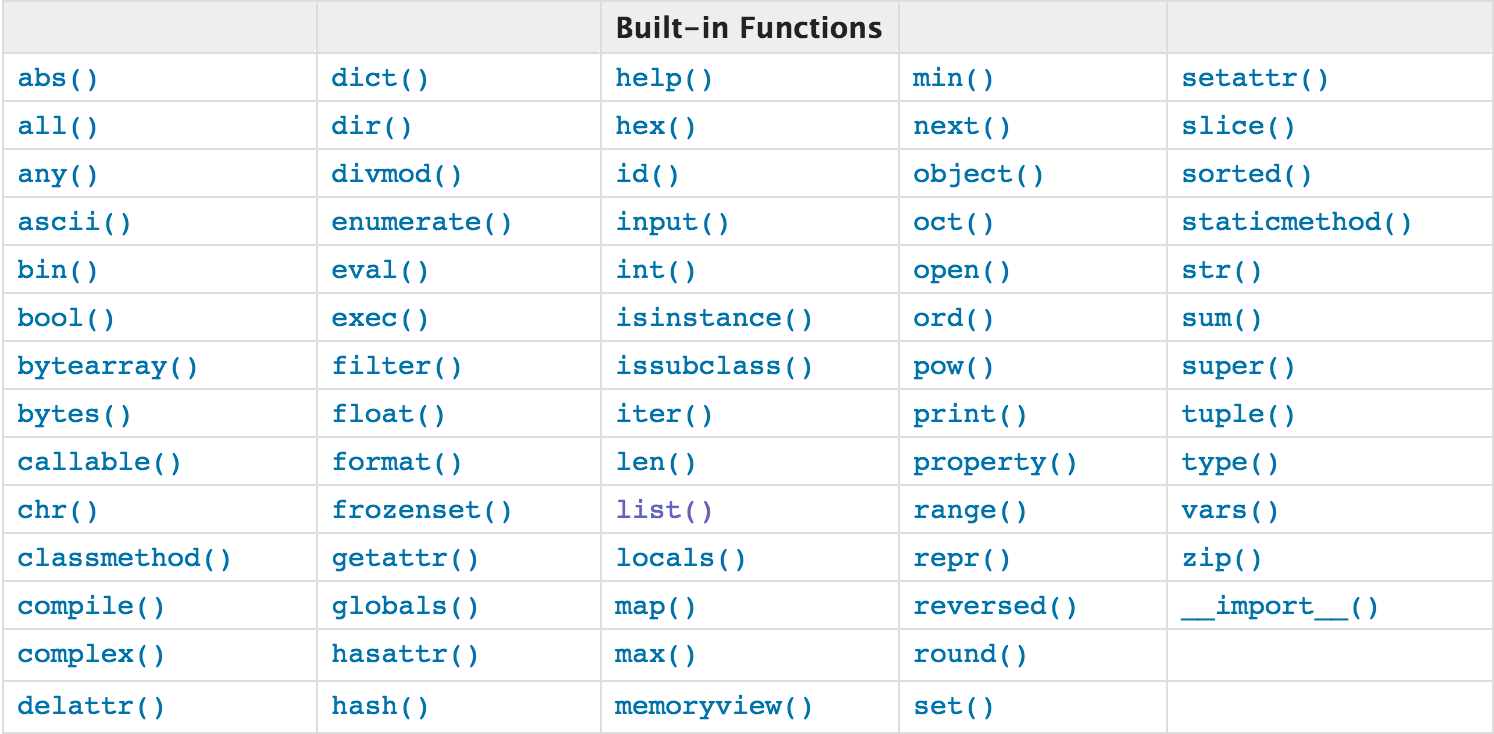
详细介绍请点击:官网内置函数详解
Python文件操作:open函数和with open(管理上下文)
open函数用于文件处理。一般步骤是打开文件,然后操作文件。
1 文件句柄 = open('文件路径','模式')
句柄是WONDOWS用来标识被应用程序所建立或使用的对象的唯一整数,WINDOWS使用各种各样的句柄标识诸如应用程序实例,窗口,控制,位图,GDI对象等等。句柄是一个标识符,是拿来标识对象或者项目的,它就象我们的姓名一样,每个人都会有一个,不同的人的姓名不一样,但是,也可能有一个名字和你一样的人。从数据类型上来看它只是一个16位的无符号整数。应用程序几乎总是通过调用一个WINDOWS函数来获得一个句柄,之后其他的WINDOWS函数就可以使用该句柄,以引用相应的对象。文件句柄在文件I/O中,要从一个文件读取数据,应用程序首先要调用操作系统函数并传送文件名,并选一个到该文件的路径来打开文件。该函数取回一个顺序号,即文件句柄(file handle),该文件句柄对于打开的文件是唯一的识别依据。要从文件中读取一块数据,应用程序需要调用函数ReadFile,并将文件句柄在内存中的地址和要拷贝的字节数传送给操作系统。当完成任务后,再通过调用系统函数来关闭该文件。
打开后获得该文件句柄,后面通过此文件句柄对文件操作。
一、打开文件
打开文件的模式有:
- r ,只读模式【默认】
- w,只写模式【不可读;不存在则创建;存在则清空内容;】
- x, 只写模式【不可读;不存在则创建,存在则报错】
- a, 追加模式【可读; 不存在则创建;存在则只追加内容;】
"+" 表示可以同时读写某个文件
- r+, 读写【可读,可写】
- w+,写读【可读,可写】
- x+ ,写读【可读,可写】
- a+, 写读【可读,可写】
"b"表示以字节的方式操作
- rb 或 r+b
- wb 或 w+b
- xb 或 w+b
- ab 或 a+b
注:以b方式打开时,读取到的内容是字节类型,写入时也需要提供字节类型。
二、文件操作
  1 class TextIOWrapper(_TextIOBase):
  2     """
  3     Character and line based layer over a BufferedIOBase object, buffer.
  4
  5     encoding gives the name of the encoding that the stream will be
  6     decoded or encoded with. It defaults to locale.getpreferredencoding(False).
  7
  8     errors determines the strictness of encoding and decoding (see
  9     help(codecs.Codec) or the documentation for codecs.register) and
 10     defaults to "strict".
 11
 12     newline controls how line endings are handled. It can be None, '',
 13     '\n', '\r', and '\r\n'.  It works as follows:
 14
 15     * On input, if newline is None, universal newlines mode is
 16       enabled. Lines in the input can end in '\n', '\r', or '\r\n', and
 17       these are translated into '\n' before being returned to the
 18       caller. If it is '', universal newline mode is enabled, but line
 19       endings are returned to the caller untranslated. If it has any of
 20       the other legal values, input lines are only terminated by the given
 21       string, and the line ending is returned to the caller untranslated.
 22
 23     * On output, if newline is None, any '\n' characters written are
 24       translated to the system default line separator, os.linesep. If
 25       newline is '' or '\n', no translation takes place. If newline is any
 26       of the other legal values, any '\n' characters written are translated
 27       to the given string.
 28
 29     If line_buffering is True, a call to flush is implied when a call to
 30     write contains a newline character.
 31     """
 32     def close(self, *args, **kwargs): # real signature unknown
 33         关闭文件
 34         pass
 35
 36     def fileno(self, *args, **kwargs): # real signature unknown
 37         文件描述符
 38         pass
 39
 40     def flush(self, *args, **kwargs): # real signature unknown
 41         刷新文件内部缓冲区
 42         pass
 43
 44     def isatty(self, *args, **kwargs): # real signature unknown
 45         判断文件是否是同意tty设备
 46         pass
 47
 48     def read(self, *args, **kwargs): # real signature unknown
 49         读取指定字节数据
 50         pass
 51
 52     def readable(self, *args, **kwargs): # real signature unknown
 53         是否可读
 54         pass
 55
 56     def readline(self, *args, **kwargs): # real signature unknown
 57         仅读取一行数据
 58         pass
 59
 60     def seek(self, *args, **kwargs): # real signature unknown
 61         指定文件中指针位置
 62         pass
 63
 64     def seekable(self, *args, **kwargs): # real signature unknown
 65         指针是否可操作
 66         pass
 67
 68     def tell(self, *args, **kwargs): # real signature unknown
 69         获取指针位置
 70         pass
 71
 72     def truncate(self, *args, **kwargs): # real signature unknown
 73         截断数据,仅保留指定之前数据
 74         pass
 75
 76     def writable(self, *args, **kwargs): # real signature unknown
 77         是否可写
 78         pass
 79
 80     def write(self, *args, **kwargs): # real signature unknown
 81         写内容
 82         pass
 83
 84     def __getstate__(self, *args, **kwargs): # real signature unknown
 85         pass
 86
 87     def __init__(self, *args, **kwargs): # real signature unknown
 88         pass
 89
 90     @staticmethod # known case of __new__
 91     def __new__(*args, **kwargs): # real signature unknown
 92         """ Create and return a new object.  See help(type) for accurate signature. """
 93         pass
 94
 95     def __next__(self, *args, **kwargs): # real signature unknown
 96         """ Implement next(self). """
 97         pass
 98
 99     def __repr__(self, *args, **kwargs): # real signature unknown
100         """ Return repr(self). """
101         pass
102
103     buffer = property(lambda self: object(), lambda self, v: None, lambda self: None)  # default
104
105     closed = property(lambda self: object(), lambda self, v: None, lambda self: None)  # default
106
107     encoding = property(lambda self: object(), lambda self, v: None, lambda self: None)  # default
108
109     errors = property(lambda self: object(), lambda self, v: None, lambda self: None)  # default
110
111     line_buffering = property(lambda self: object(), lambda self, v: None, lambda self: None)  # default
112
113     name = property(lambda self: object(), lambda self, v: None, lambda self: None)  # default
114
115     newlines = property(lambda self: object(), lambda self, v: None, lambda self: None)  # default
116
117     _CHUNK_SIZE = property(lambda self: object(), lambda self, v: None, lambda self: None)  # default
118
119     _finalizing = property(lambda self: object(), lambda self, v: None, lambda self: None)  # default
120
121 3.x
三、管理上下文
由于文件读写时都有可能产生IOError,一旦出错,后面的f.close()就不会调用。所以,为了保证无论是否出错都能正确地关闭文件,我们可以使用try ... finally来实现:
  1 try:
  2     f = open('/path/to/file', 'r')
  3     print(f.read())
  4 finally:
  5     if f:
  6         f.close()
  7
但是每次都这么写实在太繁琐,所以,Python引入了with语句来自动帮我们调用close()方法:
  1 with open('/path/to/file', 'r') as f:
  2     print(f.read())
  3
这和前面的try ... finally是一样的,但是代码更佳简洁,并且不必调用f.close()方法。
在Python 2.7 及以后,with又支持同时对多个文件的上下文进行管理,即:
  1 with open('log1') as obj1, open('log2') as obj2:
  2 	pass
  3
  1 import sys
  2 import json
  3 with open ('c:/Users/zliyong/filo.txt','a+',encoding='utf-8') as f:
  4     #f.write('first line\nsecondline\n3rd line\n 4rd line')
  5     # f.tell()#查看当前指针位置
  6     # f.seek(2)#指定当前指针位置
  7     ret = f.truncate(100) #从指定位置向前截取
  8     print(f.tell())
  9     print(f.read())
 10     for line in f.readlines():
 11         print(line.strip())
如果文件很小,read()一次性读取最方便;如果不能确定文件大小,反复调用read(size)比较保险;如果是配置文件,调用readlines()最方便。
像open()函数返回的这种有个read()方法的对象,在Python中统称为file-like Object。除了file外,还可以是内存的字节流,网络流,自定义流等等。file-like Object不要求从特定类继承,只要写个read()方法就行。
StringIO就是在内存中创建的file-like Object,常用作临时缓冲。
二进制文件
前面讲的默认都是读取文本文件,并且是UTF-8编码的文本文件。要读取二进制文件,比如图片、视频等等,用'rb'模式打开文件即可:
  1 >>> f = open('/Users/michael/test.jpg', 'rb')
  2 >>> f.read()
  3 b'\xff\xd8\xff\xe1\x00\x18Exif\x00\x00...' # 十六进制表示的字节
  4
字符编码
要读取非UTF-8编码的文本文件,需要给open()函数传入encoding参数,例如,读取GBK编码的文件:
  1 >>> f = open('/Users/michael/gbk.txt', 'r', encoding='gbk')
  2 >>> f.read()
  3 '测试'
  4
遇到有些编码不规范的文件,你可能会遇到UnicodeDecodeError,因为在文本文件中可能夹杂了一些非法编码的字符。遇到这种情况,open()函数还接收一个errors参数,表示如果遇到编码错误后如何处理。最简单的方式是直接忽略:
1 >>> f = open('/Users/michael/gbk.txt', 'r', encoding='gbk', errors='ignore')
写文件注意事项:
可以反复调用f.write来进行写文件,但是一定要记得用f.close来关闭文件。因为操作系统在往磁盘里写文件时,往往不会立即写入磁盘,而是放在内存中缓存起来,待空闲了再慢慢进行写操作,所以只有调用f.close()方法才能保证操作系统文件完整写入到磁盘,否则经常会使文件部分写入磁盘,剩下的丢失了。
操作文件和目录
Python中的内置os模块提供了调用系统接口函数的功能,实现简单的系统操作。
  1 >>>import os
  2 >>>os.name()  #获取操作系统名字
  3 'nt'
  4 >>> os.environ #获取操作系统全部的环境变量
  5 >>> os.environ.get('PATH')#获取操作系统中某个环境变量的值
  6
  7
  8
注意:操作文件和目录的函数一部分放在os模块中,一部分放在os.path模块中。创建、删除目录,路径拼接等可以如下调用:
  1 >>> os.path.abspath('.')
  2 'C:\\Users\\zliyong\\AppData\\Local\\Programs\\Python\\Python35'
  3 >>> os.path.join('Users/zliyong','test.dir') #路径拼接
  4 'Users/zliyong\\test.dir'
  5 >>> os.mkdir('c:/Users/zliyong/test.dir')
  6 >>> os.rmdir('c:/Users/zliyong/test.dir')
  7 >>> os.path.split('c:/Users/zliyong/test.dir')
  8 ('c:/Users/zliyong', 'test.dir')
  9 >>> os.path.splitext('c:/Users/zliyong/test.dir/test.txt')
 10 ('c:/Users/zliyong/test.dir/test', '.txt')
 11 >>> os.rename('c:/Users/zliyong/test.dir','c:/Users/zliyong/pyrename.dir')
但是复制文件的函数居然在os模块中不存在!原因是复制文件并非由操作系统提供的系统调用。理论上讲,我们通过上一节的读写文件可以完成文件复制,只不过要多写很多代码。
幸运的是shutil模块提供了copyfile()的函数,你还可以在shutil模块中找到很多实用函数,它们可以看做是os模块的补充。
  1 import shutil
  2 >>> shutil.copyfile('c:/Users/zliyong/pyrename.dir/test.txt','c:/Users/zliyong/pyrename.dir/test2.txt')
  3 'c:/Users/zliyong/pyrename.dir/test2.txt'
最后看看如何利用Python的特性来过滤文件。比如我们要列出当前目录下的所有目录,只需要一行代码:
  1 >>> [x for x in os.listdir('.') if os.path.isdir(x)]
  2 ['DLLs', 'Doc', 'include', 'Lib', 'libs', 'Scripts', 'tcl', 'Tools']
  3 >>> [x for x in os.listdir('.') if os.path.isfile(x) and os.path.splitext(x)[1]=='.py']
  4 []
lambda表达式
lambda表达式又称为匿名函数,适用于某些简单函数的语法糖。如下这个lambda表达式结合列表推导式的例子是很tricky的:
  1 >>> result = [lambda x: x + i for i in range(10)]
  2 >>> print(result[0](10))
  3 19
  4 >>> print(result)
  5 [<function <listcomp>.<lambda> at 0x000001D664C7C7B8>, <function <listcomp>.<lambda> at 0x000001D667100F28>, <function <listcomp>.<lambda> at 0x000001D667105048>, <function <listcomp>.<lambda> at 0x000001D6671050D0>, <function <listcomp>.<lambda> at 0x000001D667105158>, <function <listcomp>.<lambda> at 0x000001D6671051E0>, <function <listcomp>.<lambda> at 0x000001D667105268>, <function <listcomp>.<lambda> at 0x000001D6671052F0>, <function <listcomp>.<lambda> at 0x000001D667105378>, <function <listcomp>.<lambda> at 0x000001D667105400>]
首先执行range函数,然后生成10个lamda函,当调用result函数时i=9,所以result是一个10个元素都是19的列表。
递归函数
简单地说,递归就是自己调用自己。
例如阶乘就可以用递归来简单的实现。由阶乘的定义可知fact(n) = fact(n-1)*n(n=1时要作特别处理)。用递归函数可以表达如下:
  1 >>> def fact(n):
  2 	if n == 1:
  3 		return 1
  4 	return fact(n-1)*n
  5
  6 >>> fact(10)
  7 3628800
最典型的应用就是斐波那契数列:
  1 def func(arg1,arg2,stop):
  2     if arg1 == 0:
  3         print(arg1,'\n',arg2)
  4     arg3 = arg1 + arg2
  5     print(arg3)
  6     if arg3 < stop:
  7         func(arg2,arg3,stop)
  8
  9 func(1,0,30)
使用递归函数的优点是逻辑简单清晰,缺点是过深的调用会导致栈溢出。
针对尾递归优化的语言可以通过尾递归防止栈溢出。尾递归事实上和循环是等价的,没有循环语句的编程语言只能通过尾递归实现循环。
Python标准的解释器没有针对尾递归做优化,任何递归函数都存在栈溢出的问题。