PowerApps的不足是必须在web端开发. 这导致了传统意义上的合作开发变得困难.
但是PowerApps现在有了component可以让大家使用.
Component 微软传送门(https://docs.microsoft.com/en-us/powerapps/maker/canvas-apps/create-component)
Component是Canvas中的一个custom UI control, 便于创作一些模块化组件. Component为合作开发带来了非常大便利. Component 支持input 和 output value. 当前支持的data type也非常多. 基本囊括了我们当前所需的类别.
首先需要创建一个component.

其次设计我们的component. 这里我就创建了一个header

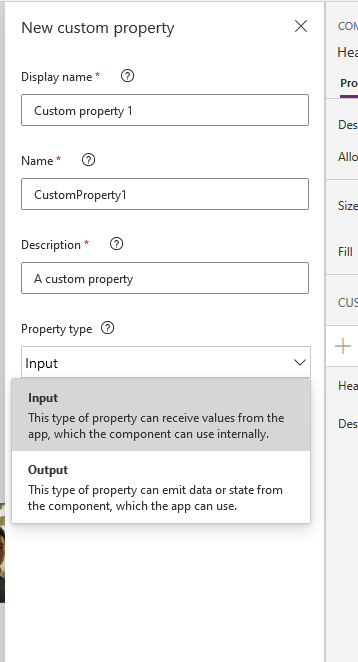
然后我们选中刚创建的component, 并且在右侧的properties中点击"new custom property"

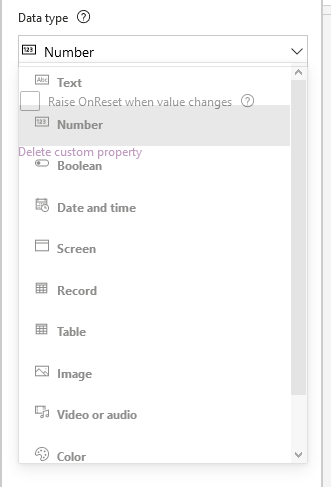
我们可以看到, new custom property 中property type 支持input 和 output两种
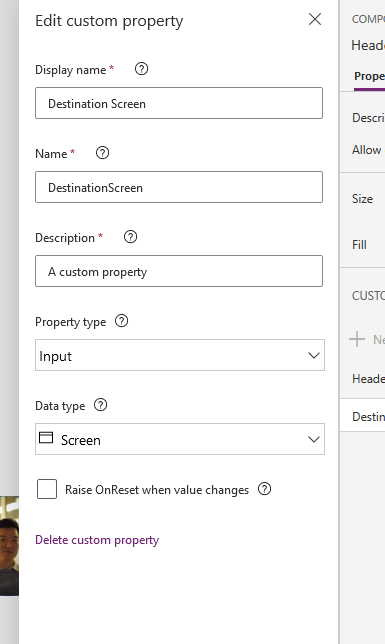
这里要介绍一下"Screen" data type
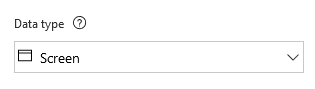
使用screen, 可以传递要跳转的screen value, component中的控件点击之后可以直接跳转页面.
我们这里使用screen 的 data type
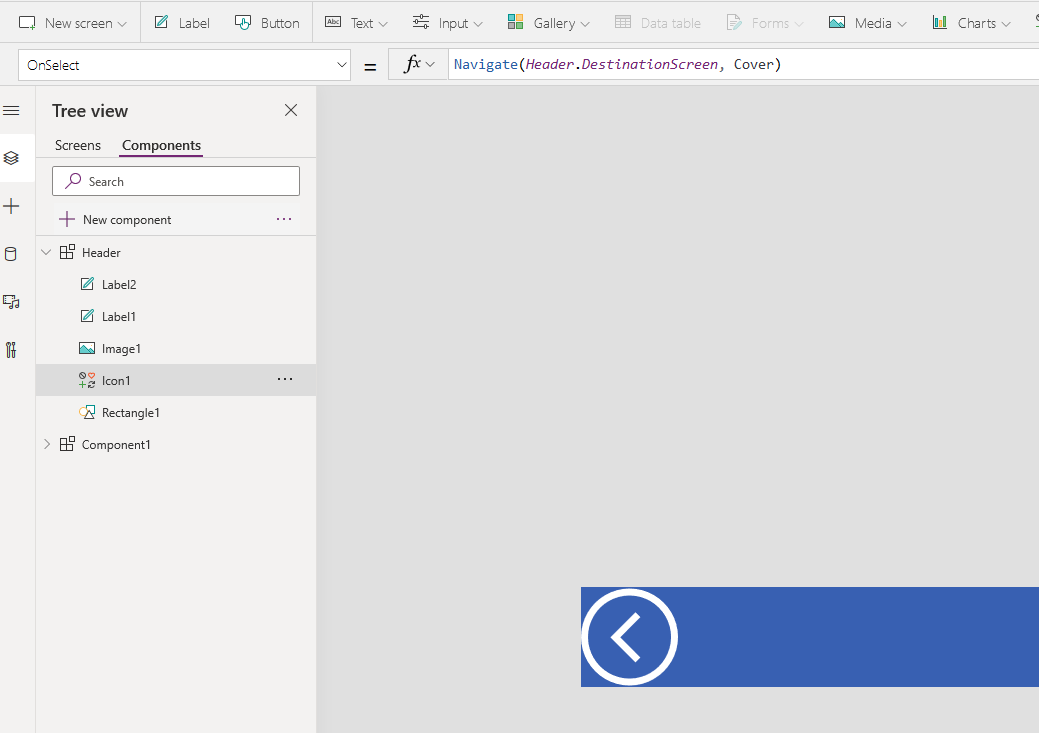
我们需要把Input 值和 UI Control做绑定.
我们点击需要绑定的UI Control, 并且在"OnSelect" 里 赋值"Navigate(Header.DestinationScreen, ScreenTransition.Cover)"
然后我们回到screen, 并且在Insert -> Custom 中找到我们需要添加的component
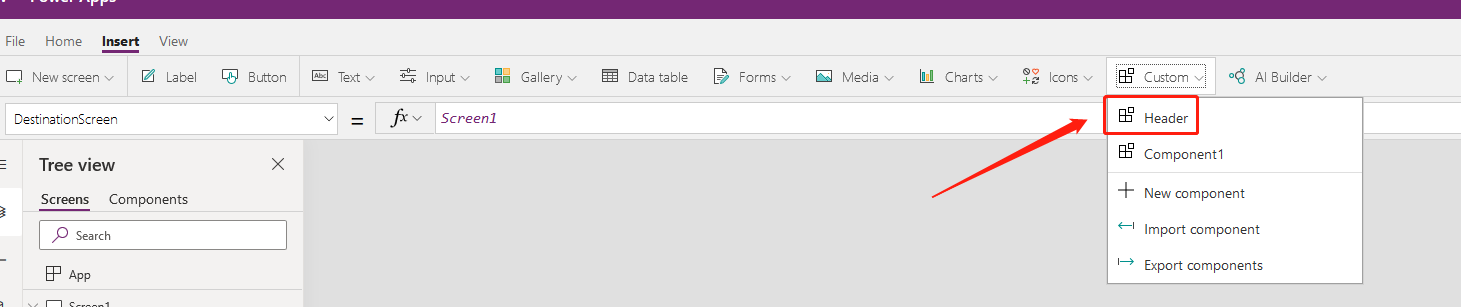
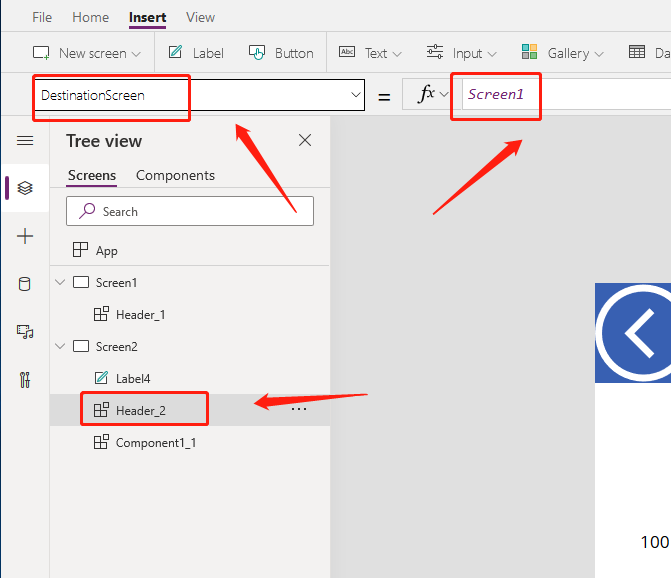
在添加component之后, 找到我们的DestinationScreen, 在function中填入需要跳转的页面.
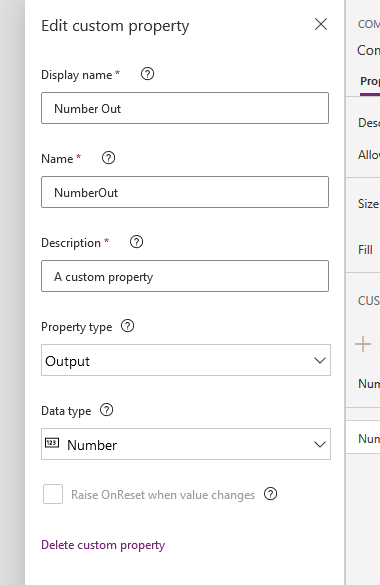
Component 中除了input 也还有output值可以从Component中传出.
这里我们创建一个custom properties
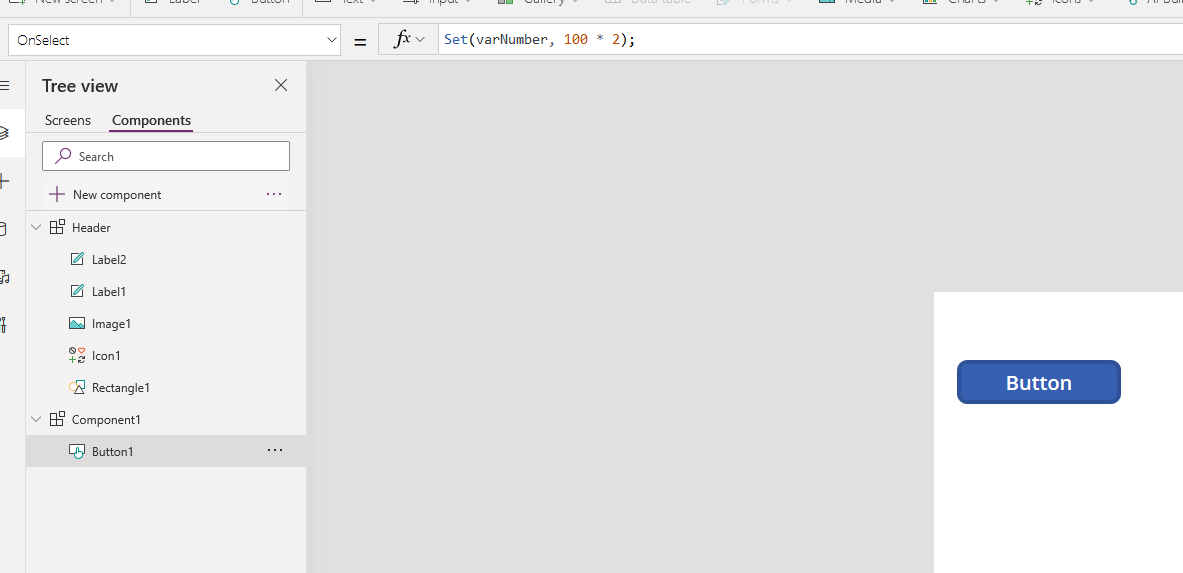
然后我们设定一个variable如下
Set(varNumber, 100 * 2);
然后我们需要选定component之后 在advanced 中找到刚才创建的output

当我们引用这个component在screen中, 我们创建一个label 并且 text 绑定component.NumberOut
我们可以看到 component中的值会传出到screen2 的label里.
