一、自配的vue项目骨架


<!DOCTYPE html>
<html lang="en">
<head>
    <meta charset="UTF-8">
    <meta name="viewport" content="width=device-width, initial-scale=1.0">
    <meta http-equiv="X-UA-Compatible" content="ie=edge">
    <title>webpack</title>
</head>
<body>
    <div id="app"></div>
    <script src="node_modules/vue/dist/vue.min.js"></script>
</body>
</html>
import Vue from 'vue'
import App from './App.vue'
new Vue({
    el:'#app',
    template:'<App />',
    components:{App}
})
<template>
    <div id="app">
        <h1>root component</h1>
        <h2>{{message}}</h2>
        <Foo></Foo>
    </div>
</template>
<script>
import Foo from './components/Foo.vue'
export default {
    data(){
        return{
            message:'hello world'
        }
    },
    components:{
        Foo,
    },
}
</script>
<style scoped>
h1{
    color: red
}
</style>
<template>
    <div>
        <h1>Foo Component</h1>
    </div>
</template>
{
  "name": "webpackdemo",
  "version": "1.0.0",
  "description": "",
  "main": "webpack.config.js",
  "scripts": {
    "build": "webpack",
    "watch-build": "webpack --watch",
    "dev": "webpack-dev-server --open"
  },
  "keywords": [],
  "author": "",
  "license": "ISC",
  "devDependencies": {
    "babel-core": "^6.26.3",
    "babel-loader": "^7.1.5",
    "babel-plugin-transform-runtime": "^6.23.0",
    "babel-polyfill": "^6.26.0",
    "babel-preset-env": "^1.7.0",
    "css-loader": "^1.0.0",
    "file-loader": "^1.1.11",
    "html-webpack-plugin": "^3.2.0",
    "style-loader": "^0.21.0",
    "vue-loader": "^15.2.6",
    "vue-template-compiler": "^2.5.17",
    "webpack": "^4.16.3",
    "webpack-cli": "^3.1.0",
    "webpack-dev-server": "^3.1.5"
  },
  "dependencies": {
    "babel-runtime": "^6.26.0",
    "vue": "^2.5.17"
  }
}
// 该文件其实最终是要在node环境下执行的
const path = require('path')
const htmlWebpackPlugin = require('html-webpack-plugin')
const VueLoadPlugin = require('vue-loader/lib/plugin')
const webpack = require('webpack')

// 导出一个具有特殊属性配置的对象
module.exports = {
    entry:['babel-polyfill','./src/main.js'],/* 入口文件模块路径 */
    output:{
        path:path.join(__dirname,'./dist/'),/* 出口文件模块所属目录,必须是一个绝对路径 */
        filename:'bundle.js'/* 打包的结果文件名称 */
    },
    devServer:{
        // 配置webpack-dev-server的www目录,配置虚拟内存
        contentBase:'./',
        hot:true
    },
    mode:'development',
    plugins:[
        // 该插件可以把index.html打包到bundle.js文件所属目录,跟着bundle走
        // 同时也会自动在index.html中注入script引用链接,并且引用的资源名称,也取决于打包的文件名称
        new htmlWebpackPlugin({
            template:'./index.html'
        }),
        new VueLoadPlugin(),
        new webpack.NamedModulesPlugin(),
        new webpack.HotModuleReplacementPlugin()
    ],
    externals:{
        // 加载第三方资源
        vue:'Vue'
    },
    module:{
        rules:[
            {
                test:/.css$/,
                use:[
                    //注意:这里的顺序很重要,不要乱了顺序
                    'style-loader',
                    'css-loader'
                ]
            },
            {
                test:/.(jpg|png|gif|svg)$/,
                use:[
                    'file-loader'
                ]
            },
            {
                test:/.js$/,
                exclude:/(node_modules|bower_components)/,//排除掉node_module目录
                use:{
                    loader:'babel-loader',
                    options:{
                        presets:['env'], //转码规则
                        plugins:['transform-runtime']
                    }
                }
            },
            {
                test:/.vue$/,
                use:[
                    'vue-loader'
                ]
            }
        ]
    }
}

二、vue-cli
①一个脚手架工具,可以快速生成基本的项目骨架,自带了webpack配置,官方文档:https://cli.vuejs.org/zh/
②安装(全局)
npm i -g vue-cli
③查看是否安装成功
vue --version
④查看使用帮助
vue --help
  Usage: vue <command> [options]

  Options:

    -V, --version  output the version number
    -h, --help     output usage information

  Commands:

    init           generate a new project from a template
    list           list available official templates
    build          prototype a new project
    create         (for v3 warning only)
    help [cmd]     display help for [cmd]
⑤查看可用的官方模板
vue list
Available official templates:

  ★  browserify - A full-featured Browserify + vueify setup with hot-reload, linting & unit testing.
  ★  browserify-simple - A simple Browserify + vueify setup for quick prototyping.
  ★  pwa - PWA template for vue-cli based on the webpack template
  ★  simple - The simplest possible Vue setup in a single HTML file
  ★  webpack - A full-featured Webpack + vue-loader setup with hot reload, linting, testing & css extraction.
  ★  webpack-simple - A simple Webpack + vue-loader setup for quick prototyping.
⑥基于官方模板初始化项目骨架
// 执行该命令,vue cli 会在当前目录下创建一个webpack模板的项目
// 执行以下命令后,会出现向导式的基本信息配置
vue init webpack 项目名称
? Project name demo                       //项目名称
? Project description A Vue.js project    //项目简介
? Author Eric                             //项目作者信息
? Vue build standalone
? Install vue-router? Yes                 //是否使用vue-router
? Use ESLint to lint your code? Yes       //是否使用代码校验工具
? Pick an ESLint preset Standard          //选择代码风格
? Set up unit tests No                    //单元测试
? Setup e2e tests with Nightwatch? No     //端到端测试
? Should we run `npm install` for you after the project has been created? (recommended) npm   //使用npm
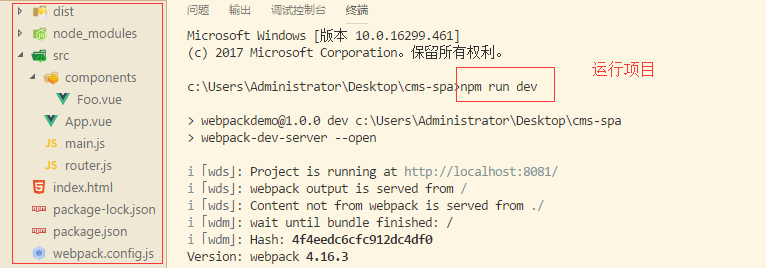
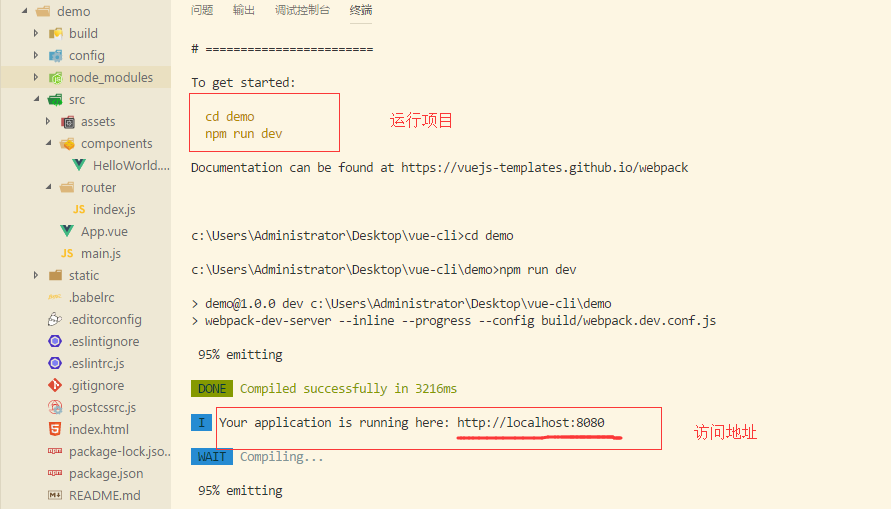
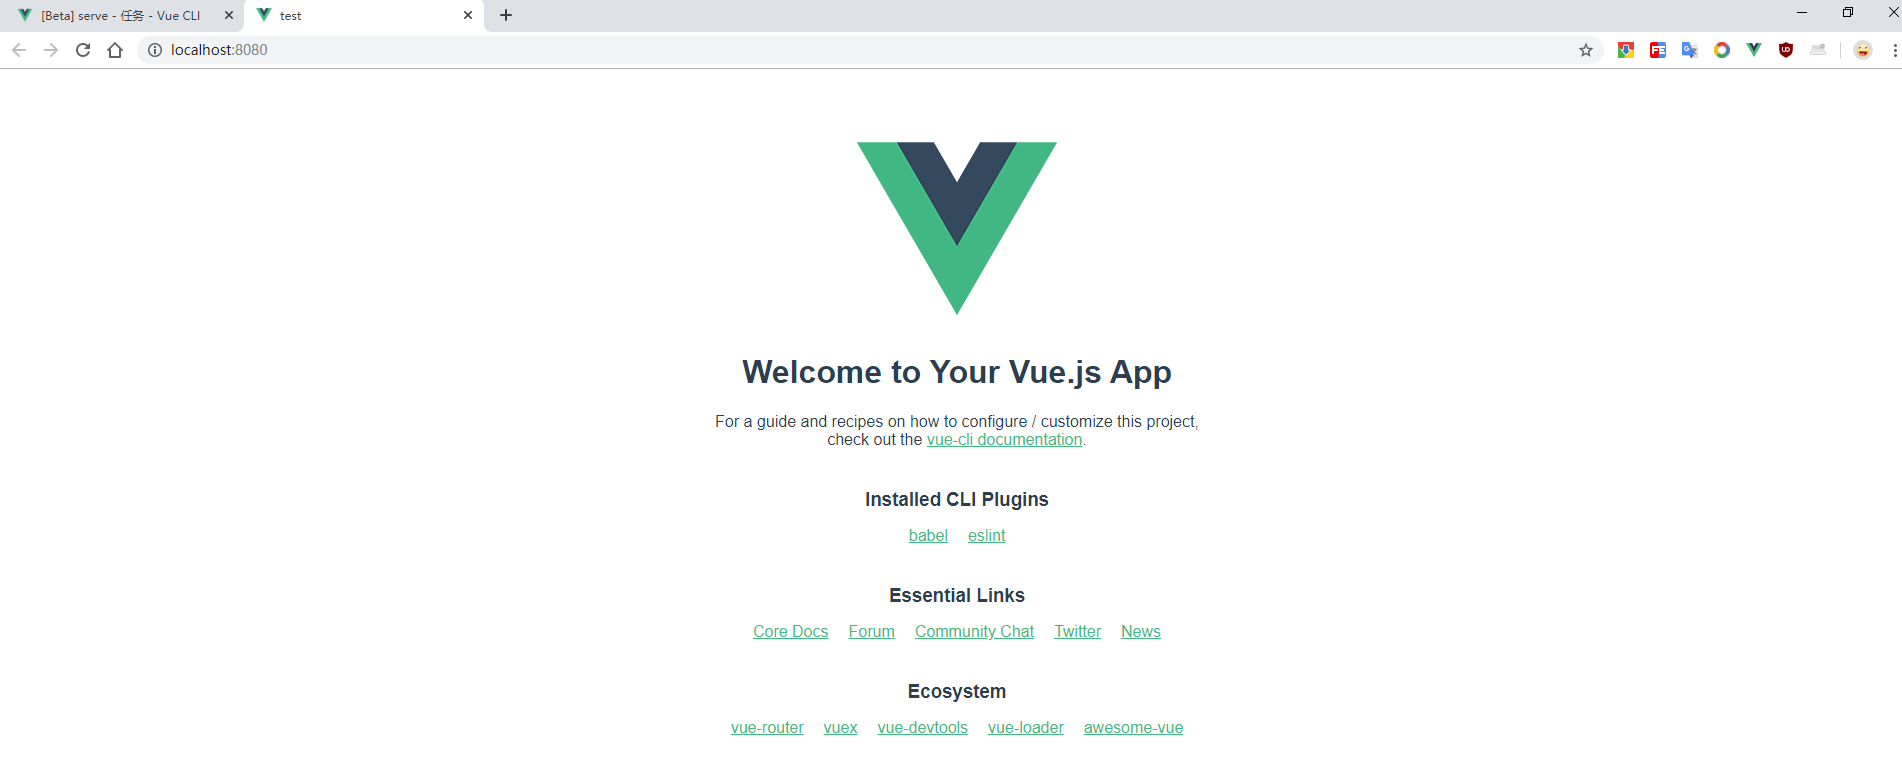
⑦运行项目

三、vue-cli4
①卸载vue-cli2
# 卸载
npm uninstall vue-cli -g
# 检测:如果没有版本则卸载成功
vue -V
②安装vue-cli4
# 安装
npm install -g @vue/cli
# 检测:显示4.0以上则安装成功
vue -V
③vue-cli4创建项目:使用图形界面
vue ui


④vue-cli4创建项目:命令行
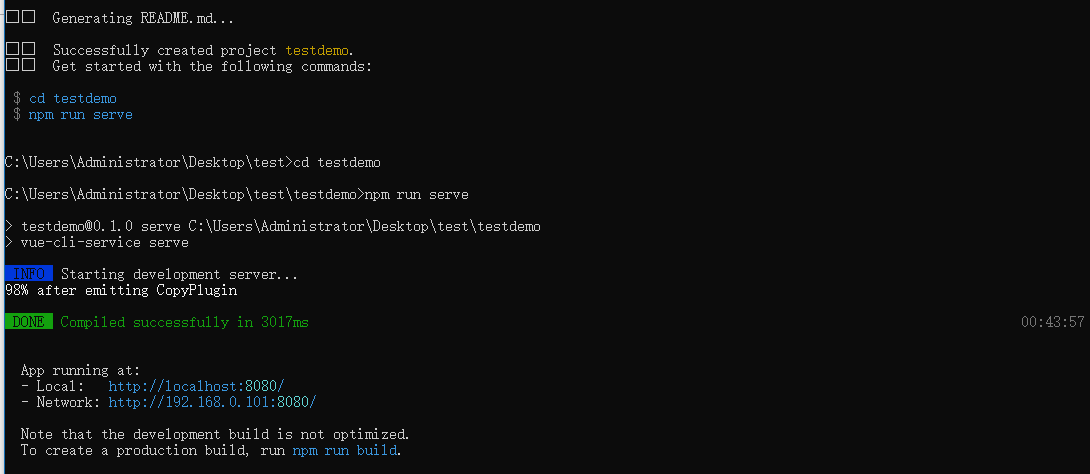
vue create 项目名称

⑥。。。。