腾讯防水墙实现验证码
一, 注册防水墙
1.快速入门文档
https://cloud.tencent.com/document/product/1110/36839
2.注册 AppID 和 AppSecret
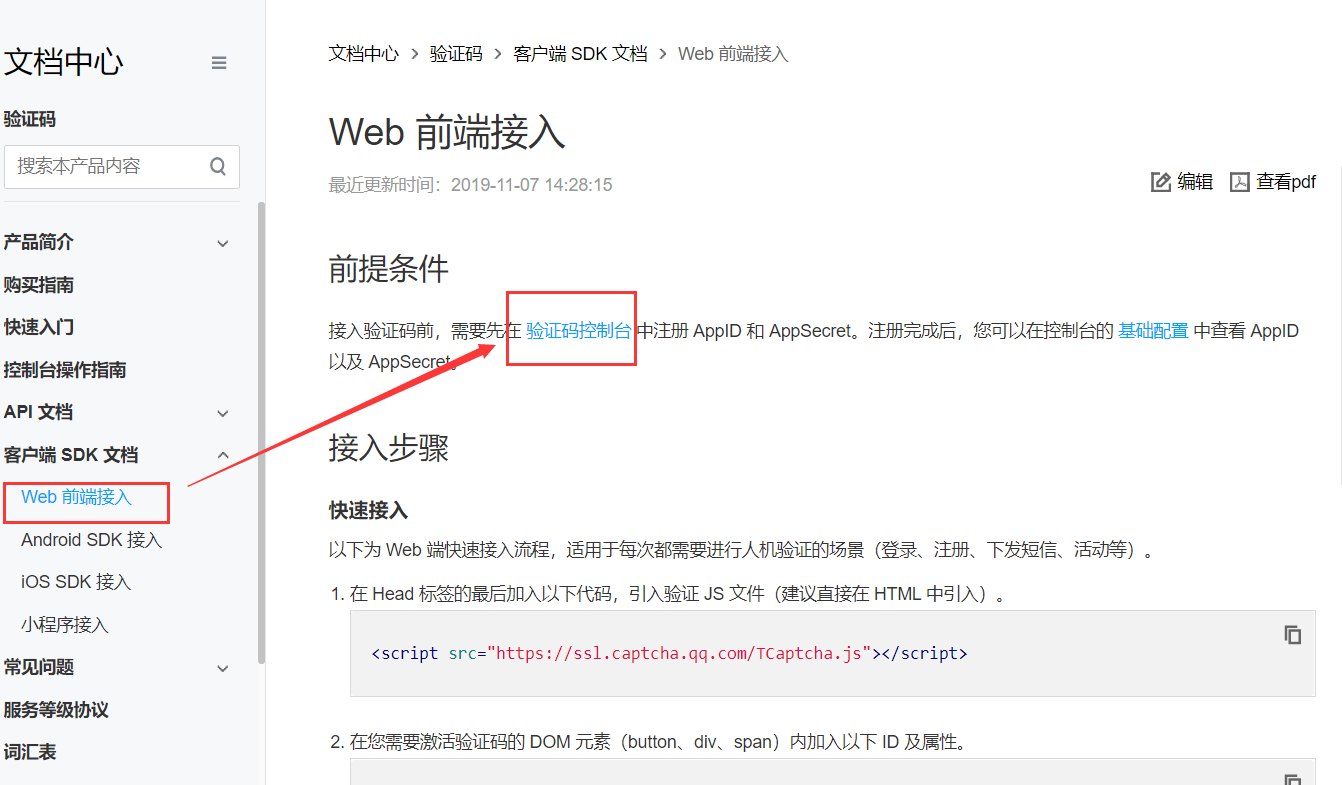
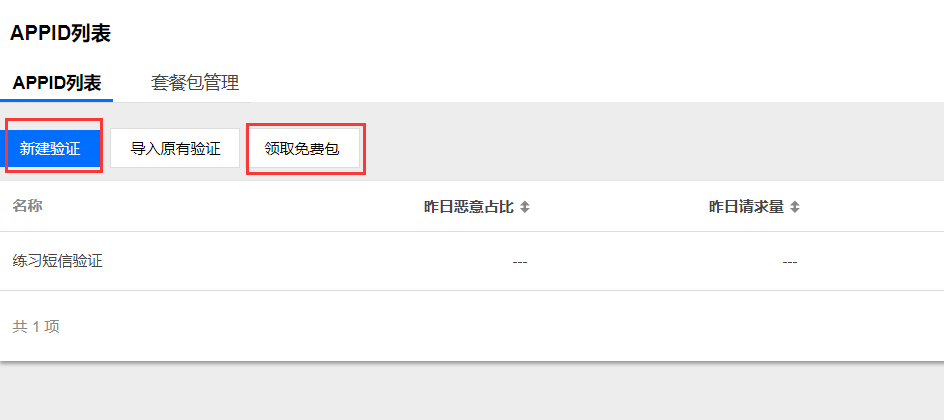
3.记录AppID 和 AppSecret

二, 实现功能
1.准备一个触发的元素,并绑定一个点击事件
<button class="login_btn" id="TencentCaptcha" @click="get_verify">登录</button>
2.get_verify
get_verify() {

    // 首先用户名和密码不能为空
    if (!this.username || !this.password) {
        this.$message.error('用户名和密码均不能为空!');
        return;
    }

    // 首先从后端获取appId
    this.$axios.get(`${this.$settings.Host}/users/verify/`).then(
        response => {
            // 拿到了appId,构建验证码对象
            let appId = response.data;
            let self = this;
            // 这里其实是给这个元素绑定了一个事件
            let tct = new TencentCaptcha(document.getElementById("TencentCaptcha"),
                appId, function (res) {
                    // 验证码的回调函数
                    if (res.ret === 0) {
                        // 票据
                        let ticket = res.ticket;
                        let randstr = res.randstr;
                        self.check_verify(ticket, randstr)
                    }
                }
            );
            // 显示验证码
            tct.show()
        }
    ).catch(error => {
        this.$message.error("获取验证码出错!请联系管理员!")
    })
},
3.后端提供appID的代码
# url: /users/verify/

aid = 'xxxxx'
AppSecretKey = 'xxxxx**'

class VerifyAPIView(APIView):
    def get(self, request):
        return Response(aid, status=status.HTTP_200_OK)
4.check_verify
check_verify(ticket, randstr) {
    // 将ticket,randstr发送到后端进行验证
    this.$axios.post(`${this.$settings.Host}/users/verify/`, {
        'ticket': ticket,
        'randstr': randstr
    }).then(response => {
        if (response.status === 200) {
            // 校验成功, 进行登录,这里调用之前写好的登录方法
            this.login_handler()
        } else {
            this.$message.error("校验失败!")
        }
    }).catch(error => {
        this.$message.error("校验验证码出错!请联系管理员!")
    })
}
5.后端校验验证码
# 需要安装reuqests包
def post(self, request):
    Ticket = request.data.get('ticket')
    Randstr = request.data.get('randstr')
    # 上线后这里要进行修改,改为动态获取请求的ip
    UserIP = '123.112.18.146'

    ret = requests.get('https://ssl.captcha.qq.com/ticket/verify', params={
        'aid': aid,
        'AppSecretKey': AppSecretKey,
        'Ticket': Ticket,
        'Randstr': Randstr,
        'UserIP': UserIP
    })
    dic = ret.json()
    if dic and dic.get('response') == '1':
        return Response('校验成功!', status=status.HTTP_200_OK)
    return Response(dic.get('err_msg'), status=status.HTTP_400_BAD_REQUEST)