1.安装axios
npm install axios
2.修改App.vue
<template>
  <img alt="Vue logo" src="./assets/logo.png" />
</template>

<script lang="ts">
import { defineComponent, onMounted } from "vue";
import axios from "axios"

export default defineComponent({
  name: 'App',
  setup() {
    let weather = {}
    onMounted(()=>{
      axios.get(`http://www.weather.com.cn/data/sk/101010100.html`).then(res=>{
        weather = res
      }).catch(err=>{
        console.log(err)
      })
    })

    return { weather}
  }
})
</script>
由于跨域的原因,实际请求不到数据。所以来到下一步,配置跨域代理
3.跨域代理
配置vite.config.ts,见server部分
import {defineConfig} from 'vite'
import vue from '@vitejs/plugin-vue'
import {viteMockServe} from "vite-plugin-mock";
import path from 'path'   // 需安装此模块


// https://vitejs.dev/config/
export default defineConfig({
    plugins: [
        vue(),
        viteMockServe({
        supportTs: true
        })
    ],
    resolve: {
        alias: {
            '@': path.resolve(__dirname, 'src')
        }
    },
    server: {
        host: '0.0.0.0',
        port: 9000,
        proxy: {
            '/weatherApi': {
                target: 'http://www.weather.com.cn',   //实际请求地址
                changeOrigin: true,
                rewrite: (path) => path.replace(/^\/weatherApi/, '')
            },
        }
    }
})
将本地端口配置为9000(默认为3000)官方文档,配置了代理
将原来项目中的请求地址改成以/weatherApi开头的
    let weather = {}
    onMounted(()=>{
      axios.get(`/weatherApi/data/sk/101010100.html`).then(res=>{
        weather = res
      }).catch(err=>{
        console.log(err)
      })
    })
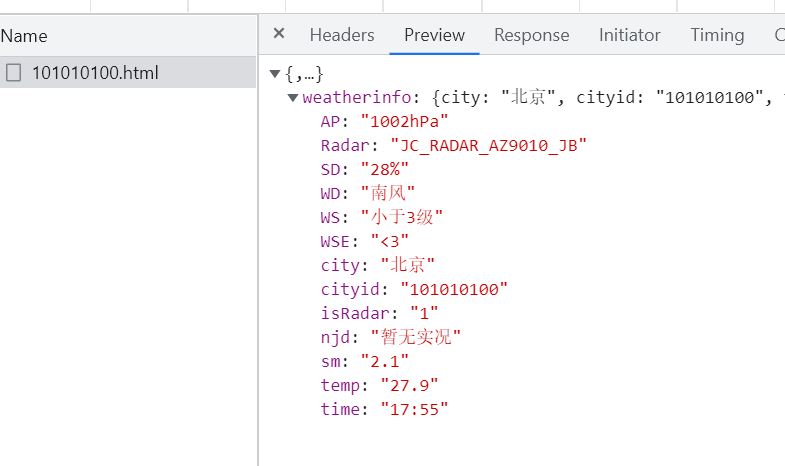
查看浏览器网络请求
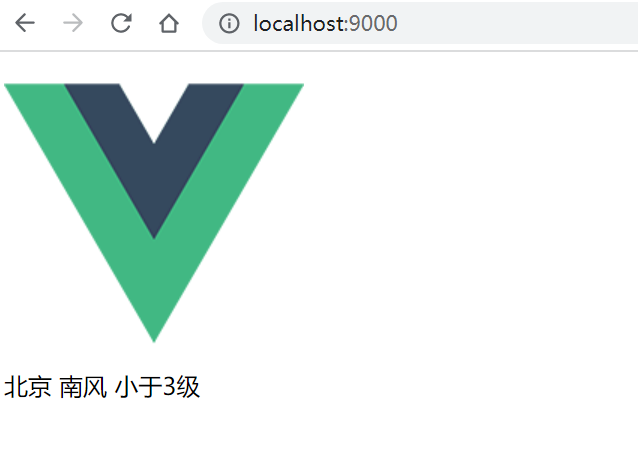
修改App.vue将请求数据显示在页面上
<template>
  <img alt="Vue logo" src="./assets/logo.png" />
  <div>
    {{weatherinfo.city}}
    {{weatherinfo.WD}}
    {{weatherinfo.WS}}
  </div>
</template>

<script lang="ts">
import { defineComponent, onMounted, nextTick ,reactive } from "vue";
import axios from "axios"

export default defineComponent({
  name: 'App',
  setup() {
    let weatherinfo = reactive({})

     onMounted(()=>{
       axios.get(`api/data/sk/101010100.html`).then(res=>{
        Object.assign( weatherinfo, res.data.weatherinfo)
        console.log('weatherinfo', weatherinfo)
      }).catch(err=>{
        console.log(err)
      })
    })

    return { weatherinfo}
  }
})
</script>
页面显示截图