0.读取图片不同通道
#什么参数都不加默认都是3通道
A = cv2.imread("/tmp/p1/alpha/1000034000_3.png")
A = A[:, :, 0]  # 取单通道 alpha图

#如果为4通道带alpha通道
#加参数cv2.IMREAD_UNCHANGED
fg_image_4 = cv2.imread(fg_path, cv2.IMREAD_UNCHANGED)
alpha_ori = fg_image_4[:, :, 3]  # 前景人像,alpha图
fg_image_ori = fg_image_4[:, :, :3]  # 前景人像,三通道
1.读取一张图片 imread
import cv2
img = cv2.imread('/tmp/pix_000099738.jpg')
font = cv2.FONT_HERSHEY_SIMPLEX
print(img)
2.保存图片 imwrite
import cv2
img = cv2.imread('/tmp/pix_000099738.jpg')

cv2.imwrite("/tmp/test1.jpg", img)
3.添加文字 putText
font = cv2.FONT_HERSHEY_SIMPLEX  # 定义字体

imgzi = cv2.putText(img, '000', (50, 50), font, 1.2, (255, 255, 255), 2)
                  # 图像,文字内容, 坐标 ,字体,大小,颜色,字体厚度
4.获取图像宽高 shape
img = cv2.imread("/tmp/h_4ddb2f3e.jpg")
sp = img.shape
print(sp)
sz1 = sp[0]  # height(rows) of image
sz2 = sp[1]  # width(colums) of image
sz3 = sp[2]  # the pixels value is made up of three primary colors
print(' %d
height: %d
number: %d' % (sz1, sz2, sz3)) # 1080 height: 1080 number: 3
5.画矩形 rectangle
import numpy as np
import cv2 as cv

img = np.zeros((320, 320, 3), np.uint8) #生成一个空灰度图像
print img.shape # 输出:(320, 320, 3)

# 矩形左上角和右上角的坐标,绘制一个绿色矩形
ptLeftTop = (60, 60)
ptRightBottom = (260, 260)
point_color = (0, 255, 0) # BGR
thickness = 1
lineType = 4
cv.rectangle(img, ptLeftTop, ptRightBottom, point_color, thickness, lineType)
    xmin = 100
    xmax = 200
    ymin = 100
    ymax = 300
    cv2.rectangle(img, (xmin, ymin), (xmax, ymax), (0,0,255), 2)
    cv2.rectangle(img, (xmin, ymax), (xmax, ymin), (255,0,0), 2)
    cv2.imshow('src',img)
    cv2.waitKey()
import cv2
img = cv2.imread("/tmp/abc.jpg")
print(img.shape)
cv2.rectangle(img, (240, 0), (480, 375), (0, 255, 0), 10)
cv2.imshow("fff", img)

6.opencv实现均值模糊 均值模糊
import cv2 as cv
import numpy as np

def blur_demo(src):
    dst = cv.blur(src, (5, 5))
    cv.imshow("blur_demo", dst)

if __name__ == "__main__":
    src = cv.imread("./1.jpg")
    blur_demo(src)
    cv.waitKey()
    cv.destroyAllWindows()

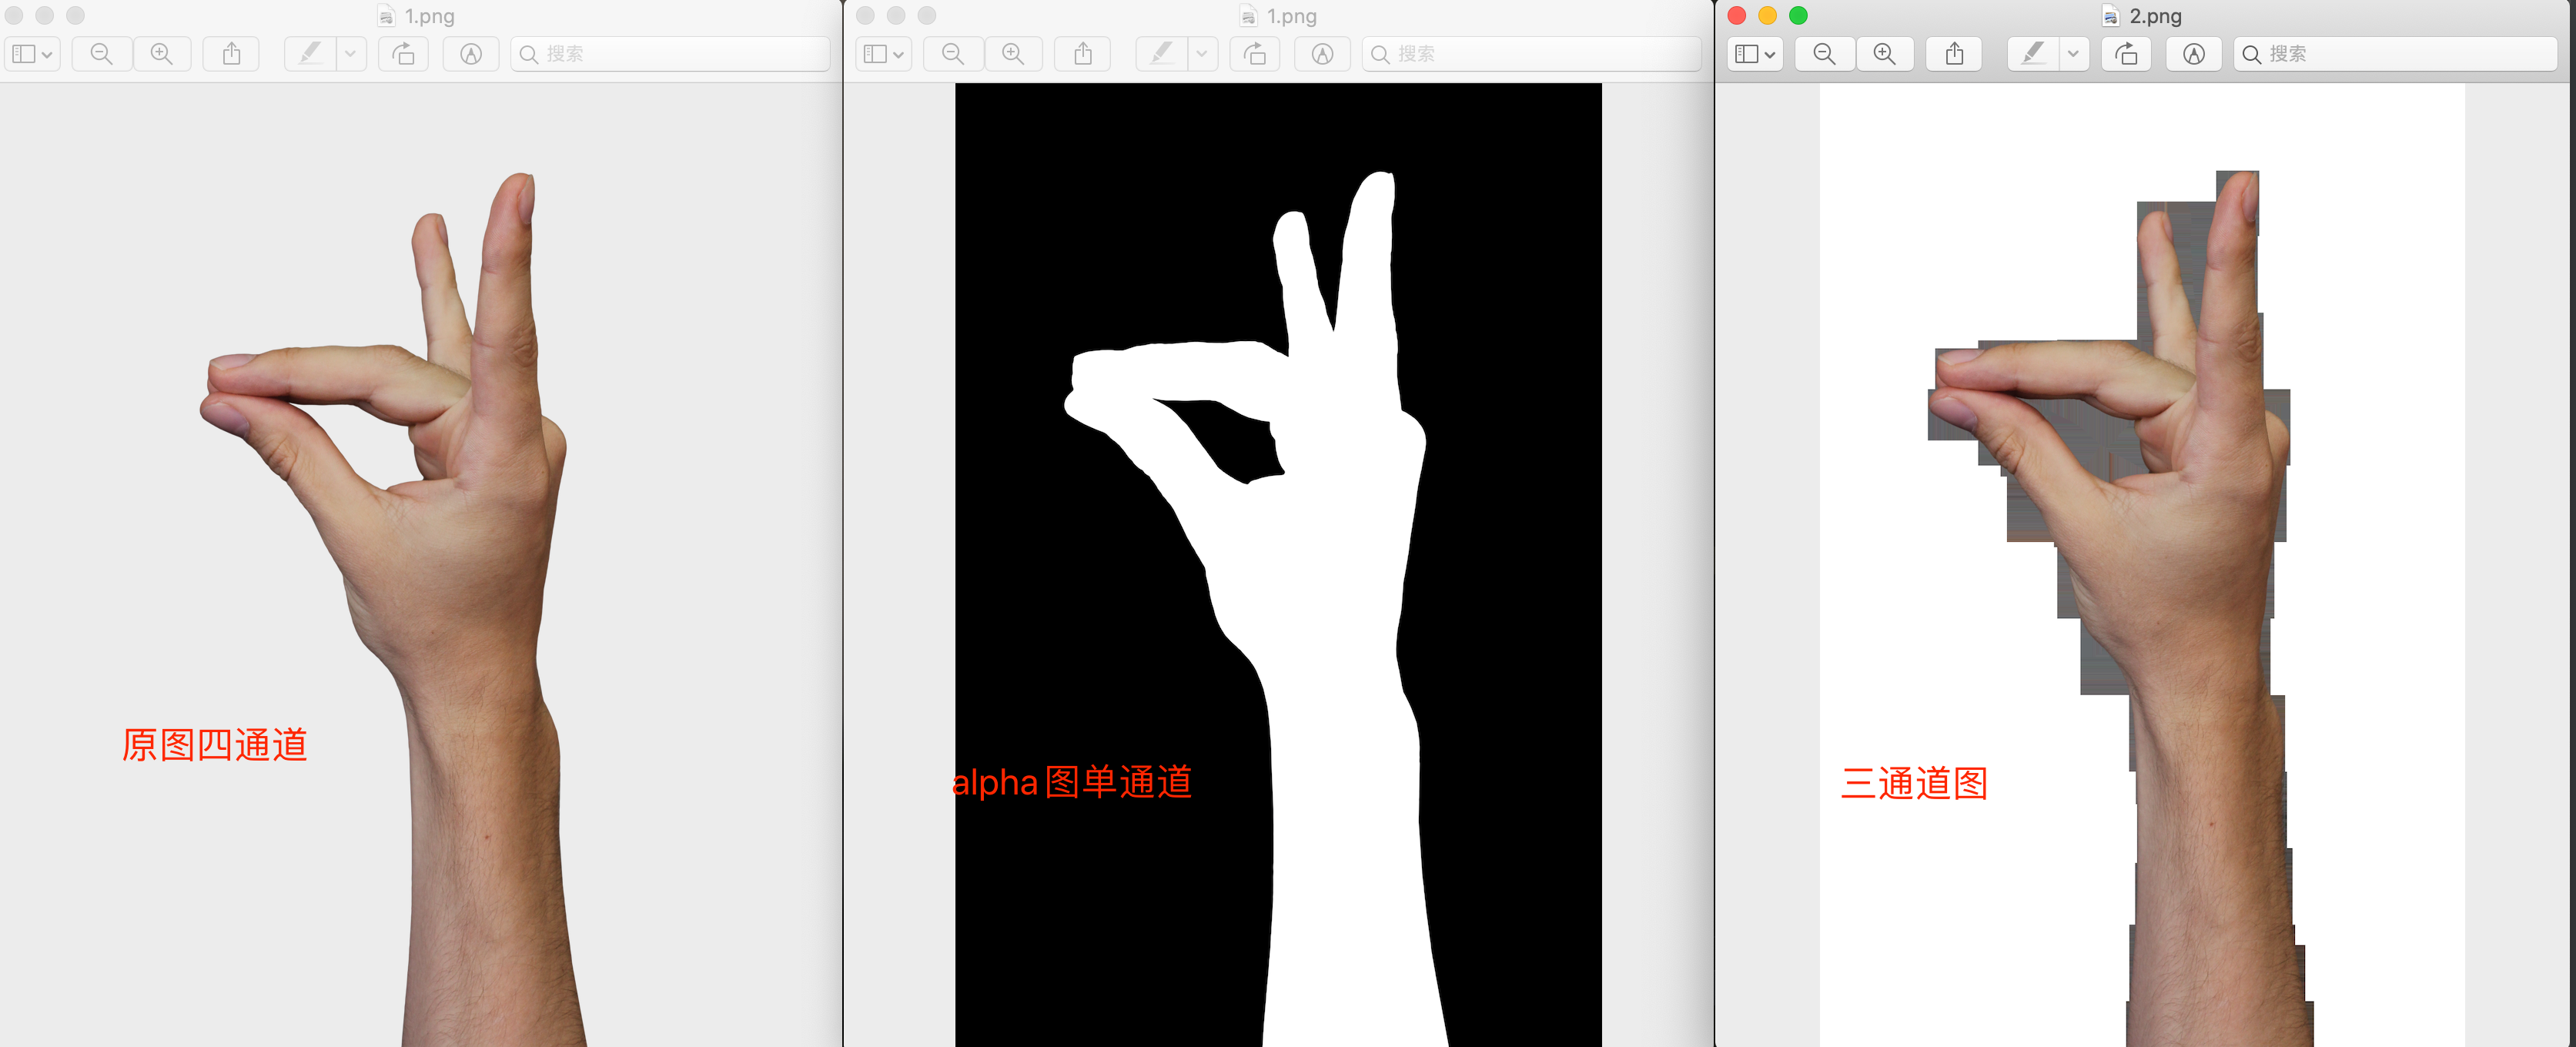
7.获取一张图片的alpha图
import cv2
import numpy as np

def img_chnl_1_to_n(img, channels=3):
    """
    将单通道改为三通道
    :param img:
    :param channels:
    :return:
    """
    if channels == 1:
        return img
    new_img = np.empty((img.shape[0], img.shape[1], channels))
    print(new_img.shape)
    for c in range(channels):
        new_img[...,c] = img
    return new_img

alpha = cv2.imread("/tmp/pinjie/1.png", cv2.IMREAD_UNCHANGED)

alpha_ori = alpha[:,:,3] # alpha图
cv2.imwrite("/tmp/1.png",alpha_ori)

alpha_ori = img_chnl_1_to_n(alpha_ori)
hand_img = alpha[:,:,:3] # 三通道
cv2.imwrite("/tmp/2.png",hand_img)
8.图片缩放
import cv2

# png
im1 = cv2.imread('/tmp/3.png', cv2.IMREAD_UNCHANGED)
im2 = cv2.resize(im1, (200,300))
cv2.imwrite('/tmp/lena2.png', im2)
cv2.imshow("original", im2)
cv2.waitKey(0)

#jpg
# 改变图像大小
import cv2
im1 = cv2.imread(cover_path)
im2 = cv2.resize(im1,(1000,550),)  # 为图片重新指定尺寸
cv2.imwrite(cover_path,im2)

#改变图像大小
F = cv2.imread("/tmp/p1/355.jpg")
resize_img2 = cv2.resize(F,(0,0),fx = 0.5,fy = 0.5)#按比例缩放为1/2
cv2.imwrite("/tmp/p1/sf.jpg",resize_img2)
9.图片底部填充空白
"""
图片底部填充空白
"""
import numpy as np
import cv2

#图片宽度为640
F = cv2.imread("/tmp/123.jpg")

print(F.shape)
img = np.zeros((120, 640, 3), np.uint8)
img.fill(000)
#append添加到最后
c = np.append(F, img, axis=0)

cv2.imwrite("/tmp/11111.jpg", c)
效果图
10.opencv 裁剪图片
原始图片
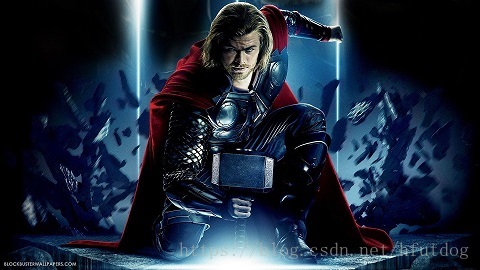
import cv2

img = cv2.imread("/tmp/20180903171331890.jpeg")
print(img.shape)
cropped = img[0:128, 0:200]  # 裁剪坐标为[y0:y1, x0:x1]
cv2.imwrite("/tmp/cv_cut_thor.jpg", cropped)