一、开发环境:
1、JDK1.8
2、Eclipse:Version: Kepler Service Release 1,下载地址:http://www.eclipse.org/downloads/
3、Selenium:selenium-java-2.39.0.zip,下载地址:http://code.google.com/p/selenium/downloads/list
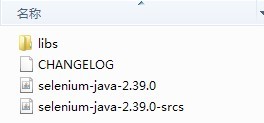
解压selenium-java包,这个包里面包含四部分,如下图:
二、新建一个Java Project:
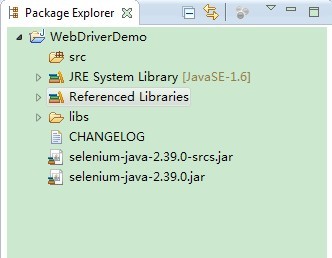
1、然后把上面解压出来的文件拷到新建的project目录下,目录结构如下图:

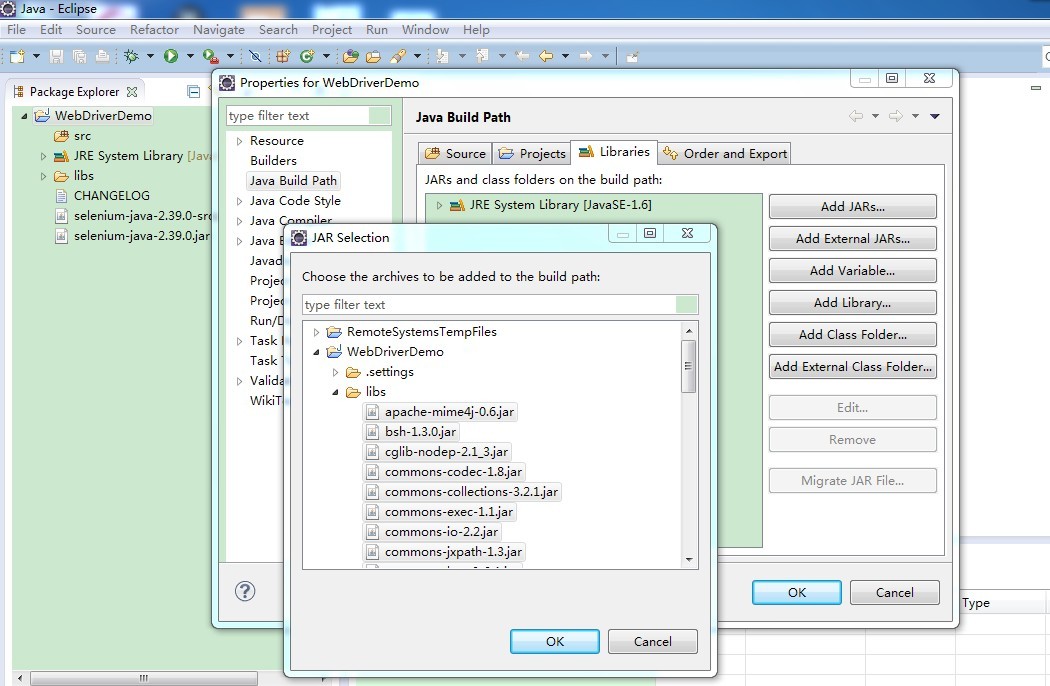
2、添加build path,项目目录右键-->Build Path--> config build path-->Java Build Path-->Libraries-->Add JARs
把libs文件夹下的jar包全部添加上,再添加selenium-java-2.39.0和selenium-java-2.39.0-srcs
3、添加完之后目录结构如下图,多了Referenced Libraries,这里就是上面那一步添加进去的jar包:
4、关联webdriver的源码:

至此,环境工作准备就绪,下面来写一个简单的小例子。
三、在src下面新建测试类,如下图:
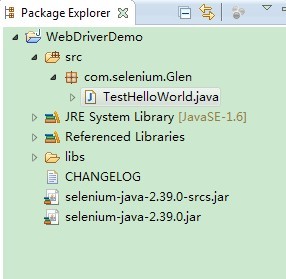
代码如下,主要是打开百度,然后在搜索框输入glen,点击搜索按钮,关闭浏览器。
package TestHelloWorld;

import java.util.Iterator;
import java.util.List;
import java.util.Set;

import org.openqa.selenium.By;
import org.openqa.selenium.Keys;
import org.openqa.selenium.WebDriver;
import org.openqa.selenium.WebElement;
import org.openqa.selenium.firefox.*;
import org.openqa.selenium.interactions.Actions;
import  static org.junit.Assert.*;

public class Test_zhangshen {
	public  static void main(String[] args) {
		System.setProperty("webdriver.firefox.bin",
				"E:/Program Files/Mozilla Firefox/firefox.exe");
		WebDriver driver = new FirefoxDriver();
		driver.get(	"https://passport.jd.com/new/login.aspx?ReturnUrl=http%3A%2F%2Fhome.jd.com%2Findex.html");
		WebElement loginname = driver.findElement(By.name("loginname"));
		loginname.click();
		loginname.sendKeys(Constant.name);
		WebElement nloginpwd = driver.findElement(By.name("nloginpwd"));
		nloginpwd.click();
		nloginpwd.sendKeys(Constant.pwd);
		driver.findElement(By.id("loginsubmit")).click();
		//tagName的用法
		List<WebElement> links = driver.findElements(By.tagName("a"));
		//验证链接数量
//		assertEquals(266, links.size());
		//linkTest的用法
//		WebElement Linktest = driver.findElement(By.partialLinkText(Constant.my_goods));
		WebElement Linktest = driver.switchTo().frame("_MYJD_tuan").findElement(By.linkText("团购订单"));
		Linktest.click();
		driver.close();

	}
}
然后直接右键-->Run As-->Java Application就可以看到效果了。