一,下载 可以到官网下载
官方主页: https://zookeeper.apache.org/
二,安装
解压即可
三,配置
需要java环境,在加压出来的文件夹中找到zoo_sample.cfg文件,重命名为zoo.cfg
# 时长单位为毫秒,为zk使用的基本时间度量单位
tickTime=2000
# The number of ticks that the initial
# synchronization phase can take
initLimit=10
# The number of ticks that can pass between
# sending a request and getting an acknowledgement
syncLimit=5
# 用于配置存储快照文件的目录
dataDir=E:/java/tools/zookeeper-3.4.14/data/zookeeper
# zk服务进程监听的TCP端口,默认情况下,服务端会监听2181端口
clientPort=2181
# the maximum number of client connections.
# increase this if you need to handle more clients
#maxClientCnxns=60
#
# Be sure to read the maintenance section of the
# administrator guide before turning on autopurge.
#
# http://zookeeper.apache.org/doc/current/zookeeperAdmin.html#sc_maintenance
#
# The number of snapshots to retain in dataDir
#autopurge.snapRetainCount=3
# Purge task interval in hours
# Set to "0" to disable auto purge feature
#autopurge.purgeInterval=1
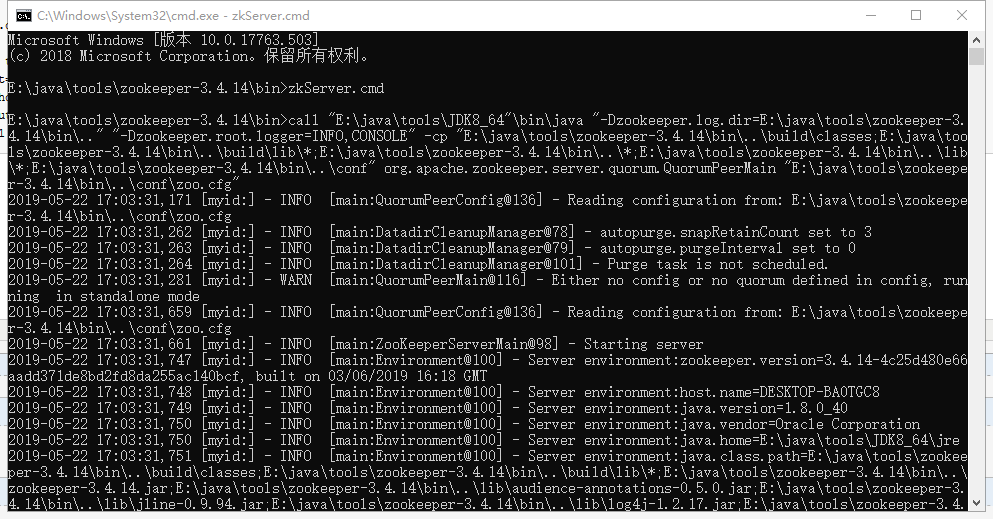
四,启动
在bin目录打开命令行,输入zkServer.cmd,回车即可