一、配置环境
root用户运行
groupadd oinstall groupadd dba useradd -d /home/oracle -g oinstall -G dba -m oracle mkdir -p /u01/app/oracle/product/11.2.0 chown -R oracle:oinstall /u01/app/oracle chmod -R 755 /u01/app/oracle xhost + |
oracle用户运行
vi .bash_profile export ORACLE_BASE=/u01/app/oracle export ORACLE_HOME=$ORACLE_BASE/product/11.2.0 export ORACLE_SID=ocp export NLS_LANG="SIMPLIFIED CHINESE_CHINA".ZHS16GBK export PATH=$ORACLE_HOME/bin:$PATH |
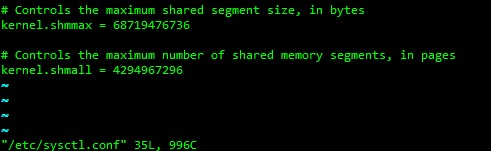
系统参数
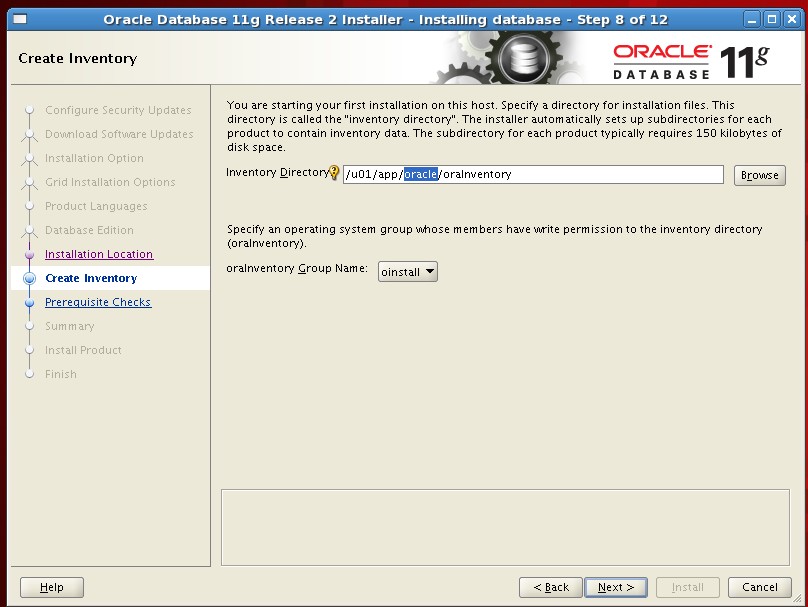
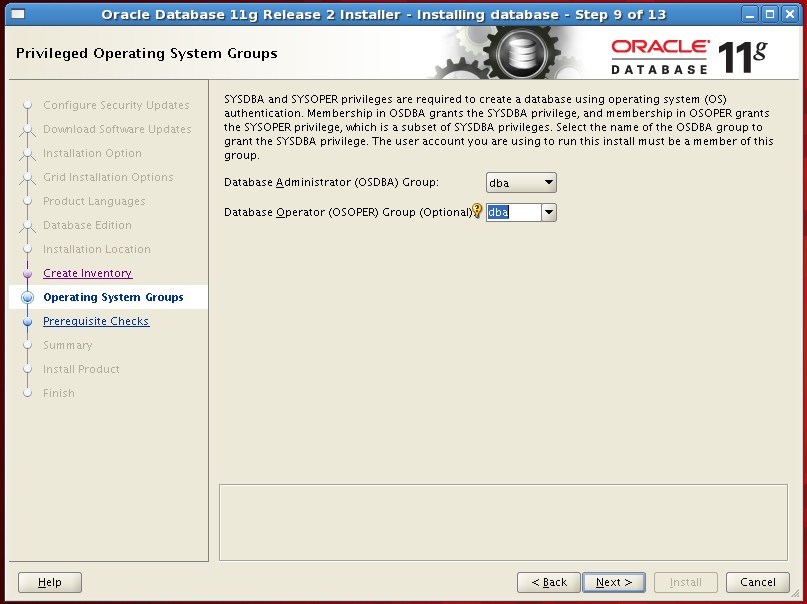
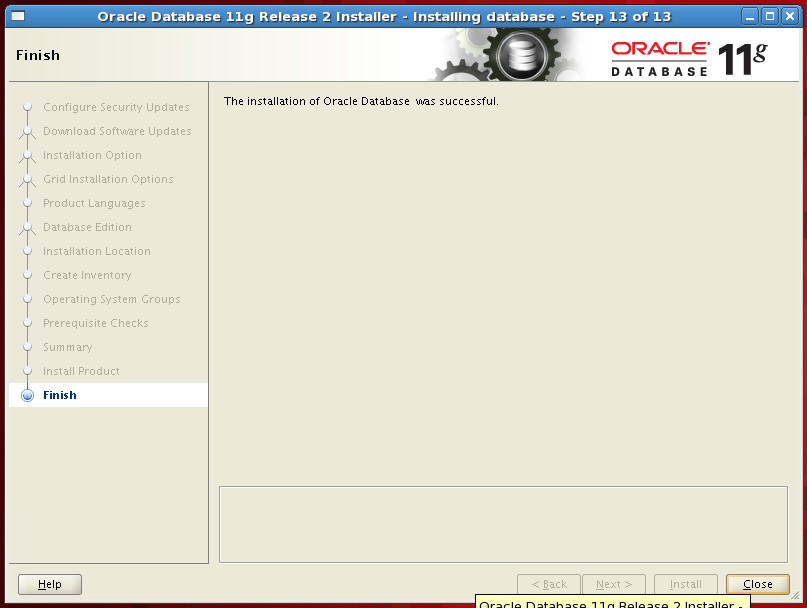
二、通过下载的安装包安装oracle
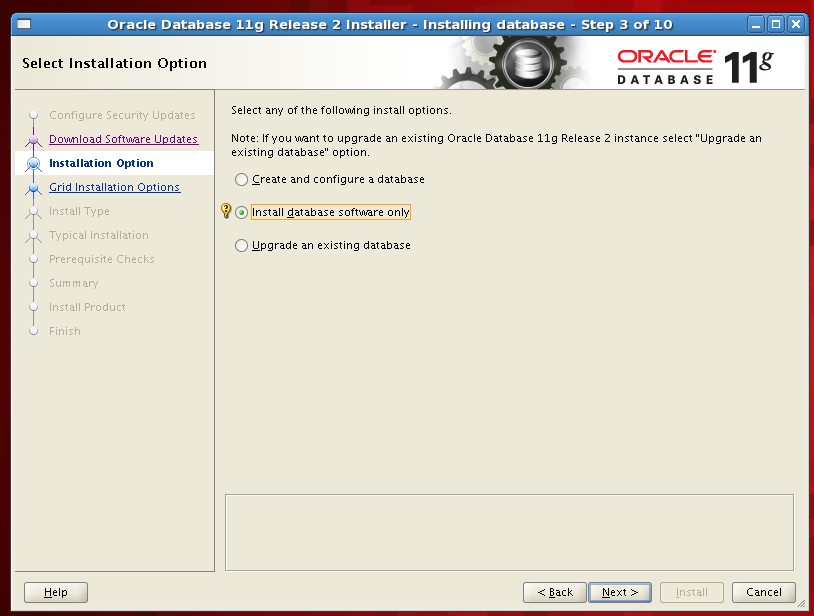
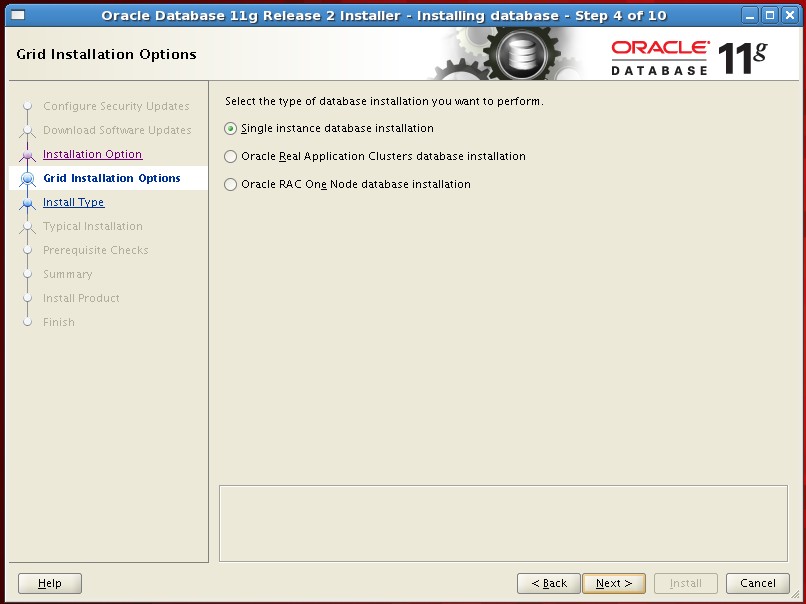
单实例
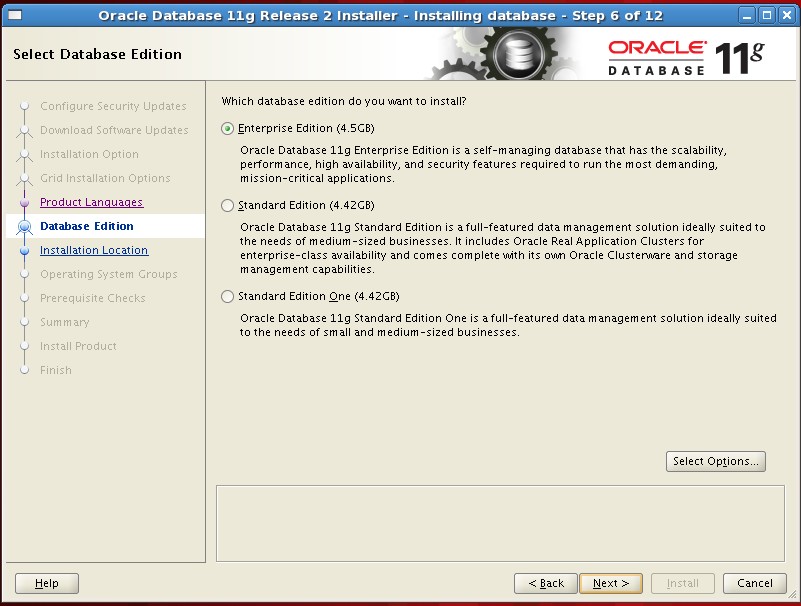
选择企业版
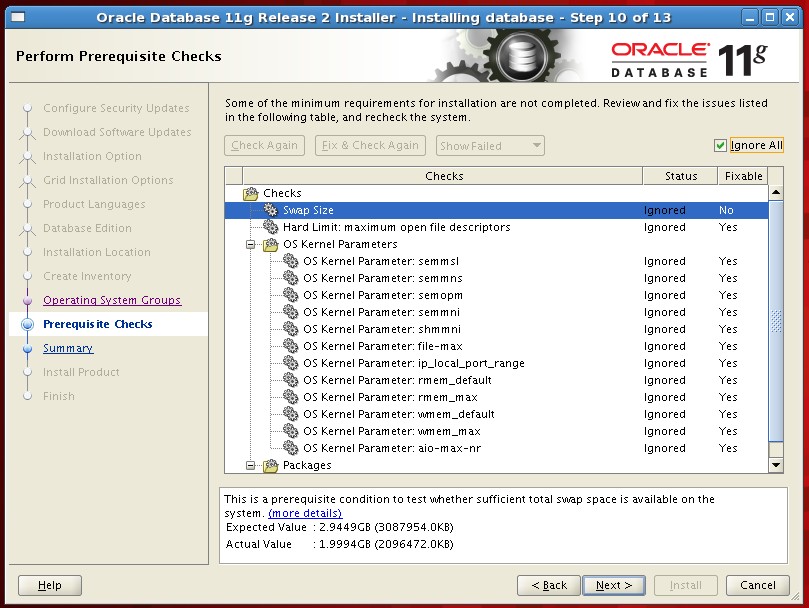
环境检查结果
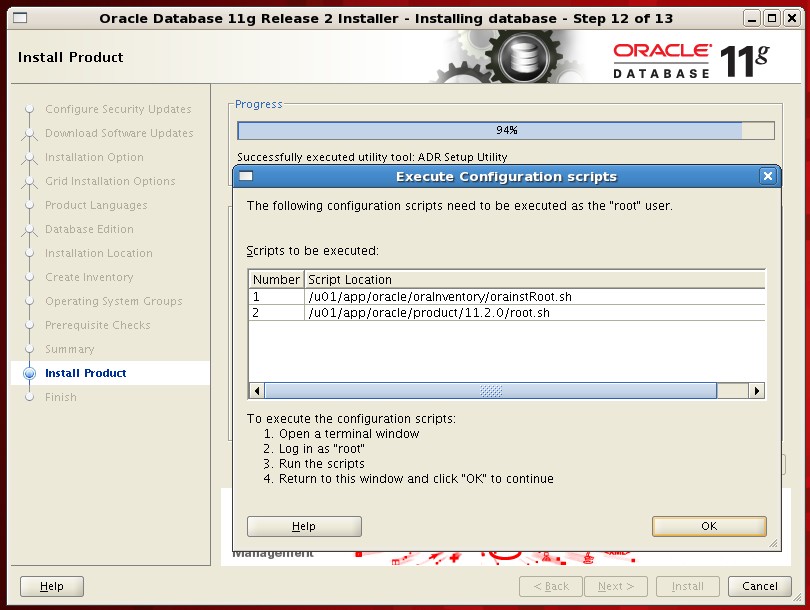
以root运行脚本
---------------------------------------------------------------------------------------------------------------------------
三、安装检查
[oracle@RHEL_64 ~]$ cd /u01/app/oracle/ [oracle@RHEL_64 oracle]$ ll total 16 drwxr-xr-x 2 oracle oinstall 4096 Apr 20 16:43 checkpoints drwxrwxr-x 11 oracle oinstall 4096 Apr 20 16:09 diag drwxrwx--- 5 oracle oinstall 4096 Apr 20 16:09 oraInventory drwxr-xr-x 3 oracle oinstall 4096 Apr 20 15:39 product |
diag日志信息 diag/rdbms 告警日志 |
oraInventory oracle组件清单 oraInventory/oraInst.loc 安装组信息 oraInventory/ContentsXML/ 版本和库信息 |
product/11.2.0 主目录 product/11.2.0/bin 可执行命令 |
/u01/app/oracle/product/11.2.0/rdbms/admin 安装脚本 |
[oracle@RHEL_64 ContentsXML]$ ll /etc/ora* -rw-r--r-- 1 root root 63 Apr 20 16:12 /etc/oraInst.loc -rw-rw-r-- 1 oracle oinstall 741 Apr 20 16:12 /etc/oratab /etc/oratab 配置库是否自动启动等信息 /etc/oraInst.loc 记录oracle安装目录和组信息 |
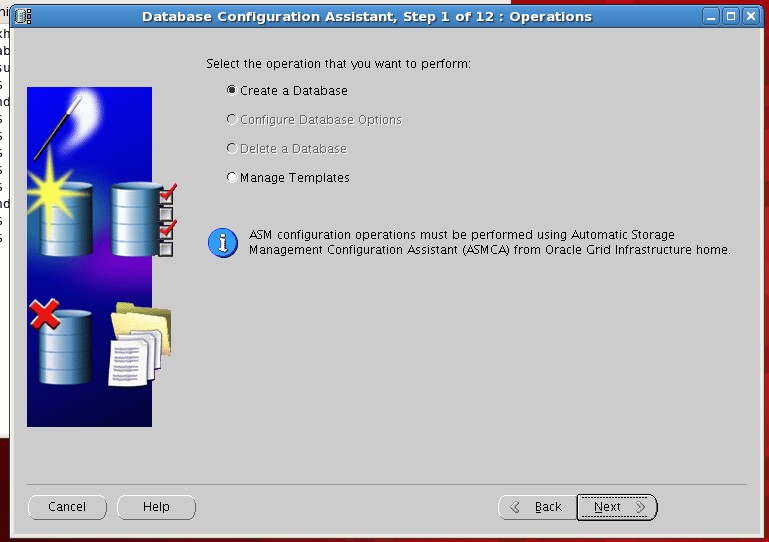
四、建库
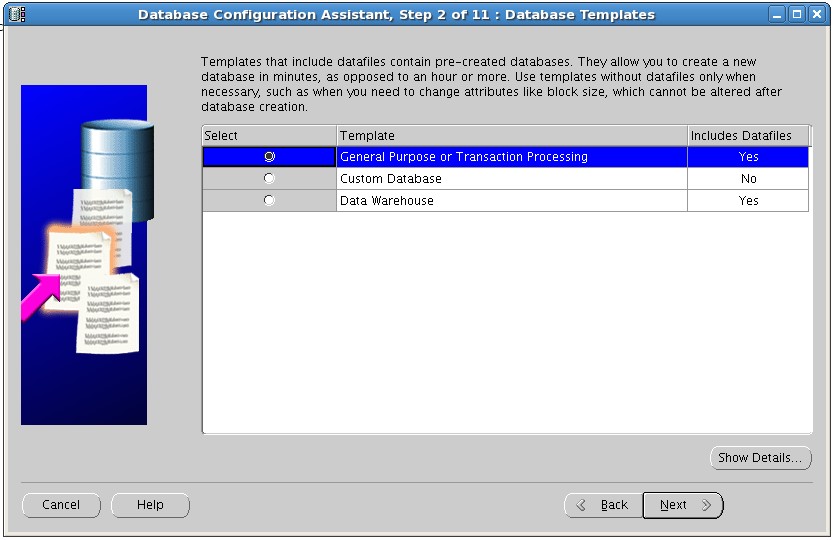
使用DBCA(database configuration assistant)来建库
|
[root@RHEL_64 ~]# xhost + access control disabled, clients can connect from any host [root@RHEL_64 ~]# su - oracle [oracle@RHEL_64 ~]$ dbca |
建库前需要CHECK
修改/etc/hosts |
# Do not remove the following line, or various programs # that require network functionality will fail. 127.0.0.1 localhost.localdomain localhost ::1 localhost6.localdomain6 localhost6 192.168.136.128 RHEL_64 |
RHEL_64 主机名,IP为真实IP |
启动监听 |
[oracle@RHEL_64 ~]$ lsnrctl start LSNRCTL for Linux: Version 11.2.0.3.0 - Production on 21-APR-2013 09:57:05 Copyright (c) 1991, 2011, Oracle. All rights reserved. Starting /u01/app/oracle/product/11.2.0/bin/tnslsnr: please wait... TNSLSNR for Linux: Version 11.2.0.3.0 - Production Log messages written to /u01/app/oracle/diag/tnslsnr/RHEL_64/listener/alert/log.xml Listening on: (DESCRIPTION=(ADDRESS=(PROTOCOL=tcp)(HOST=RHEL_64)(PORT=1521))) Connecting to (ADDRESS=(PROTOCOL=tcp)(HOST=)(PORT=1521)) STATUS of the LISTENER ------------------------ Alias LISTENER Version TNSLSNR for Linux: Version 11.2.0.3.0 - Production Start Date 21-APR-2013 09:57:06 Uptime 0 days 0 hr. 0 min. 1 sec Trace Level off Security ON: Local OS Authentication SNMP OFF Listener Log File /u01/app/oracle/diag/tnslsnr/RHEL_64/listener/alert/log.xml Listening Endpoints Summary... (DESCRIPTION=(ADDRESS=(PROTOCOL=tcp)(HOST=RHEL_64)(PORT=1521))) The listener supports no services The command completed successfully |
--高级模块下

DataBase Name一般与SID相同
SID与安装时设置的变量相同

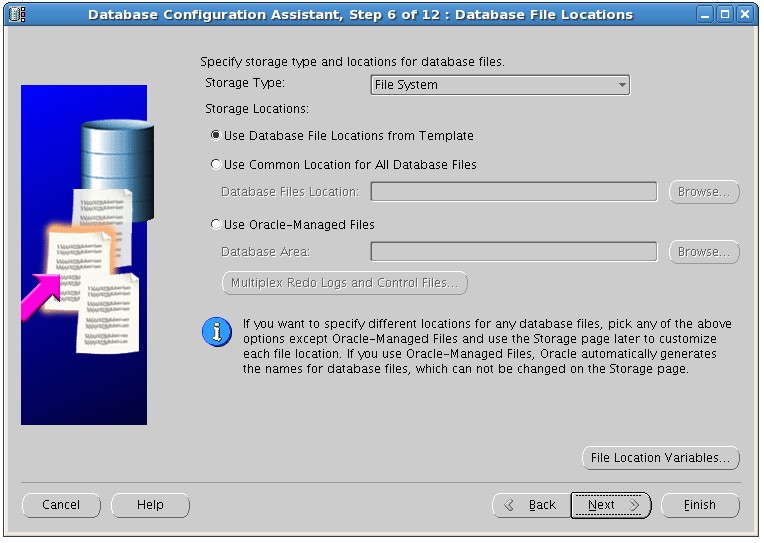
Use Database file locations from template 存在本地 Use common location for all database files 使用已挂载的存储 |
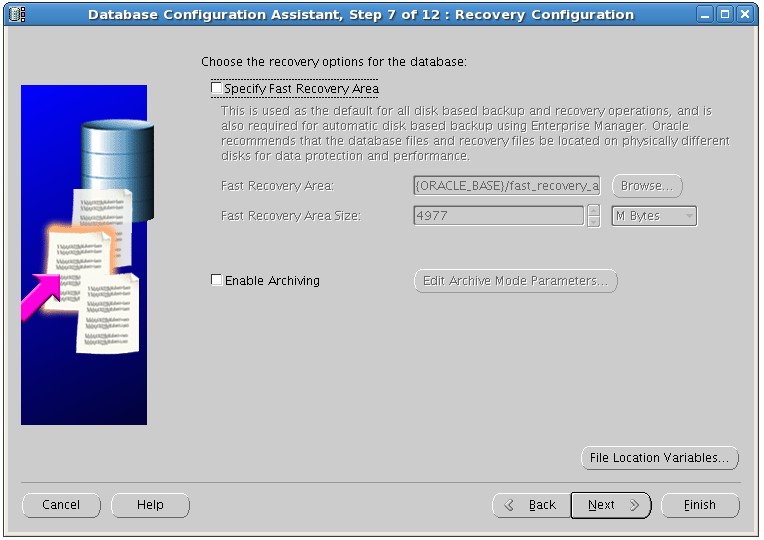
specify fast recovery area 闪回区, 一般不开 enable archiving 归档,现在不开 完成后使用命令开 |

内存:虚拟机中推荐使用800MB到1G |
sizing: processes(连接数)默认150 建议需要与架构师确认业务高峰期并发访问数 block size 默认8K,做数据仓库时建议放大,安装好之后不可修改 |
character sets -- choose from the list of character sets -- ZHS16GBK-GBK 16-bit Simplified Chinese 支持中文 |
connection mode dedicated server mode 专用连接,效率高,但消耗内存,一般为提升效率所以使用专用连接 shared server mode 共享连接 |
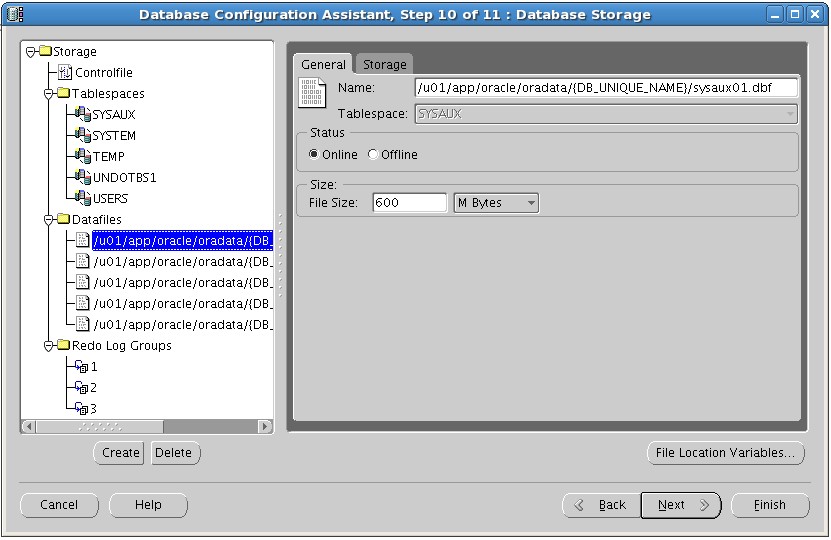
contorlfile 控制文件 表空间、数据文件、redo |
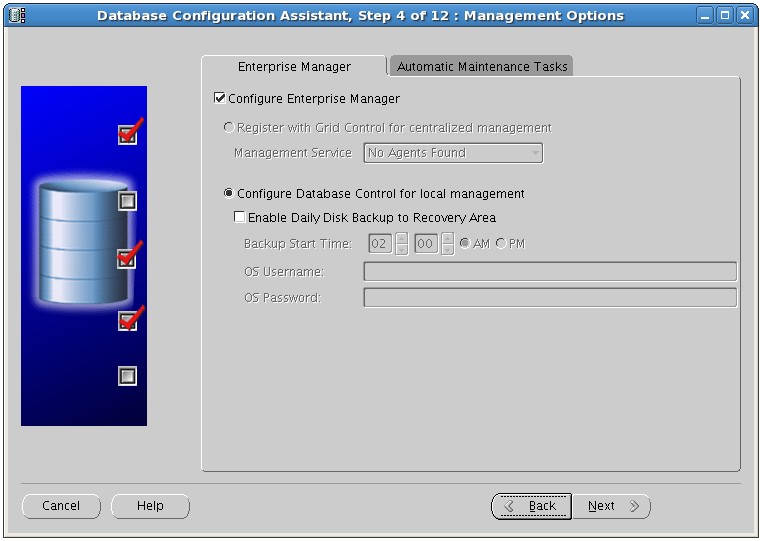
默认模式下
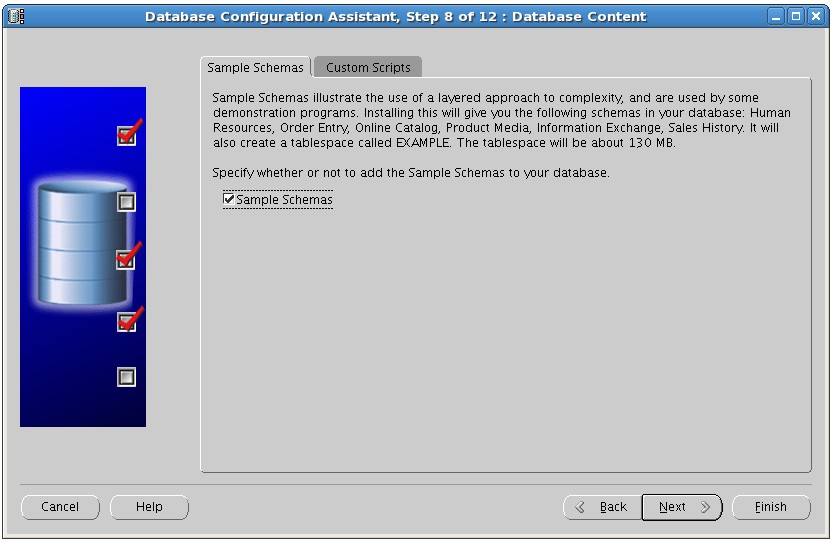
这一步需要注意,创建示例用户和数据
五、建库检查
查看进程是否已经启动 |
[oracle@oracle ~]$ ps -ef | grep ora_ oracle 23551 1 0 10:53 ? 00:00:00 ora_pmon_ocp oracle 23553 1 0 10:53 ? 00:00:00 ora_psp0_ocp oracle 23556 1 0 10:54 ? 00:00:01 ora_vktm_ocp oracle 23560 1 0 10:54 ? 00:00:00 ora_gen0_ocp oracle 23562 1 0 10:54 ? 00:00:00 ora_diag_ocp oracle 23564 1 0 10:54 ? 00:00:00 ora_dbrm_ocp oracle 23566 1 0 10:54 ? 00:00:00 ora_dia0_ocp oracle 23568 1 0 10:54 ? 00:00:00 ora_mman_ocp oracle 23570 1 0 10:54 ? 00:00:00 ora_dbw0_ocp oracle 23572 1 0 10:54 ? 00:00:00 ora_lgwr_ocp oracle 23574 1 0 10:54 ? 00:00:00 ora_ckpt_ocp oracle 23576 1 0 10:54 ? 00:00:00 ora_smon_ocp oracle 23578 1 0 10:54 ? 00:00:00 ora_reco_ocp oracle 23580 1 0 10:54 ? 00:00:00 ora_mmon_ocp oracle 23582 1 0 10:54 ? 00:00:00 ora_mmnl_ocp oracle 23584 1 0 10:54 ? 00:00:00 ora_d000_ocp oracle 23586 1 0 10:54 ? 00:00:00 ora_s000_ocp oracle 23672 1 0 10:54 ? 00:00:00 ora_qmnc_ocp oracle 23686 1 0 10:54 ? 00:00:00 ora_cjq0_ocp oracle 23720 1 0 10:54 ? 00:00:00 ora_q000_ocp oracle 23722 1 0 10:54 ? 00:00:00 ora_q001_ocp oracle 24014 23978 0 11:01 pts/2 00:00:00 grep ora_ |
sqlplus 登陆数据库确认是否正常 |
[oracle@oracle ~]$ sqlplus / as sysdba SQL*Plus: Release 11.2.0.3.0 Production on Sun Apr 21 11:03:09 2013 Copyright (c) 1982, 2011, Oracle. All rights reserved. Connected to: Oracle Database 11g Enterprise Edition Release 11.2.0.3.0 - 64bit Production With the Partitioning, OLAP, Data Mining and Real Application Testing options SQL> select status from v$instance; STATUS ------------ OPEN |
OPEN代表数据库开启正常 startup 启动数据库 |