| 包名 |
简介 |
| httpd-2.2.15-29.el6_4.x86_64.rpm | http服务的主程序包 |
| httpd-devel-2.2.15-29.el6_4.x86_64.rpm | apache的开发程序包,如一些附加的开发模块 |
| httpd-tools-2.2.15-29.el6_4.x86_64.rpm | apache的工具,如htpasswd |
| httpd-manual-2.2.15-29.el6_4.noarch.rpm | apoache的帮助文档 |
| apr-1.3.9-5.el6_2.x86_64.rpm | 安装http-devel的时候,依赖包 |
| apr-devel-1.3.9-5.el6_2.x86_64.rpm | |
| apr-util-1.3.9-3.el6_0.1.x86_64.rpm | |
| apr-util-devel-1.3.9-3.el6_0.1.x86_64.rpm | |
| expat-2.0.1-11.el6_2.x86_64.rp | |
| expat-devel-2.0.1-11.el6_2.x86_64.rpm |
安装:
[root@master ~]# rpm -ivh /media/cdrom/Packages/expat-devel-2.0.1-11.el6_2.x86_64.rpm
[root@master ~]# rpm -ivh /media/cdrom/Packages/apr-util-devel-1.3.9-3.el6_0.1.x86_64.rpm
[root@master ~]# rpm -ivh /media/cdrom/Packages/apr-devel-1.3.9-5.el6_2.x86_64.rpm
[root@master ~]# rpm -ivh /media/cdrom/Packages/httpd-2.2.15-29.el6_4.x86_64.rpm
[root@master ~]# rpm -ivh /media/cdrom/Packages/httpd-manual-2.2.15-29.el6_4.noarch.rpm
或者YUM直接安装
[root@master ~]# yum install -y httpd httpd-devel
启动服务
[root@master ~]# service httpd start
Starting httpd:                                            [  OK  ]
[root@master ~]# netstat -antup | grep 80
tcp        0      0 0.0.0.0:52472               0.0.0.0:*                   LISTEN      1080/rpc.statd
tcp        0      0 :::80                       :::*                        LISTEN      1703/httpd
tcp        0      0 :::43490                    :::*                        LISTEN      1080/rpc.statd
udp        0      0 0.0.0.0:832                 0.0.0.0:*                               1080/rpc.statd
udp        0      0 0.0.0.0:35528               0.0.0.0:*                               1080/rpc.statd
udp        0      0 :::60539                    :::*                                    1080/rpc.statd
使用elinks查看服务是否正常
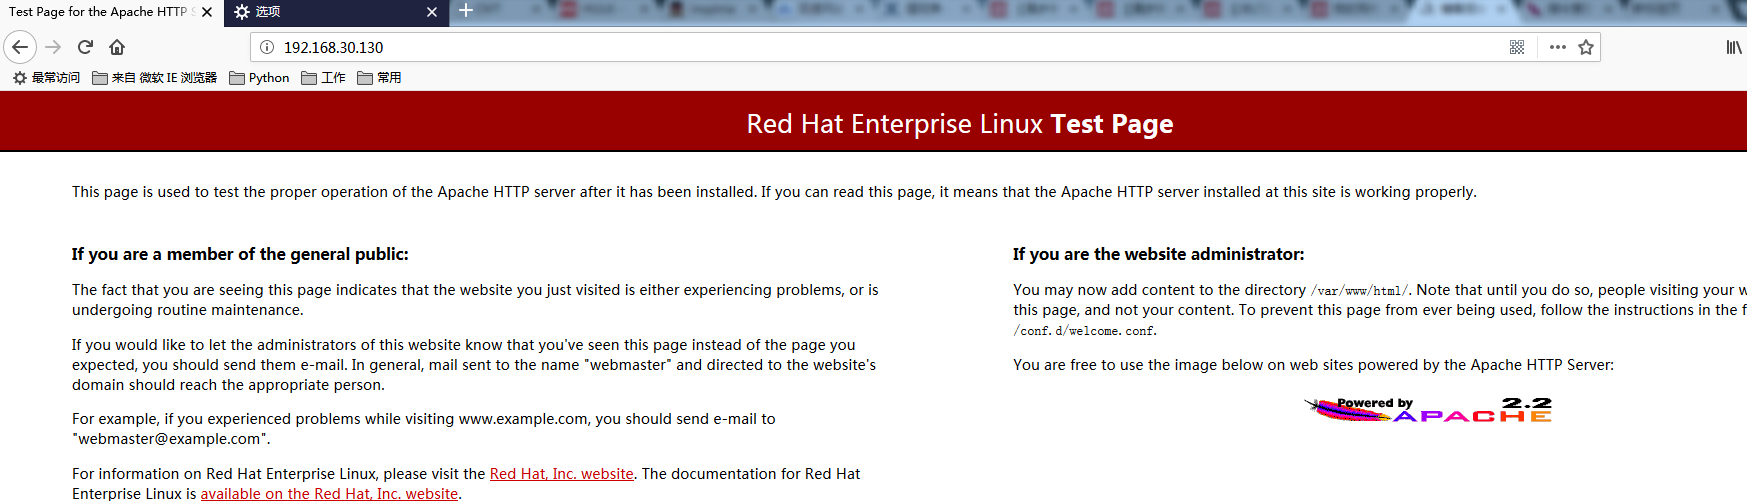
[root@master ~]# yum install -y elinks

[root@master ~]# elinks 192.168.30.130 --dump
                       Red Hat Enterprise Linux Test Page

   This page is used to test the proper operation of the Apache HTTP server
   after it has been installed. If you can read this page, it means that the
   Apache HTTP server installed at this site is working properly.
--------------------------------------------------------------------------

If you are a member of the general public:

   The fact that you are seeing this page indicates that the website you just
   visited is either experiencing problems, or is undergoing routine
   maintenance.

   If you would like to let the administrators of this website know that
   you've seen this page instead of the page you expected, you should send
   them e-mail. In general, mail sent to the name "webmaster" and directed to
   the website's domain should reach the appropriate person.

   For example, if you experienced problems while visiting www.example.com,
   you should send e-mail to "webmaster@example.com".

   For information on Red Hat Enterprise Linux, please visit the [1]Red Hat,
   Inc. website. The documentation for Red Hat Enterprise Linux is
   [2]available on the Red Hat, Inc. website.

   --------------------------------------------------------------------------

If you are the website administrator:

   You may now add content to the directory /var/www/html/. Note that until
   you do so, people visiting your website will see this page, and not your
   content. To prevent this page from ever being used, follow the
   instructions in the file /etc/httpd/conf.d/welcome.conf.

   You are free to use the image below on web sites powered by the Apache
   HTTP Server:

                            [3][ Powered by Apache ]

References

   Visible links
   1. http://www.redhat.com/
   2. http://www.redhat.com/docs/manuals/enterprise/
   3. http://httpd.apache.org/
配置文件介绍
[root@master ~]# ls /etc/httpd/conf   //核心配置文件httpd.conf
httpd.conf  magic
[root@master ~]# ls /etc/httpd/conf.d/  //核心配置文件httpd.conf中的默认include文件位置
manual.conf  README  welcome.conf
[root@master ~]# ls /var/log/httpd/access_log  // 默认访问日志
/var/log/httpd/access_log
[root@master ~]# ls /var/log/httpd/error_log  //默认错误日志
/var/log/httpd/error_log
[root@master ~]# ls /var/www/html/   //默认网站根目录
hha  install.log
[root@master ~]# ls /etc/httpd/run/httpd.pid //默认进程pid
/etc/httpd/run/httpd.pid
[root@master ~]# ls /var/www/manual/  //http-manu安装生成的apache手册
bind.html                 dso.html       index.html     mpm.html               sitemap.html
caching.html              env.html       install.html   new_features_2_0.html  ssl
configuring.html          faq            invoking.html  new_features_2_2.html  stopping.html
content-negotiation.html  filter.html    LICENSE        platform               style
convenience.map           glossary.html  license.html   programs               suexec.html
custom-error.html         handler.html   logs.html      rewrite                upgrading.html
developer                 howto          misc           sections.html          urlmapping.html
dns-caveats.html          images         mod            server-wide.html       vhosts
[root@master ~]# ls /etc/httpd/modules/   //默认库文件位置,模块目录
mod_actions.so          mod_authz_owner.so  mod_ext_filter.so      mod_proxy_ftp.so
mod_alias.so            mod_authz_user.so   mod_filter.so          mod_proxy_http.so
mod_asis.so             mod_autoindex.so    mod_headers.so         mod_proxy_scgi.so
mod_auth_basic.so       mod_cache.so        mod_ident.so           mod_proxy.so
mod_auth_digest.so      mod_cern_meta.so    mod_include.so         mod_reqtimeout.so
mod_authn_alias.so      mod_cgid.so         mod_info.so            mod_rewrite.so
mod_authn_anon.so       mod_cgi.so          mod_ldap.so            mod_setenvif.so
mod_authn_dbd.so        mod_dav_fs.so       mod_log_config.so      mod_speling.so
mod_authn_dbm.so        mod_dav.so          mod_log_forensic.so    mod_status.so
mod_authn_default.so    mod_dbd.so          mod_logio.so           mod_substitute.so
mod_authn_file.so       mod_deflate.so      mod_mime_magic.so      mod_suexec.so
mod_authnz_ldap.so      mod_dir.so          mod_mime.so            mod_unique_id.so
mod_authz_dbm.so        mod_disk_cache.so   mod_negotiation.so     mod_userdir.so
mod_authz_default.so    mod_dumpio.so       mod_proxy_ajp.so       mod_usertrack.so
mod_authz_groupfile.so  mod_env.so          mod_proxy_balancer.so  mod_version.so
mod_authz_host.so       mod_expires.so      mod_proxy_connect.so   mod_vhost_alias.so
配置文件介绍
[root@master ~]# vim /etc/httpd/conf/httpd.conf
ServerTokens OS  //返回操作系统类型,如apache/2.0.54(unix)
ServerRoot "/etc/httpd" //服务器配置文件目录
PidFile run/httpd.pid   //apache运行进程ID存放
Timeout 60  //超时时间,多少s没有反应就超时
KeepAlive Off  //是否允许一个永久的链接,设置为OFF的时候,不能保持连接功能,传输效率比较低,设置为ON时,可以提高服务器传输文件的效率,建议开启
MaxKeepAliveRequests 100  //设置KeepAlive为ON时,设置客户端每次连接允许请求相应最大文件数,默认100个
KeepAliveTimeout 15 //超时时间,同一个客户端下一个请求15s没收到就超时
<IfModule prefork.c>  //
StartServers       8  //服务开始启动8个进程
MinSpareServers    5  //最小空闲5个进程
MaxSpareServers   20  //最多空闲20个进程
ServerLimit      256  //服务器允许配置进程数上线
MaxClients       256  //最大连接数256,超过要进入等候队列
MaxRequestsPerChild  4000  //每个进程生存周期内服务最大的请求数量
</IfModule>
Listen 80  //监听端口
Include conf.d/*.conf  //conf.d里面的conf文件也属有效配置文件
#ExtendedStatus On //
User apache  // 指定apache以什么用户运行
Group apache //指定apache以哪个组运行
ServerAdmin root@localhost  //管理员邮箱
ServerName 192.168.30.130:80  // 服务器主机名
<Directory "/var/www/html">  // 默认主目录
    Options Indexes FollowSymLinks //
    AllowOverride None  //
    Order allow,deny  //默认deny生效
    Allow from all  //允许所有
</Directory>

DirectoryIndex index.html index.html.var  //首页
AccessFileName .htaccess   //access文件名

TypesConfig /etc/mime.types  //
DefaultType text/plain  //
<IfModule mod_mime_magic.c>
#   MIMEMagicFile /usr/share/magic.mime  //
    MIMEMagicFile conf/magic  //
</IfModule>

ErrorLog logs/error_log  //
LogLevel warn  //日志等级
CustomLog logs/access_log combined  //
ServerSignature On  //
Alias /icons/ "/var/www/icons/"  //
<Directory "/var/www/icons">  //
    Options Indexes MultiViews FollowSymLinks  //目录浏览,FollowSynLinks用链接浏览
    AllowOverride None  //设置为none,忽略.htaccess
    Order allow,deny  //
    Allow from all  //
</Directory>
# Example:
# LoadModule foo_module modules/mod_foo.so //载入的模块
AddDefaultCharset UTF-8  //默认编码格式
# If the AddEncoding directives above are commented-out, then you
# probably should define those extensions to indicate media types:
#
AddType application/x-compress .Z  //
AddType application/x-gzip .gz .tgz  //
#NameVirtualHost *:80  //
#
# NOTE: NameVirtualHost cannot be used without a port specifier
# (e.g. :80) if mod_ssl is being used, due to the nature of the
# SSL protocol.
#
#
# VirtualHost example:  // 虚拟主机配置格式如下,具体配置项说明请参见官方文档:http://httpd.apache.org/docs/2.2/
# Almost any Apache directive may go into a VirtualHost container.
# The first VirtualHost section is used for requests without a known
# server name.
#
#<VirtualHost *:80>  //
#    ServerAdmin webmaster@dummy-host.example.com  //
#    DocumentRoot /www/docs/dummy-host.example.com  //
#    ServerName dummy-host.example.com  //
#    ErrorLog logs/dummy-host.example.com-error_log  //
#    CustomLog logs/dummy-host.example.com-access_log common  //
#</VirtualHost>
实例1:搭建一台web服务器
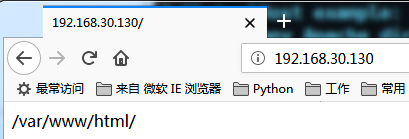
#如果需要修改默认网站根目录需要修改两处,
DocumentRoot "/var/www/html"和<Directory "/var/www/html">
[root@master ~]# vim /etc/httpd/conf/httpd.conf
ServerName 192.168.30.130:80
ServerAdmin root@192.168.30.130
#先改这两处,其他不要动
浏览器访问
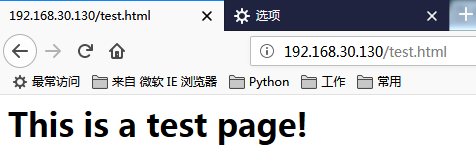
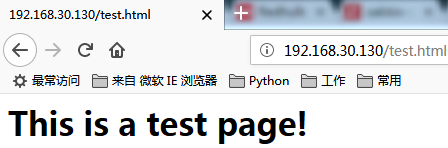
创建一个测试页
[root@master ~]# vim /var/www/html/test.html
<h1><b>This is a test page!</b></h1>
重启httpd服务,访问测试
实例2:更改网站根目录,并设置访问权限
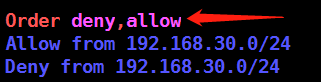
[root@master ~]# vim /etc/httpd/conf/httpd.conf
DocumentRoot "/var/www/html/sishen"
<Directory "/var/www/html/sishen">
Options FollowSymLinks  #原值为Options  Indexes FollowSymLinks=允许访问目录;FollowSymLinks不允许访问目录
Order allow,deny
    Allow from 192.168.30.101/24
    Deny from 192.168.30.130   //只是举个例子,也可以写IP段,Allow和Deny冲突的时候,Deny如果在后面Deny生效,不冲突都生效
</Directory>
访问测试访问目录
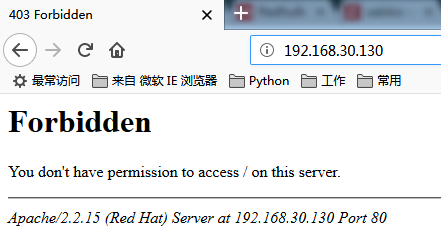
禁止访问目录,没问题
测试禁止段IP地址访问(服务端IP地址为192.168.30.130)
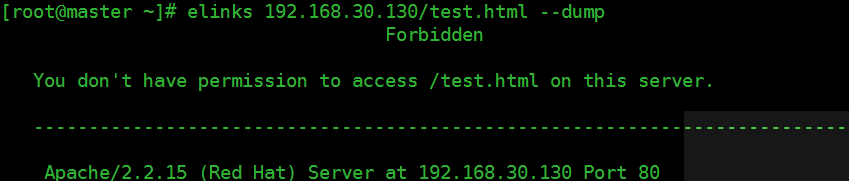
禁止访问,没问题
测试允许段IP地址访问(slave1的IP地址为192.168.30.132)

可以访问没问题。
如果将这里反过来写,allow在后面则相当于允许所有


宿主机也可以访问,宿主机IP(172网段)
实例3:网站别名
创建测试目录及修改配置文件
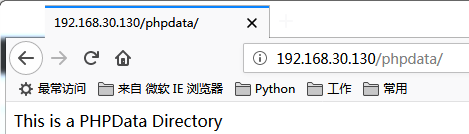
[root@master ~]# mkdir /usr/local/phpdate
[root@master ~]# echo "This is a PHPData Directory" > /usr/local/phpdate/index.html
[root@master ~]# vim /etc/httpd/conf/httpd.conf
Alias /phpdata/ "usr/local/phpdata/ # 这里需要注意的是名字起什么无所谓,但必须以/结束
<Directory "/usr/local/phpdata">
    Options Indexes MultiViews FollowSymLinks
    AllowOverride None
    Order allow,deny
    Allow from all
</Directory>
重启服务测试
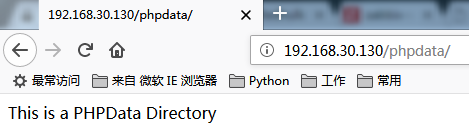
可以访问,没问题。
实例4:修改配置文件,支持目录访问
[root@master ~]# cp -r /etc/sysconfig/network-scripts/* /var/www/html/sishen/
[root@master ~]# vim /etc/httpd/conf/httpd.conf
Options Indexes FollowSymLinks //加上Indexes支持目录访问

可以访问没问题。
实例5:软连接功能
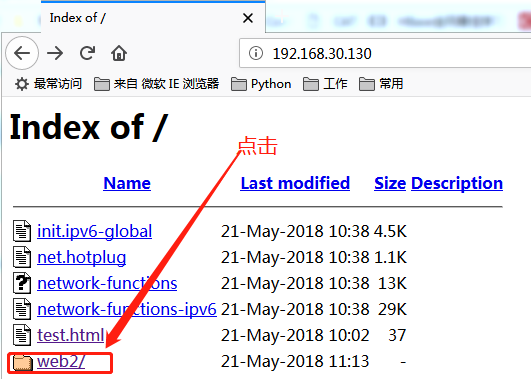
通过软连接,我们可以直接引用网站根目录外面的内容,我们通过目录浏览的方式,在/var/www/html/sishen/面创建一个web2目录, 然后我访问web2目录的话,实际访问的是/usr/local/alias下面的内容
[root@master ~]# mkdir /usr/local/alias
[root@master ~]# cp /var/www/html/sishen/* /usr/local/alias/
[root@master ~]# mkdir /var/www/html/sishen/web2
[root@master ~]# ln -s /usr/local/alias/ /var/www/html/sishen/web2/
就会跳转到
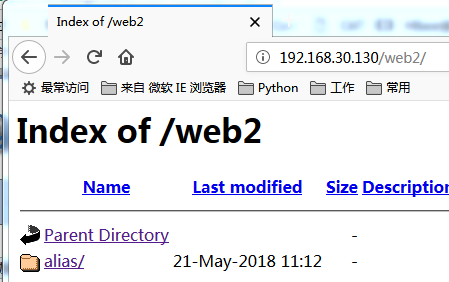
点击alias

实例6:网站认证
方法一
[root@master ~]# vim /etc/httpd/conf/httpd.conf
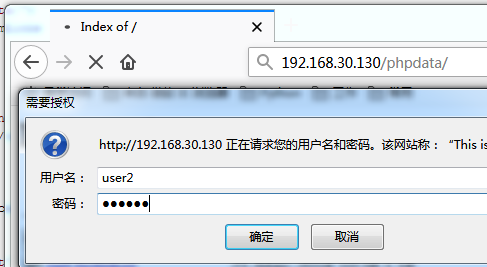
<Directory "/usr/local/phpdata/"> Options Indexes FollowSymLinks AllowOverride None Order allow,deny Allow from all authtype basic authname "This is a Auth Test" authuserfile /etc/httpd/conf/passwd.secret require valid-user #这里可以写为user1 user2,(user1和user2中间用空格分开)这样写说明user1和user2都可以访问 </Directory>
创建认证用户
[root@master ~]# htpasswd -cm /etc/httpd/conf/passwd.secret user1
New password:
Re-type new password:
Adding password for user user1
[root@master ~]# htpasswd -m  /etc/httpd/conf/passwd.secret
user2  //-c创建文件,所以第二次就不需要-c参数,-m表示md5加密方式
New password:
Re-type new password:
Adding password for user user2
[root@master ~]# cat /etc/httpd/conf/passwd.secret
user1:$apr1$9uyqlxl9$mt46QcIfuccYnQ95zrWId1
user2:$apr1$xqsKwkMp$0MrGw1DUWUUzVVBhpa9Lq/
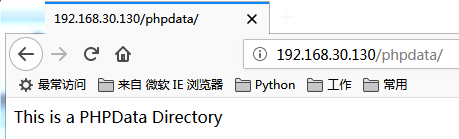
重启服务测试(在实例5的基础上修改的配置文件)

可以访问,没问题。
方法二:
Alias /phpdata/ "/usr/local/phpdata/"
<Directory "/usr/local/phpdata/">
    Options Indexes FollowSymLinks
    AllowOverride None
    Order allow,deny
    Allow from all
#    authtype basic
#    authname "This is a Auth Test"
#    authuserfile /etc/httpd/conf/passwd.secret
#    require valid-user
    AllowOverride Authconfig
</Directory>
[root@master ~]# vim /usr/local/phpdata/.htaccess
authtype basic
authtype basic
authname "This is a Auth Test"
authuserfile /etc/httpd/conf/passwd.secret
require valid-user
重启服务测试
可以访问没问题。
实例7:虚拟主机
修改配置文件(基于实例6的配置文件)
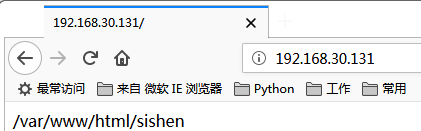
[root@master ~]# vim /etc/httpd/conf/httpd.conf
<VirtualHost 192.168.30.130:80>
    ServerAdmin webmaster@dummy-host.example.com
    DocumentRoot /var/www/html
    ServerName dummy-host.example.com
    ErrorLog logs/dummy-host.example.com-error_log
    CustomLog logs/dummy-host.example.com-access_log common
</VirtualHost>
<VirtualHost 192.168.30.131:80>
    ServerAdmin webmaster@dummy-host.example.com
    DocumentRoot /var/www/html/sishen
    ServerName dummy-host.example.com
    ErrorLog logs/dummy-host.example.com-error_log
    CustomLog logs/dummy-host.example.com-access_log common
</VirtualHost>
重启服务访问测试
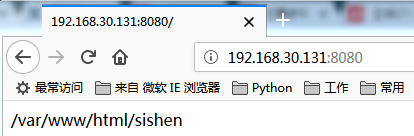
实例8:基于不同端口的虚拟主机
[root@master ~]# vim /etc/httpd/conf/httpd.conf
Listen 80
Listen 8080 //原有基础上添加这行
.....
<VirtualHost 192.168.30.130:80>
    ServerAdmin webmaster@dummy-host.example.com
    DocumentRoot /var/www/html
    ServerName dummy-host.example.com
    ErrorLog logs/dummy-host.example.com-error_log
    CustomLog logs/dummy-host.example.com-access_log common
</VirtualHost>
<VirtualHost 192.168.30.131:8080>
    ServerAdmin webmaster@dummy-host.example.com
    DocumentRoot /var/www/html/sishen
    ServerName dummy-host.example.com
    ErrorLog logs/dummy-host.example.com-error_log
    CustomLog logs/dummy-host.example.com-access_log common
</VirtualHost>
重启服务测试
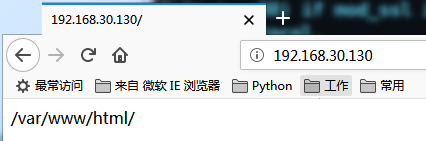
如果不加8080默认的131访问的也是/var/www/html
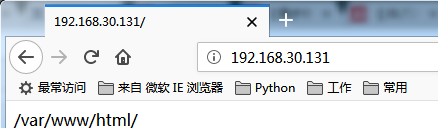
加上8080
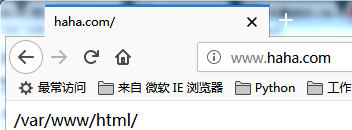
实例9:基于不同域名的访问
修改配置文件
[root@master ~]# vim /etc/httpd/conf/httpd.conf
Listen 80
Listen 8080

NameVirtualHost *:80
NameVirtualHost *:8080

<VirtualHost *:80>
    ServerAdmin webmaster@www.haha.com
    DocumentRoot /var/www/html
    ServerName dummy-host.haha.com
    ErrorLog logs/dummy-host.haha.com-error_log
    CustomLog logs/dummy-host.haha.com-access_log common
</VirtualHost>
<VirtualHost *:8080>
    ServerAdmin webmaster@www.xixi.com
    DocumentRoot /var/www/html/sishen
    ServerName dummy-host.xixi.com
    ErrorLog logs/dummy-host.xixi.com-error_log
    CustomLog logs/dummy-host.xixi.com-access_log common
</VirtualHost>
修改宿主机hosts文件
C:WindowsSystem32driversetchosts
末尾添加
192.168.30.130      www.haha.com
192.168.30.131        www.xixi.com
重启服务访问测试


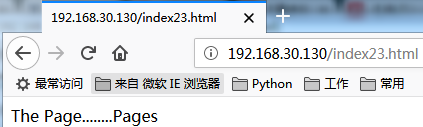
实例10:URL地址重写(伪静态)
首先确认httpd.conf中是否有这个LoadModule rewrite_module modules/mod_rewrite.so模块
创建测试页面
[root@master ~]# vim /var/www/html/index.php
<?php
        echo "The Page....".$GET['id']."....Pages"
?>
修改配置文件
[root@master ~]# vim /etc/httpd/conf/httpd.conf
<VirtualHost *:80>
    ServerAdmin webmaster@www.haha.com
    DocumentRoot /var/www/html
        <Directory />
                Options FollowSymLinks
                AllowOverride All
        </Directory>
    ServerName dummy-host.haha.com
    ErrorLog logs/dummy-host.haha.com-error_log
    CustomLog logs/dummy-host.haha.com-access_log common
</VirtualHost>
添加伪静态规则
[root@master ~]# vim /var/www/html/.htaccess
RewriteEngine on
RewriteRule ^index(d+).html$ index.php?id=$1
重启服务访问测试(输入一个不存在的页面)
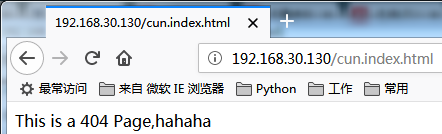
实例11:自定义404
修改.htaccess文件,使支持自定义404
[root@master ~]# vim /var/www/html/.htaccess
RewriteEngine on
RewriteRule ^index(d+).html$ index.php?id=$1
ErrorDocument 404 /404.html   //添加此行
创建测试页面
[root@master ~]# echo "This is a 404 Page,hahaha" >/var/www/html/404.html
重启服务测试
实例12:301重定向配置
假设a.com在某些情况下不能使用,需要将网站全部迁移到b.com,那么我们这个时候就可以对a.com进行301重定向,这样a.com(上的权重,SEO里面的知识)传递到b.com上,这个主要用来实现整站迁移
[root@master ~]# vim /var/www/html/.htaccess

RewriteCond %{HTTP_HOST} ^a.com [NC]
RewriteRule ^(.*)$http://www.b.com/$1 [L,R=301]