一、现象
统一处理错误及配置请求信息
二、解决
1、安装 axios , 命令: npm install axios --save-dev
2、在根目录的config目录下新建文件 axios.js ,内容如下:
import axios from 'axios'

// 配置默认的host,假如你的API host是:http://api.htmlx.club
axios.defaults.baseURL = 'http://api.htmlx.club'

// 添加请求拦截器
axios.interceptors.request.use(function (config) {
  // 在发送请求之前做些什么
  return config
}, function (error) {
  // 对请求错误做些什么
return Promise.reject(error)
});

// 添加响应拦截器
axios.interceptors.response.use(function (response) {
  // 对响应数据做点什么
  return response
}, function (error) {
  // 对响应错误做点什么
  return Promise.reject(error)
});
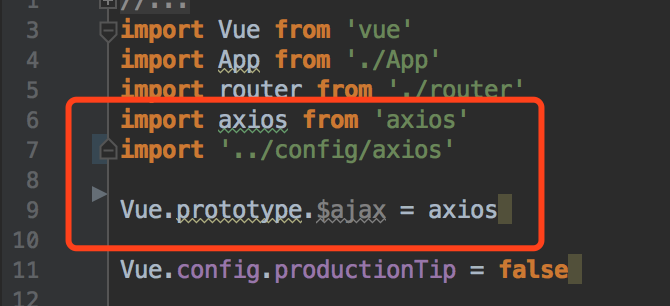
3、在main.js中进行引用,并配置一个别名($ajax)来进行调用:
import axios from 'axios'
import '../config/axios'
Vue.prototype.$ajax = axios
如图:
4、应用,一个登录的post如:
this.$ajax({
  method: 'post',
  url: '/login',
  data: {
    'userName': 'xxx',
    'password': 'xxx'
  }
}).then(res => {
  console.log(res)
})
5、当页面静止放置太久时,请求出现超时,点击页面不进行刷新数据时,可以响应拦截器处添加404的错误处理,如响应拦截器修改为:
// 添加响应拦截器
axios.interceptors.response.use(function (response) {
  // 对响应数据做点什么
  return response
}, function (error) {
  // 对响应错误做点什么
  // 兼容处理超时时返回的404

  if (responseError && responseError.response && responseError.response.status === 404) {

    // 比如跳转到登录页

    router.push({ name: 'login' })

   }
});
三、总结
统一处理方便
本文转载:https://www.cnblogs.com/waitingbar/p/7885028.html
https://www.cnblogs.com/zhoubingyan/p/8623509.html