转载请注明原文链接:http://www.cnblogs.com/yanyojun/p/8099523.html
代码已上传到github:https://github.com/YanYoJun/FragmentTabHostDemo
上一篇有讲过使用ViewPager来实现标签卡效果的。这一篇讲一下使用FragmentTabHost实现标签卡效果
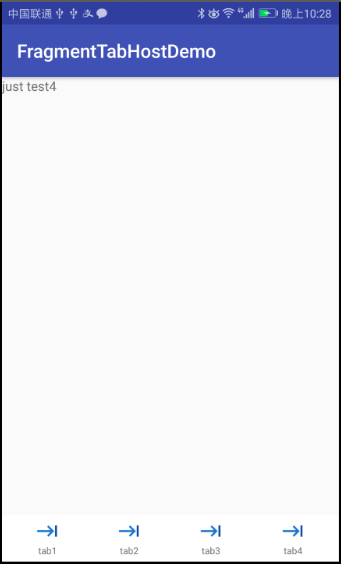
惯例先上截图
第一步、布局文件
 1 <?xml version="1.0" encoding="utf-8"?>
 2 <LinearLayout xmlns:android="http://schemas.android.com/apk/res/android"
 3     xmlns:app="http://schemas.android.com/apk/res-auto"
 4     xmlns:tools="http://schemas.android.com/tools"
 5     android:layout_width="match_parent"
 6     android:layout_height="match_parent"
 7     android:clipToPadding="true"
 8     android:fitsSystemWindows="true"
 9     tools:context=".MainActivity">
10
11     <android.support.v4.app.FragmentTabHost
12         android:id="@+id/tab_host"
13         android:layout_width="match_parent"
14         android:layout_height="match_parent">
15
16         <LinearLayout
17             android:layout_width="match_parent"
18             android:layout_height="match_parent"
19             android:orientation="vertical">
20
21             <FrameLayout
22                 android:id="@android:id/tabcontent"
23                 android:layout_width="match_parent"
24                 android:layout_height="0dp"
25                 android:layout_weight="1"></FrameLayout>
26
27             <TabWidget
28                 android:id="@android:id/tabs"
29                 android:layout_width="match_parent"
30                 android:layout_height="wrap_content"
31                 android:layout_gravity="bottom"
32                 android:background="#FFFFFF"
33                 android:divider="@null"
34                 android:padding="5dp"></TabWidget>
35         </LinearLayout>
36
37     </android.support.v4.app.FragmentTabHost>
38
39 </LinearLayout>
第二步代码实现:
 1 package com.plbear.yyj.fragmenttabhostdemo
 2
 3 import android.support.v7.app.AppCompatActivity
 4 import android.os.Bundle
 5 import android.widget.TextView
 6 import kotlinx.android.synthetic.main.activity_main.*
 7
 8 class MainActivity : AppCompatActivity() {
 9     var titles = arrayOf("tab1","tab2","tab3","tab4")
10     var tabImg = arrayOf(R.drawable.tab,R.drawable.tab,R.drawable.tab,R.drawable.tab)
11     var fragments = arrayOf(MyFragment1::class.java, Fragment2::class.java, Fragment3::class.java, Fragment4::class.java)
12
13
14     override fun onCreate(savedInstanceState: Bundle?) {
15         super.onCreate(savedInstanceState)
16         setContentView(R.layout.activity_main)
17         initTabWidget()
18     }
19
20     fun initTabWidget(){
21         tab_host.setup(this,supportFragmentManager,android.R.id.tabcontent)
22
23         for(i in 0..3){
24             var v = layoutInflater.inflate(R.layout.layout_tab,null)
25             var img = v.findViewById<android.widget.ImageView>(R.id.iv_tab)
26             var lab = v.findViewById<TextView>(R.id.tv_tab)
27             img.setImageResource(tabImg[i])
28             lab.setText(titles[i])
29             tab_host.addTab(tab_host.newTabSpec(""+i).setIndicator(v),fragments[i],null)
30         }
31         tab_host.setCurrentTabByTag("1")
32     }
33 }
主要的实现都在initTabWidget中