项目源码:https://github.com/y369q369/springBoot.git -> thymeleaf
私聊QQ: 1486866853
1.pom.xml中依赖jar包(注意加红字段)
<?xml version="1.0" encoding="UTF-8"?>
<project xmlns="http://maven.apache.org/POM/4.0.0" xmlns:xsi="http://www.w3.org/2001/XMLSchema-instance"
    xsi:schemaLocation="http://maven.apache.org/POM/4.0.0 http://maven.apache.org/xsd/maven-4.0.0.xsd">
    <modelVersion>4.0.0</modelVersion>
    <parent>
        <groupId>org.springframework.boot</groupId>
        <artifactId>spring-boot-starter-parent</artifactId>
        <version>2.1.3.RELEASE</version>
        <relativePath/> <!-- lookup parent from repository -->
    </parent>
    <groupId>MVC</groupId>
    <artifactId>springbootMVC</artifactId>
    <version>0.0.1-SNAPSHOT</version>
    <name>springbootMVC</name>
    <description>Demo project for Spring Boot</description>

    <properties>
        <java.version>1.8</java.version>
    </properties>

    <dependencies>
<dependency>
<groupId>org.springframework.boot</groupId>
<artifactId>spring-boot-starter</artifactId>
</dependency>
        <!-- thymeleaf模板依赖 -->
        <dependency>
            <groupId>org.springframework.boot</groupId>
            <artifactId>spring-boot-starter-thymeleaf</artifactId>
        </dependency>

        <!-- web依赖 :包含内置tomcat和spring的web依赖  -->
        <dependency>
            <groupId>org.springframework.boot</groupId>
            <artifactId>spring-boot-starter-web</artifactId>
        </dependency>
    </dependencies>

    <build>
        <plugins>
            <plugin>
                <groupId>org.springframework.boot</groupId>
                <artifactId>spring-boot-maven-plugin</artifactId>
            </plugin>
        </plugins>
    </build>

</project>
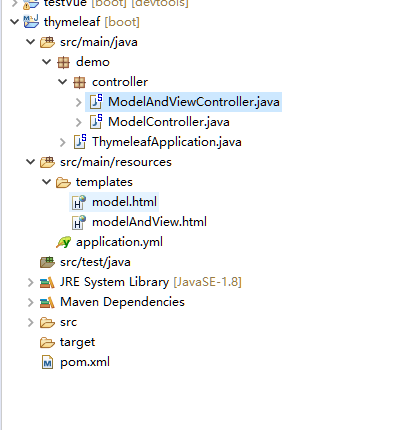
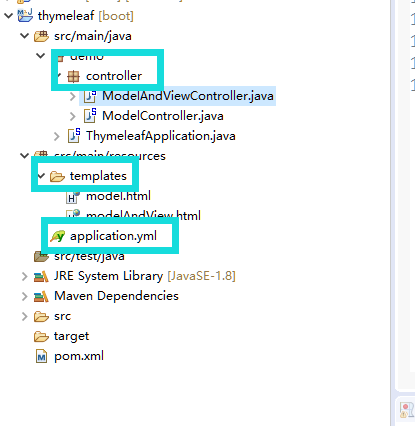
2.在 src/main/resources 新建 templates 目录 和 application.yml(替代application.properties, 在springBoot项目中如果两者都有会先加载application.yml, 然后再加载 application.properties 覆盖yml文件, 建议只留 yml文件)
application.yml 的配置内容(注意:spring.thymeleaf.mode: LEGACYHTML5,解除html的书写规范)
server:
  #springBoot内置tomact的端口号
  port: 8086
  servlet:
    #springBoot项目的前缀名
    context-path: /thymeleaf

spring:
  # thymeleaf 模板引擎配置
  thymeleaf:
   # 不设置缓存
    cache: false
    # thymeleaf模板 解除严格约束(对html5没有结束符的标签解决)
    mode: LEGACYHTML5
    # thymeleaf修饰的动态页面 自定义根目录(springBoot默认的动态页面存放文件夹就是templates)
    prefix: classpath:/templates/
3. ModelAndView的数据模型 : 在 src/main/java 新建 controller 文件夹,在新建 ModelAndViewController.java 类, 在templates目录下新建对应的 modelAndView.html
3.1 ModelAndViewController.java
package demo.controller;

import java.util.Map;

import org.springframework.stereotype.Controller;
import org.springframework.web.bind.annotation.GetMapping;
import org.springframework.web.bind.annotation.RequestMapping;
import org.springframework.web.servlet.ModelAndView;

/**
  * @author GrassPrince
  * @time   2019年3月23日 -下午9:01:57
  * @description:测试ModelAndView的模型
  */
@RequestMapping("/ModelAndView")
@Controller
public class ModelAndViewController {

	//测试new ModelAndView(String viewName)构造方法
	@GetMapping("/modelAndView1")
	public ModelAndView modelAndView1() {
		//new ModelAndView("/modelAndView")和new ModelAndView("modelAndView")都可以
//		return new ModelAndView("/modelAndView");
		return new ModelAndView("modelAndView");
		//重定向的地址注意,完全地址且前面需要加/
//		return new ModelAndView("redirect:/ModelAndView/modelAndView2");
	}

	//测试ModelAndView(String viewName, String modelName, Object modelObject)构造方法
	@GetMapping("/modelAndView2")
	public ModelAndView modelAndView2() {
		return new ModelAndView("/modelAndView", "model2", "modelObject  2");
	}

	//测试ModelAndView(String viewName, @Nullable Map<String, ?> model)构造方法
	@GetMapping("/modelAndView3")
	public ModelAndView modelAndView3(Map<String, Object> map) {
		map.put("map1", "obj 1");
		map.put("map2", "obj 2");
		return new ModelAndView("modelAndView", map);
	}

	//测试addObject(String attributeName, @Nullable Object attributeValue)
	//	  addObject(Object attributeValue)方法
	@GetMapping("/modelAndView4")
	public ModelAndView modelAndView4() {
		ModelAndView mav = new ModelAndView();
		//设置返回的url
		mav.setViewName("modelAndView");
		//变量名, 变量值
		mav.addObject("obj1", "modelObject  4");
		// 变量值(变量名为变量值的所属类的类名)
		mav.addObject("modelObject  5");
		return mav;
	}
}
3.2 modelAndView.html
<!DOCTYPE html>
<html xmlns:th="http://www.thymeleaf.org" >
	<head>
		<title>测试ModelAndView</title>
		<meta name="keywords" content="keyword1,keyword2,keyword3"/>
	    <meta name="description" content="this is my page"/>
	    <meta name="content-type" content="text/html; charset=UTF-8"/>
	</head>
	<body>
		<div style="padding-top : 100px; text-align: center;">
			<p>Hello ModelAndView</p>

			<!-- 接收model2 -->
			<p th:text="${model2}"></p>

			<!-- 接收map,拼接的字符串用' -->
			<p th:text="${map1 +', '+ map2}"></p>

			<!-- 接收obj,拼接的字符串用' -->
			<p th:text="${obj1 +', '+ string}"></p>
		</div>

	</body>
</html>
3.3 启动项目下的 DemoApplication.java (myeclipse2018右击,Run As / Debug As -> Spring Boot App)
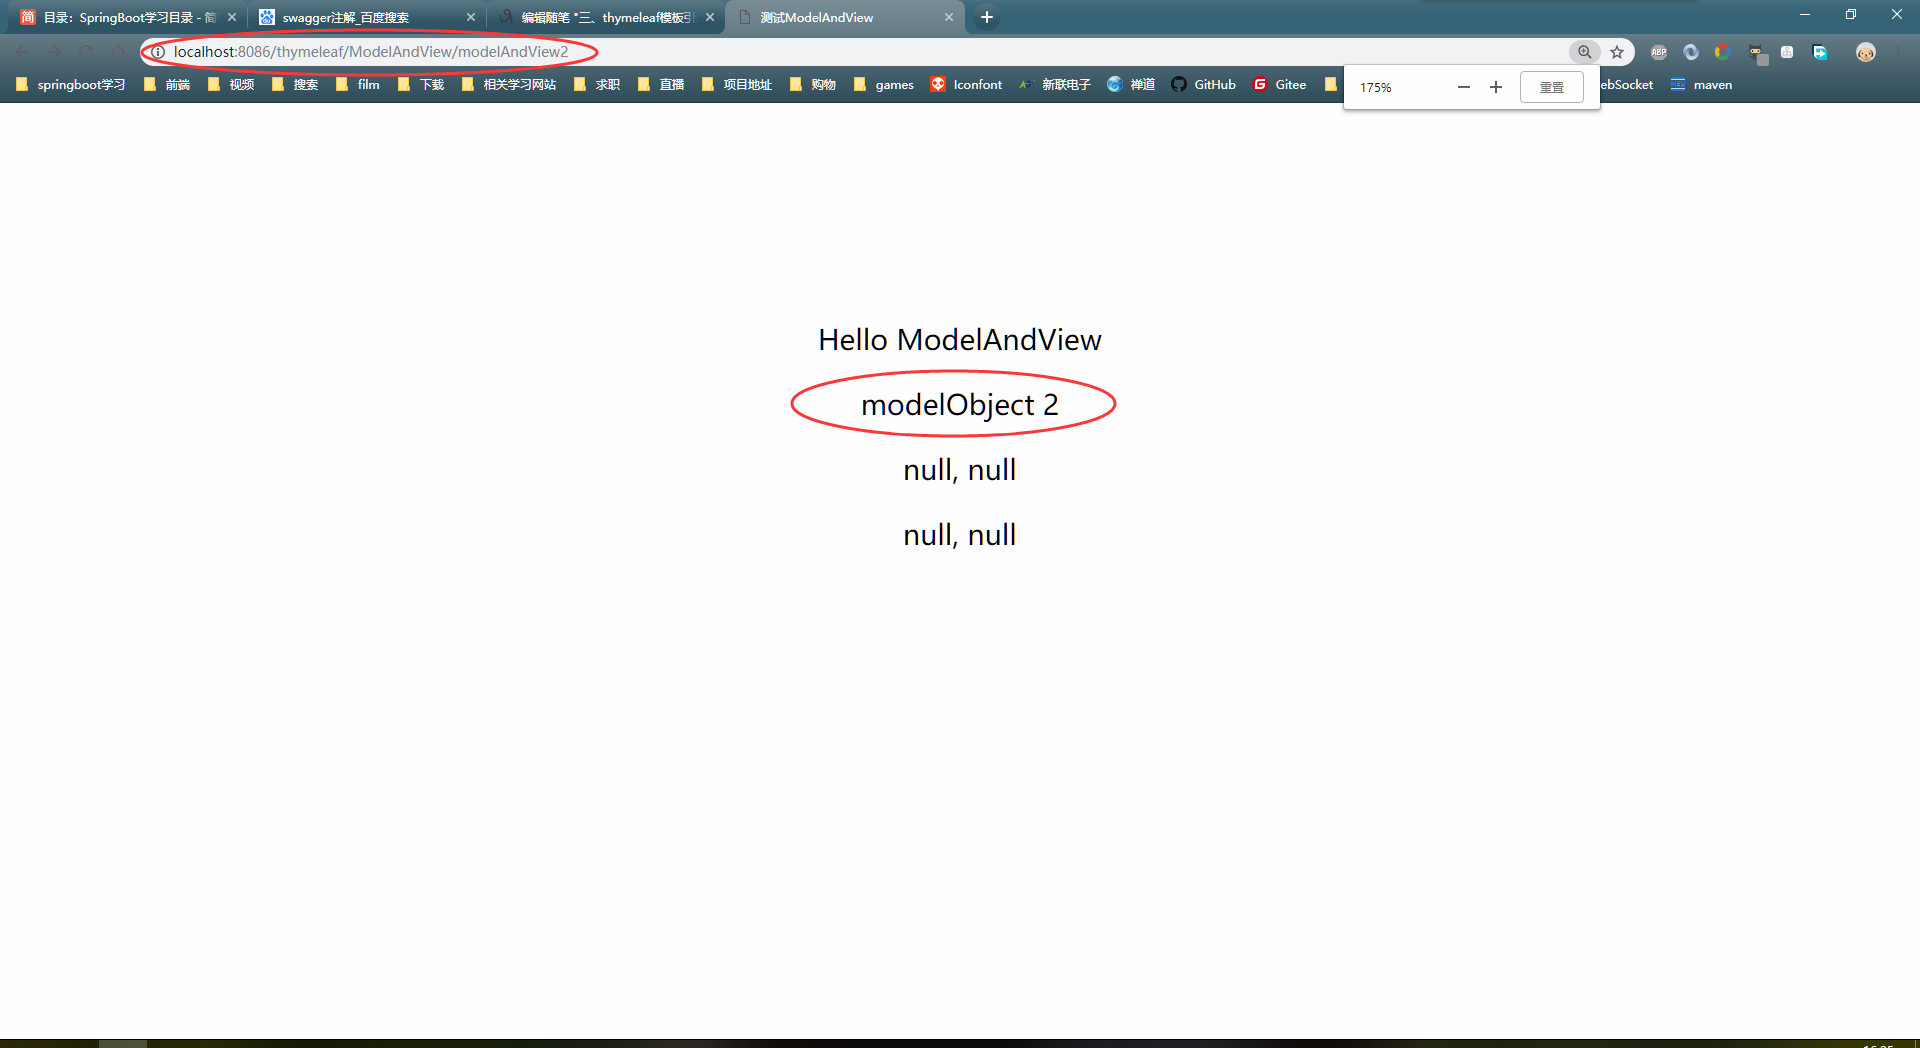
浏览器地址栏输入 : http://localhost:8086/thymeleaf/ModelAndView/modelAndView2 , 页面显示如下
4.Model数据模型 ,在 controller 文件夹下新建 ModelController.java 类, 在 templates 目录下新建 model.html
4.1 ModelController.java
package demo.controller;

import java.util.HashMap;
import java.util.Map;

import org.springframework.stereotype.Controller;
import org.springframework.ui.Model;
import org.springframework.web.bind.annotation.GetMapping;
import org.springframework.web.bind.annotation.RequestMapping;

/**
  * @author GrassPrince
  * @time   2019年3月24日 -上午12:15:05
  * @description:Model的使用,Model必须在方法参数中定义
  */
@RequestMapping("/Model")
@Controller
public class ModelController {

	//测试重定向
	@GetMapping("/model4")
	public String model4(Model model) {
		return "redirect:https://www.baidu.com";
	}

	//测试addAttribute(Object attributeValue)方法
	@GetMapping("/model1")
	public String model1(Model model) {
		// 对象值, 对象名为对象值所属类型
		model.addAttribute("addAttribute(Object attributeValue)");
		return "model";
	}

	//测试addAttribute(String attributeName, @Nullable Object attributeValue)方法
	@GetMapping("/model2")
	public String model2(Model model) {
		//  对象名,对象值
		model.addAttribute("content", "addAttribute(String attributeName, @Nullable Object attributeValue)");
		return "model";
	}

	//测试addAllAttributes(Map<String, ?> attributes)方法
	@GetMapping("/model3")
	public String model3(Model model) {
		Map<String, Object> map = new HashMap<String, Object>();
		map.put("map", "addAllAttributes(Map<String, ?> attributes)");
		model.addAllAttributes(map);
		return "model";
	}

}
4.2 model.html
<!DOCTYPE html>
<html xmlns:th="http://www.thymeleaf.org" >
	<head>
		<title>测试Model</title>
		<meta name="keywords" content="keyword1,keyword2,keyword3"/>
	    <meta name="description" content="this is my page"/>
	    <meta name="content-type" content="text/html; charset=UTF-8"/>
	</head>
	<body>
		<div style="padding-top : 100px; text-align: center;">
			<p>Hello Model</p>

			<!-- 测试model的addAttribute(Object attributeValue)方法 -->
			<p th:text="${string}"></p>

			<!-- 测试model的addAttribute(String attributeName, @Nullable Object attributeValue)方法 -->
			<p th:text="${content}"></p>

			<!-- 测试model的addAllAttributes(Map<String, ?> attributes)方法 -->
			<p th:text="${map}"></p>
		</div>


	</body>
</html>
4.3 启动项目下的 DemoApplication.java (myeclipse2018右击,Run As / Debug As -> Spring Boot App)
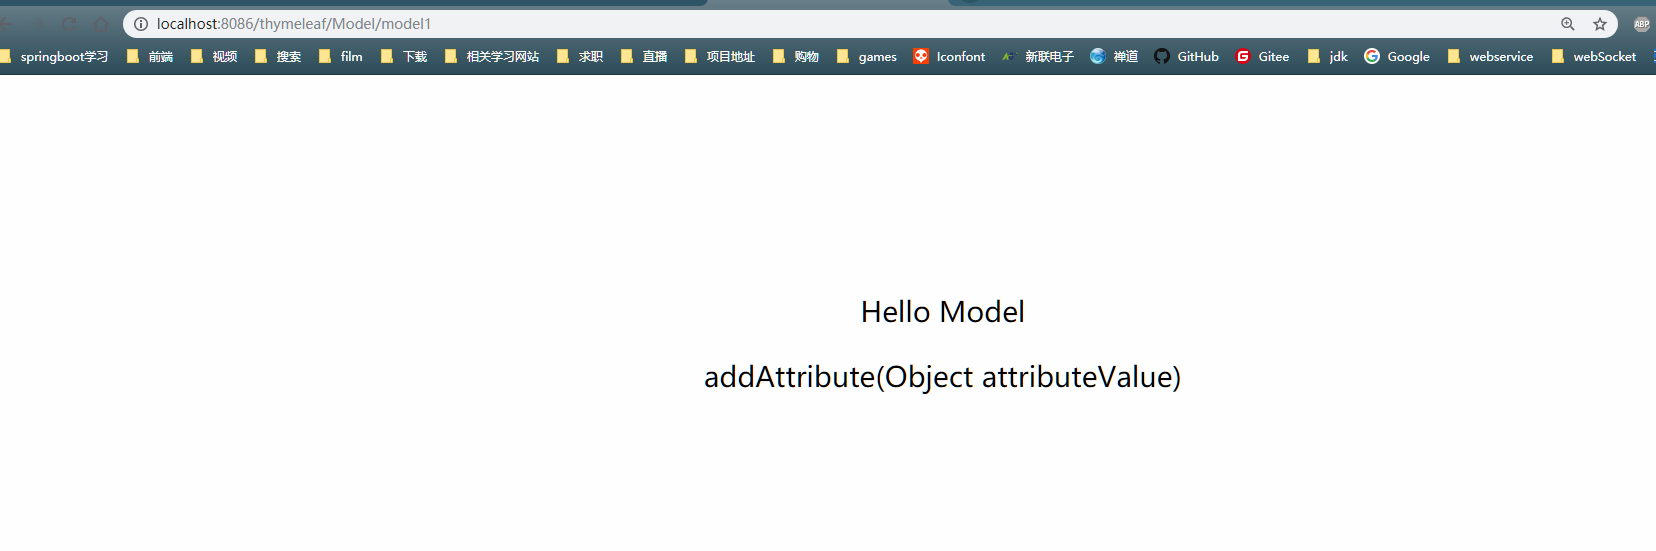
浏览器地址栏输入 : http://localhost:8086/thymeleaf/Model/model1, 页面显示如下