一、实验目的
(1)通过实验学习日志采集工具 Flume 的安装和使用方法;
(2)掌握采用 Flume 作为 Spark Streaming 数据源的编程方法。
二、实验平台
操作系统: Ubuntu16.04
Spark 版本:2.1.0
Flume 版本:1.7.0
三、实验内容和要求
1.安装 Flume
Flume 是 Cloudera 提供的一个分布式、可靠、可用的系统,它能够将不同数据源的海量日志数据进行高效收集、聚合、移动,最后存储到一个中心化数据存储系统中。Flume 的核心是把数据从数据源收集过来,再送到目的地。请到 Flume 官网下载 Flume1.7.0 安装文件,下载地址如下:http://www.apache.org/dyn/closer.lua/flume/1.7.0/apache-flume-1.7.0-bin.tar.gz
或者也可以直接到本教程官网的 “ 下 载 专 区 ” 中 的 “ 软 件 ” 目 录 中 下 载
apache-flume-1.7.0-bin.tar.gz。
下载后,把 Flume1.7.0 安装到 Linux 系统的“/usr/local/flume”目录下,具体安装和使用方法可以参考教程官网的“实验指南”栏目中的“日志采集工具 Flume 的安装与使用方法”
2. 使用 Avro 数据源测试 Flume
Avro 可以发送一个给定的文件给 Flume,Avro 源使用 AVRO RPC 机制。请对 Flume的相关配置文件进行设置,从而可以实现如下功能:在一个终端中新建一个文件helloworld.txt(里面包含一行文本“Hello World”),在另外一个终端中启动 Flume 以后,可以把 helloworld.txt 中的文本内容显示出来。
a1.sources = r1
a1.sinks = k1
a1.channels = c1

# Describe/configure the source
a1.sources.r1.type = avro
a1.sources.r1.channels = c1
a1.sources.r1.bind = 0.0.0.0
a1.sources.r1.port = 4141

# Describe the sink
a1.sinks.k1.type = logger

# Use a channel which buffers events in memory
a1.channels.c1.type = memory
a1.channels.c1.capacity = 1000
a1.channels.c1.transactionCapacity = 100

# Bind the source and sink to the channel
a1.sources.r1.channels = c1
a1.sinks.k1.channel = c1
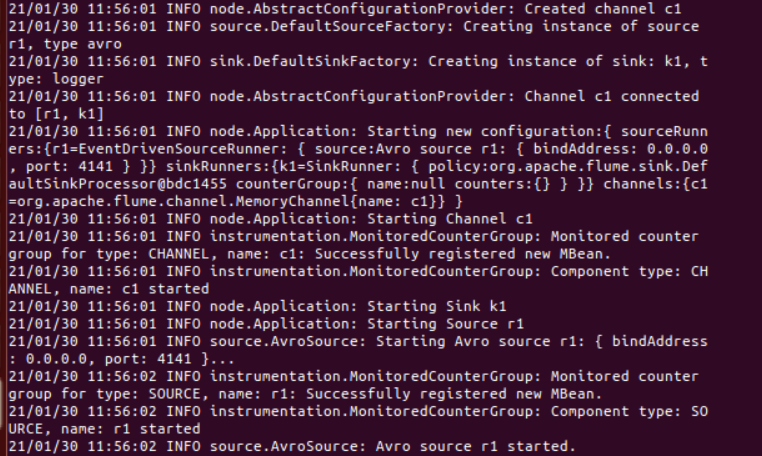
启动flume agent a1
/usr/local/flume/bin/flume-ng agent -c . -f /usr/local/flume/conf/avro.conf -n a1 -Dflume.root.logger=INFO,console
创建指定文件
先打开另外一个终端,在/usr/local/flume下写入一个文件log.00,内容为hello,world:
 cd /usr/local/flume
 sudo sh -c 'echo "hello world" > /usr/local/flume/log.00'

再打开另外一个终端,执行:
cd /usr/local/flume
bin/flume-ng avro-client --conf conf -H localhost -p 4141 -F /usr/local/flume/log.00

3. 使用 netcat 数据源测试 Flume
请对 Flume 的相关配置文件进行设置,从而可以实现如下功能:在一个 Linux 终端(这里称为“Flume 终端”)中,启动 Flume,在另一个终端(这里称为“Telnet 终端”)中,输入命令“telnet localhost 44444”,然后,在 Telnet 终端中输入任何字符,让这些字符可以顺利地在 Flume 终端中显示出来。
a) 创建agent配置文件
 cd /usr/local/flume
 sudo vim ./conf/example.conf


在example.conf里写入以下内容:
#example.conf: A single-node Flume configuration

    # Name the components on this agent
    a1.sources = r1
    a1.sinks = k1
    a1.channels = c1

    # Describe/configure the source
    a1.sources.r1.type = netcat
    a1.sources.r1.bind = localhost
    a1.sources.r1.port = 44444
        #同上,记住该端口名

    # Describe the sink
    a1.sinks.k1.type = logger

    # Use a channel which buffers events in memory
    a1.channels.c1.type = memory
    a1.channels.c1.capacity = 1000
    a1.channels.c1.transactionCapacity = 100

    # Bind the source and sink to the channel
    a1.sources.r1.channels = c1
    a1.sinks.k1.channel = c1

b)启动flume agent (即打开日志控制台):
/usr/local/flume/bin/flume-ng agent --conf ./conf --conf-file ./conf/example.conf --name a1 -Dflume.root.logger=INFO,console

再打开一个终端,输入命令:telnet localhost 44444
