1.编程思路:
1.启动虚拟机,并加载redis
(1)VMware Workstation Pro:

(2)xshell加载redis
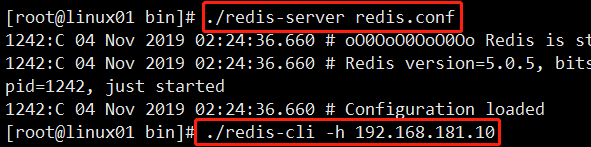
完成虚拟机的redis启动
2.springboot加载依赖,配置配置文件
redis配置文件
<dependency>
            <groupId>org.springframework.boot</groupId>
            <artifactId>spring-boot-starter-data-redis</artifactId>
        </dependency>
application.yml 加载配置
#Redis
  redis:
    host: 192.168.181.10
    port: 6379
3.进行测试
package com.xhn;

import com.xhn.pojo.Muser;
import org.junit.Test;
import org.junit.runner.RunWith;
import org.springframework.beans.factory.annotation.Autowired;
import org.springframework.boot.test.context.SpringBootTest;
import org.springframework.data.redis.core.RedisTemplate;
import org.springframework.test.context.junit4.SpringRunner;


@RunWith(SpringRunner.class)
//加载主启动类
@SpringBootTest(classes = 自己的主启动类.class)
public class AppTest {

    //依赖注入

    @Autowired
    private RedisTemplate redisTemplate;

    @Test
    public void testRedis(){
        //redis存入数据
        redisTemplate.opsForValue().set("来了来了他来了","来了老弟");
        //redis去除数据
      String str=(String) redisTemplate.opsForValue().get("来了来了他来了");
        System.out.println(str);
        Muser muser=new Muser(1,"asan","123","印度三哥");
        redisTemplate.opsForValue().set("user",muser);

        Muser user =(Muser) redisTemplate.opsForValue().get("user");
        System.out.println(user);
    }
}
4.查看运行结果
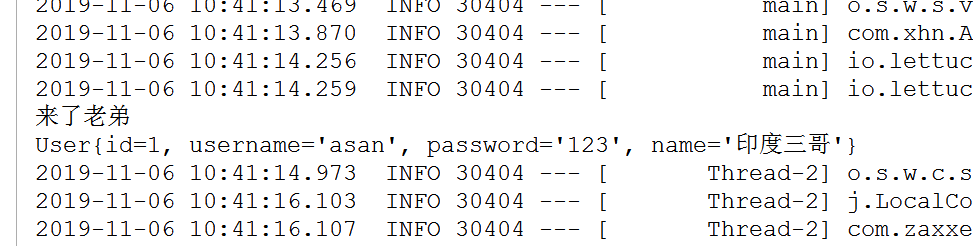
完成测试