(前提:SonarQube已部署到服务器中,IP地址为xxx.xxx.xxx.xxx:9000)
1.配置Sonar Scanner的sonar链接,为SonarQube在服务器上的的运行链接,打开sonar-scanner-4.5.0.2216-windowsconfsonar-scanner.properties,将链接填入打码部分

Sonar Scanner已经配置好了,开始审计代码
2. 在Sonar中新建分析项目
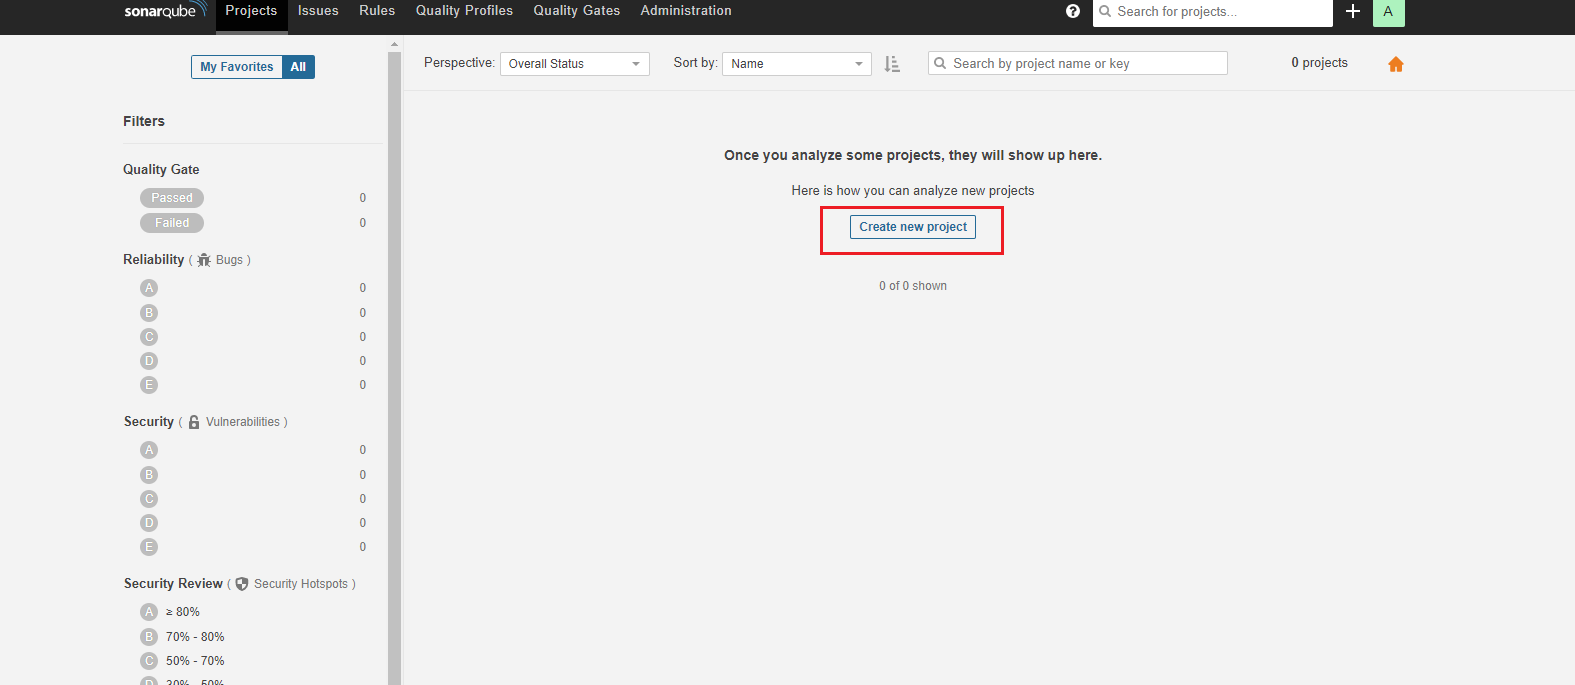
起一个独特响亮不平庸的名字
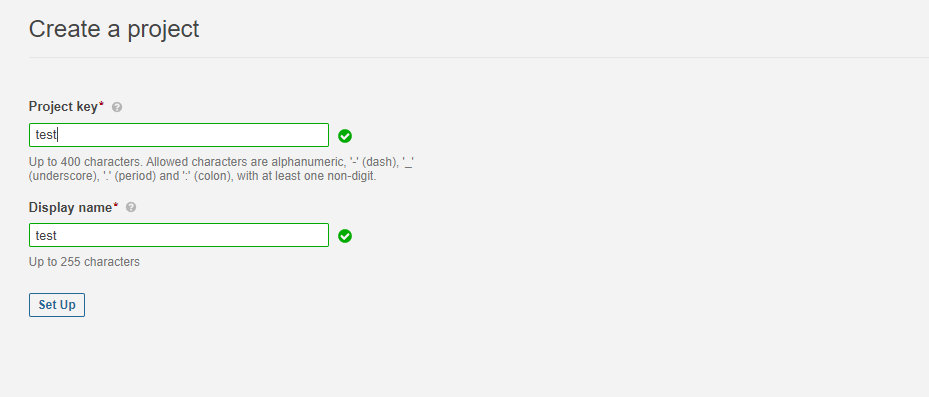
生成用于项目审计时,Sonar验证Scanner请求时的唯一token,

我大多都是Maven项目,所以选择Maven,可以自己视情况而定

Sonar自动生成扫描命令,点击Copy在项目文件夹下运行该命令。不要相信这糟老头子的鬼话,粘贴命令前,需要把删除

如果粘贴命令后运行报找不到分析路径与classes文件,则在被分析项目下添加sonar-project.properties文件,手动写入分析路径、分析的代码语言、token、项目名称
# your authentication token
sonar.login=生成的token

# must be unique in a given SonarQube instance
sonar.projectKey=test
# this is the name and version displayed in the SonarQube UI. Was mandatory prior to SonarQube 6.1.
sonar.projectName=test
sonar.projectVersion=1.0

# Path is relative to the sonar-project.properties file. Replace "" by "/" on Windows.
# This property is optional if sonar.modules is set.
# Comma-separated paths to directories containing source files.
# 限定要分析的路径
sonar.sources=.
sonar.java.binaries=target/classes

# Encoding of the source code. Default is default system encoding
sonar.sourceEncoding=UTF-8

# Set the language of the source code to analyze
# 限定要分析的代码语言,比如js。
# 不设置则默认分析多种语言
sonar.language = java
sonar.sourceEncoding=UTF-8
sonar.scm.disabled=true
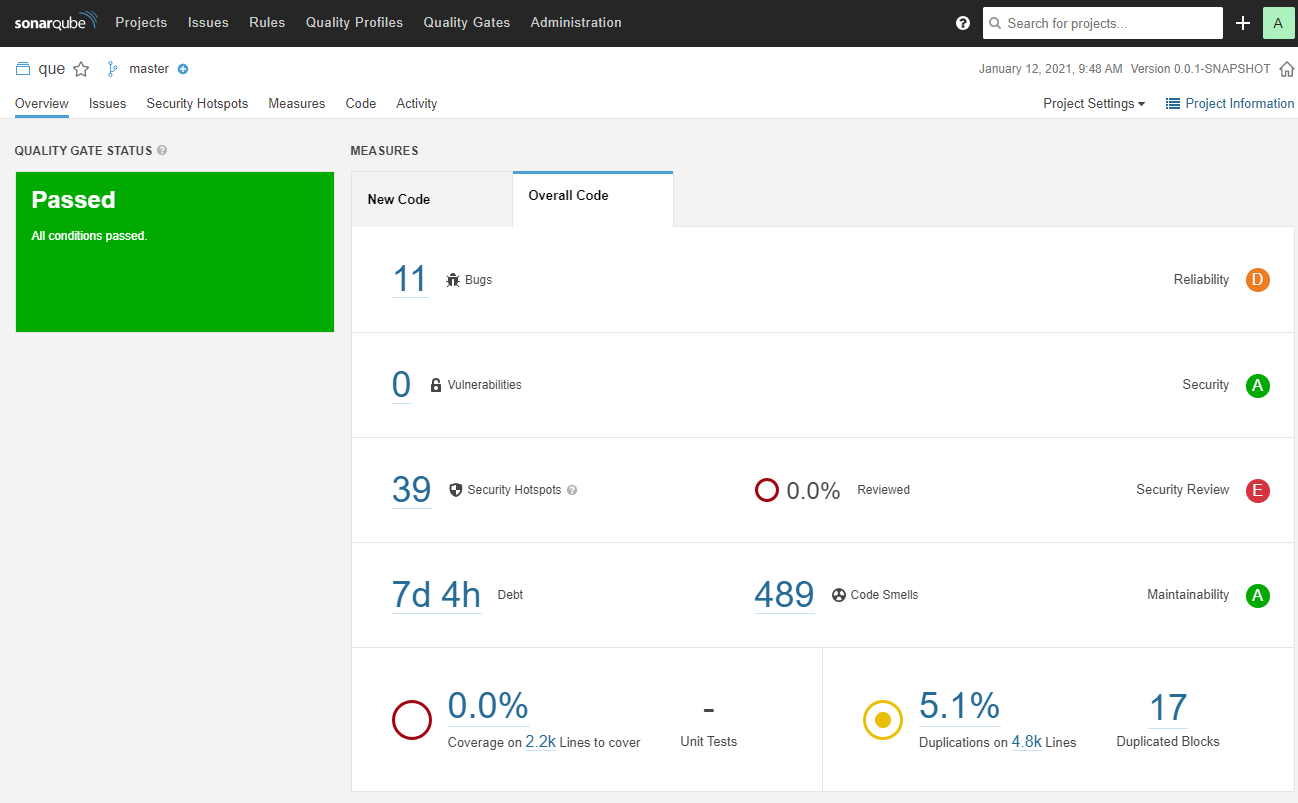
开始分析项目代码

Sonar生成审计结果