任务34:Cookie-based认证实现
用mvc来实现以下Cookie-Base的认证和授权的方式
新建一个web MVC的项目
在我的电脑的路径:D:MyDemosjesse
Ctrl+鼠标右键打开 CMD窗体创建一个项目
dotnet new mvc --name MvcCookieAuthSample

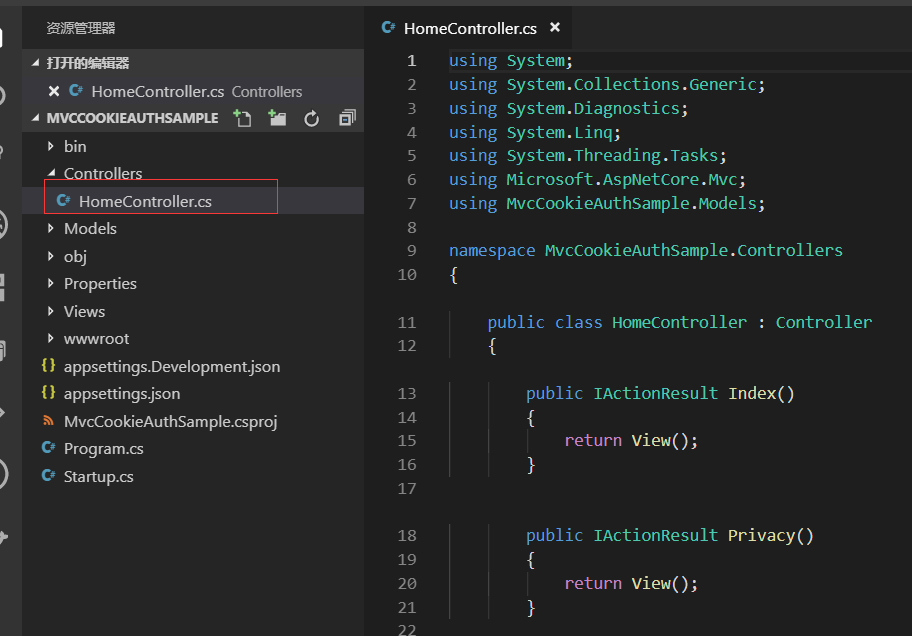
默认带这Home的Controller
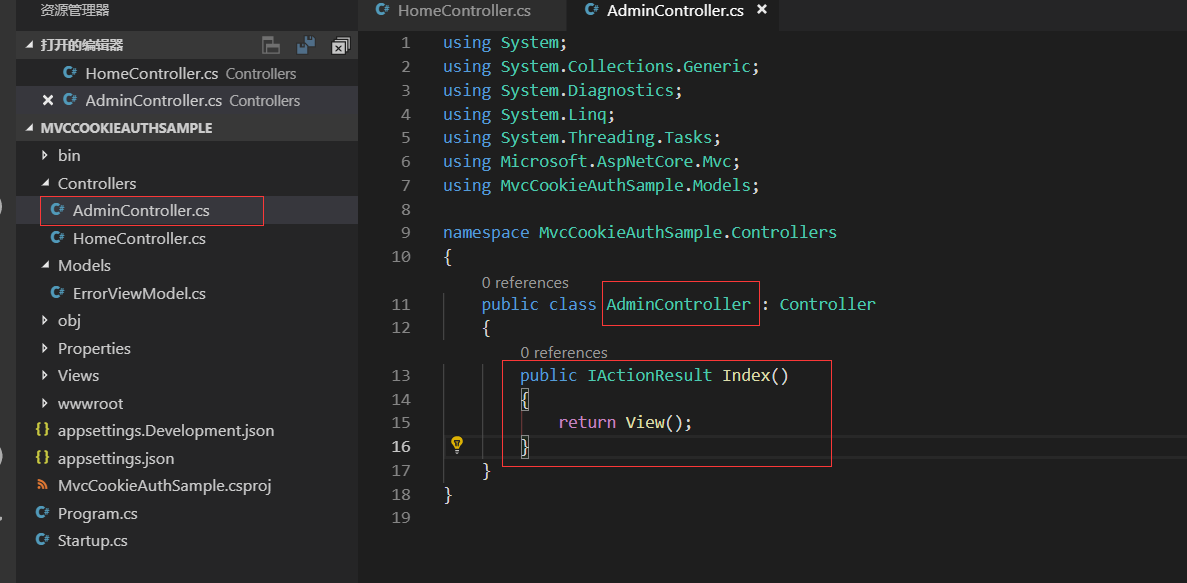
新建AdminController,把HomeController的内容赋值过去,进行修改,只保留一个Index的Action就可以了。
views下面创建Admin文件夹在下面创建Index.cshtml
赋值About.cshtml的内容进去简单修改一下

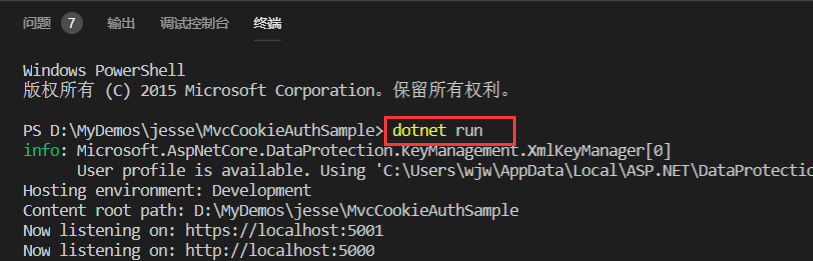
dotnet run 执行
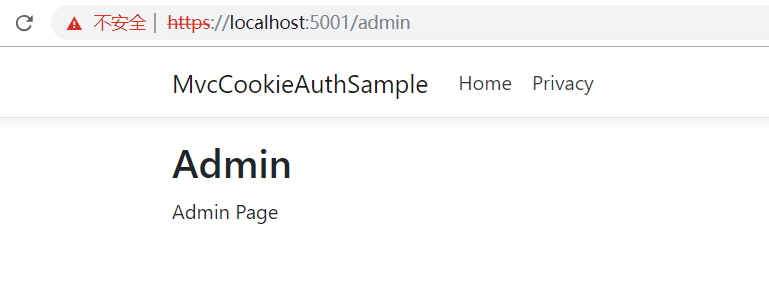
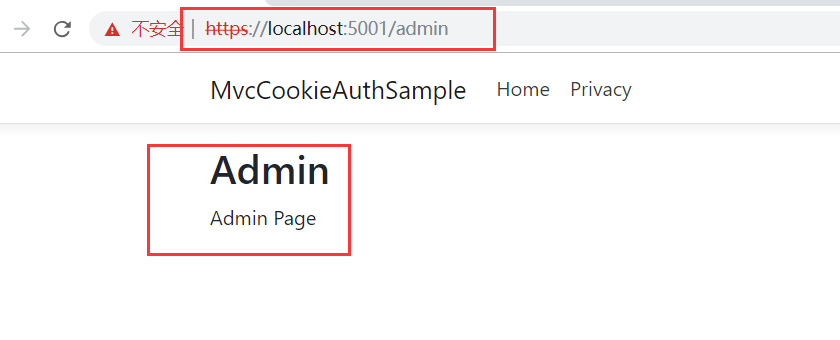
打开地址访问admin
https://localhost:5001/admin
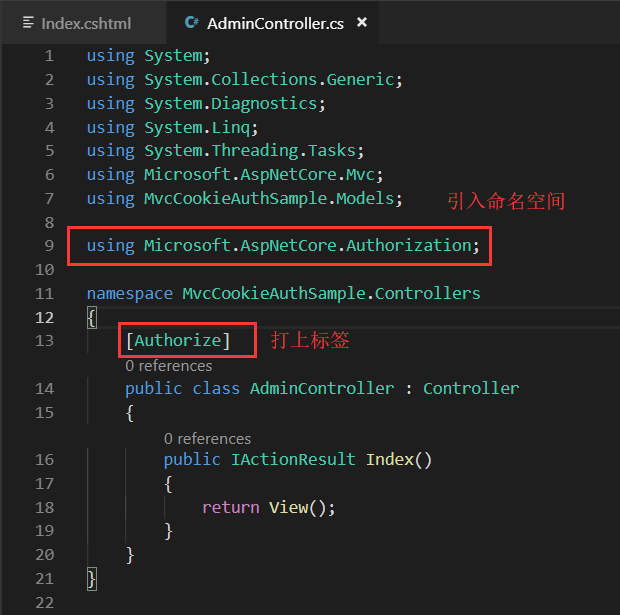
在admin加上验证
注意这里的命名空间是:
using Microsoft.AspNetCore.Authorization;
引入认证和授权Startup.cs内
引入Cookies的命名空间在VSCode中会报错。注意这里的命名空间的名称
using Microsoft.AspNetCore.Authentication;
using Microsoft.AspNetCore.Authentication.Cookies;

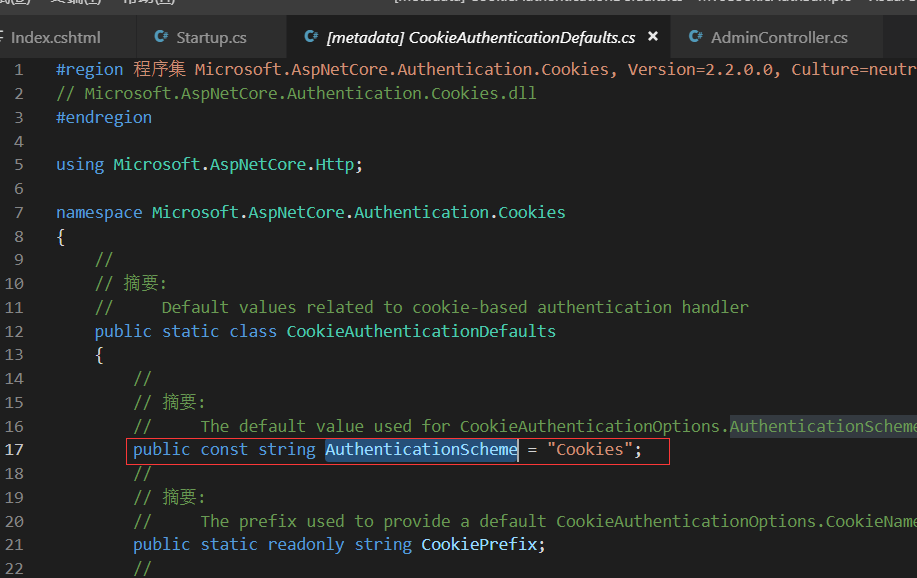
AddAuthentication里面要传一个Scheme
services.AddAuthentication(CookieAuthenticationDefaults.AuthenticationScheme);
CookieAuthenticationDefaults.AuthenticationScheme实际上是一个字符串的常量

这个常量实际上就是常量:Cookies
把Cookie添加进来。
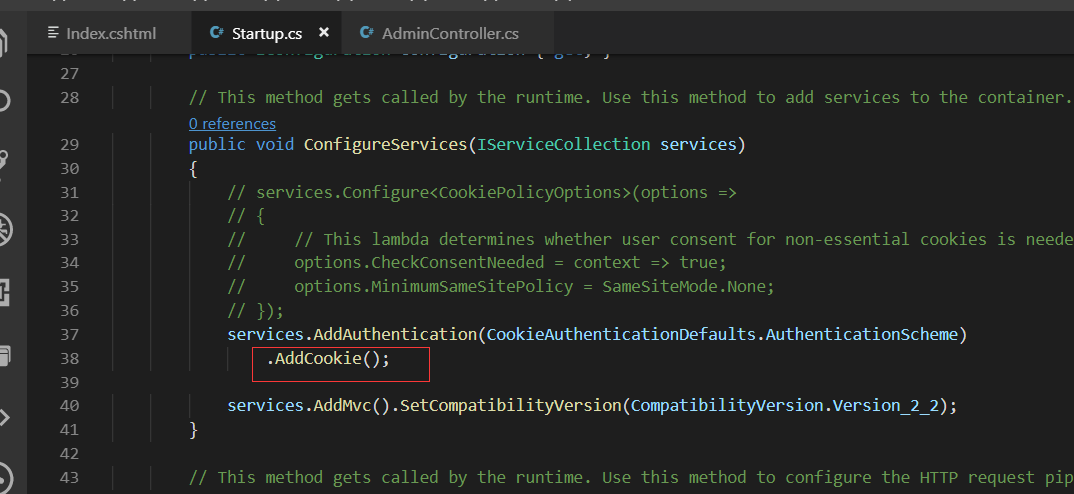
 services.AddAuthentication(CookieAuthenticationDefaults.AuthenticationScheme)
                .AddCookie();
然后我们要在mvc之前,把这个middleware也添加进来。
否则我们的认证授权是不会生效的
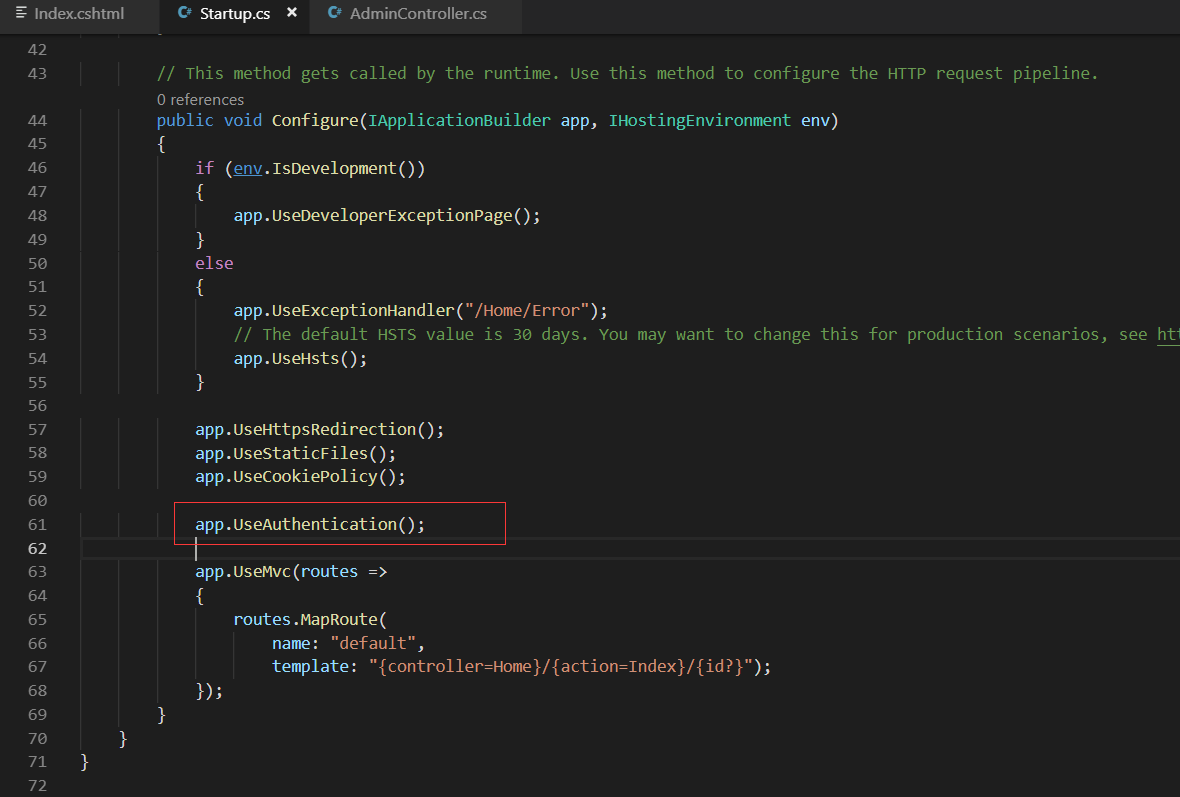
app.UseAuthentication();
dotnet run 运行程序
这个时候我们打开地址:https://localhost:5001/admin/index
就会自动给我们跳转到:
https://localhost:5001/Account/Login?ReturnUrl=%2Fadmin%2Findex
也就是我们现在没法访问admin这个页面了。
接下来我们来模拟登录的过程
Controllers下新建:
AccountController.cs

SignInAsync第二个参数需呀传入CliamsPrincipal
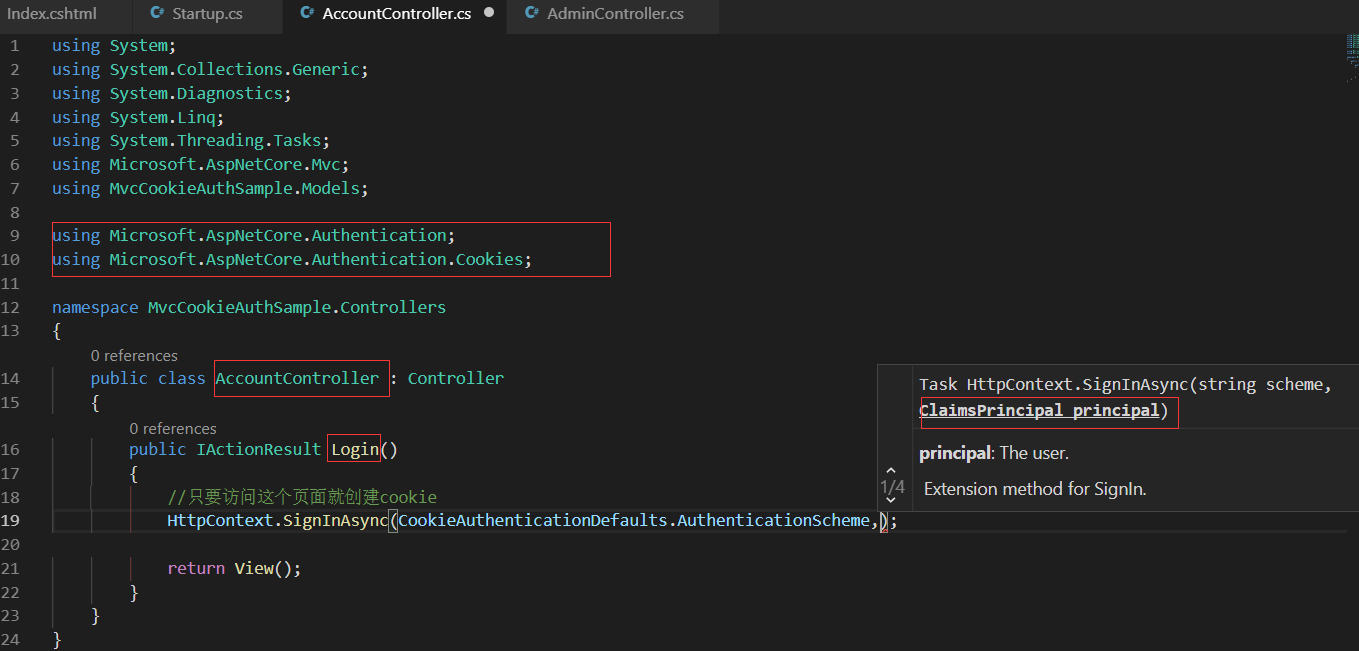
Cliams在这个命名空间下面:
using System.Security.Claims;
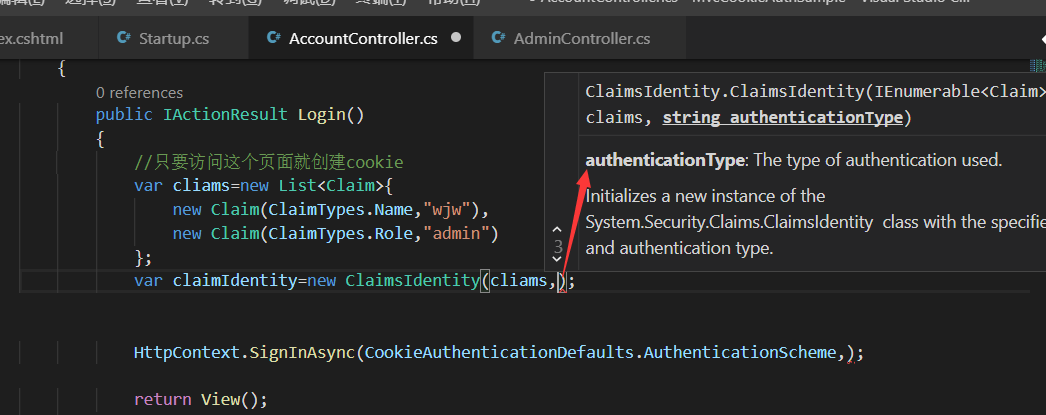
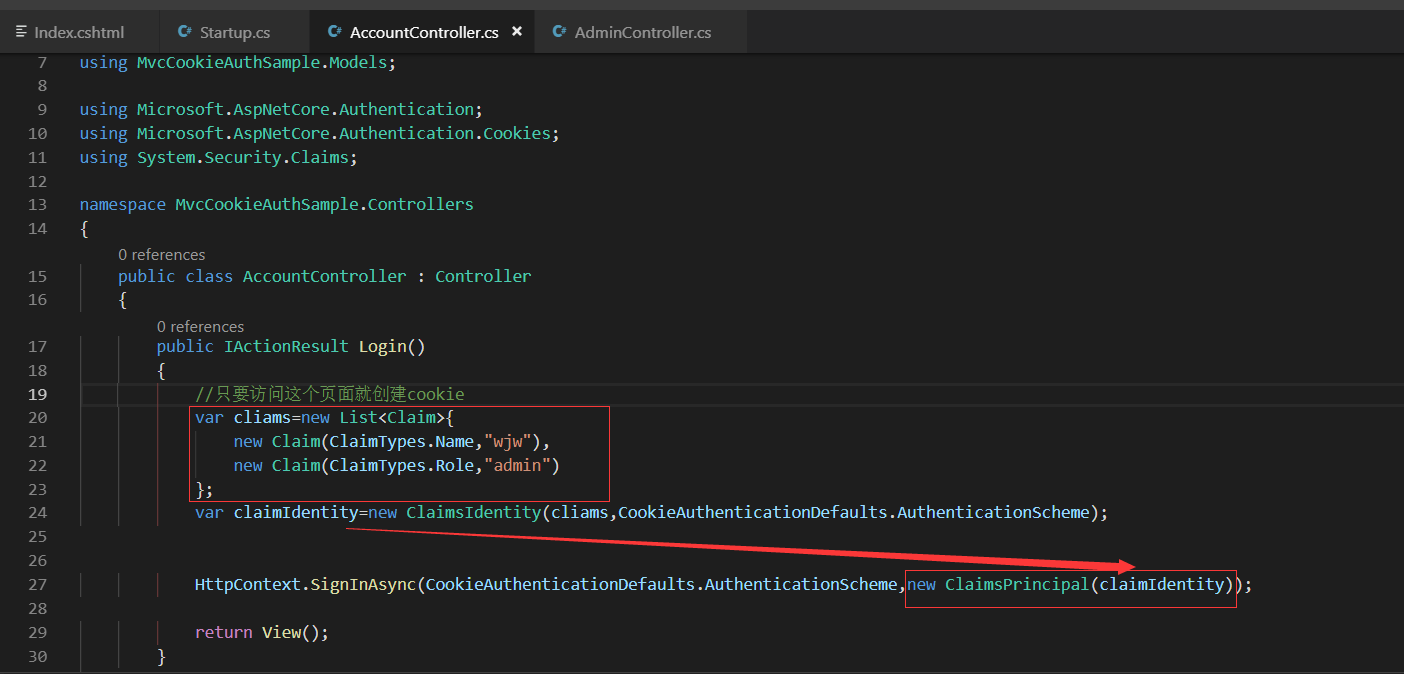
新建Claim的List
  var cliams=new List<Claim>{
      new Claim(ClaimTypes.Name,"wjw"),
      new Claim(ClaimTypes.Role,"admin")
  };
基于Cliams新建了Identity。ClaimsIdentity的第二个参数一定要给个authenticationType,否则我们的登陆就没有办法识别
在做一个LogOut的Action

修改为返回为ok,这样就是api了

dotnet watch run
我们先访问以下admin页面 ,访问不到
https://localhost:5001/admin
会自动跳转到:
https://localhost:5001/Account/Login?ReturnUrl=%2Fadmin

我们直接修改链接地址为:
https://localhost:5001/Account/Login
去访问,这样就实现了登陆了。
然后我们再次访问admin页面就可以访问到了
https://localhost:5001/admin

为了防止和默认的跳转的页面的url相同了。我们把Login修改为MakeLogin

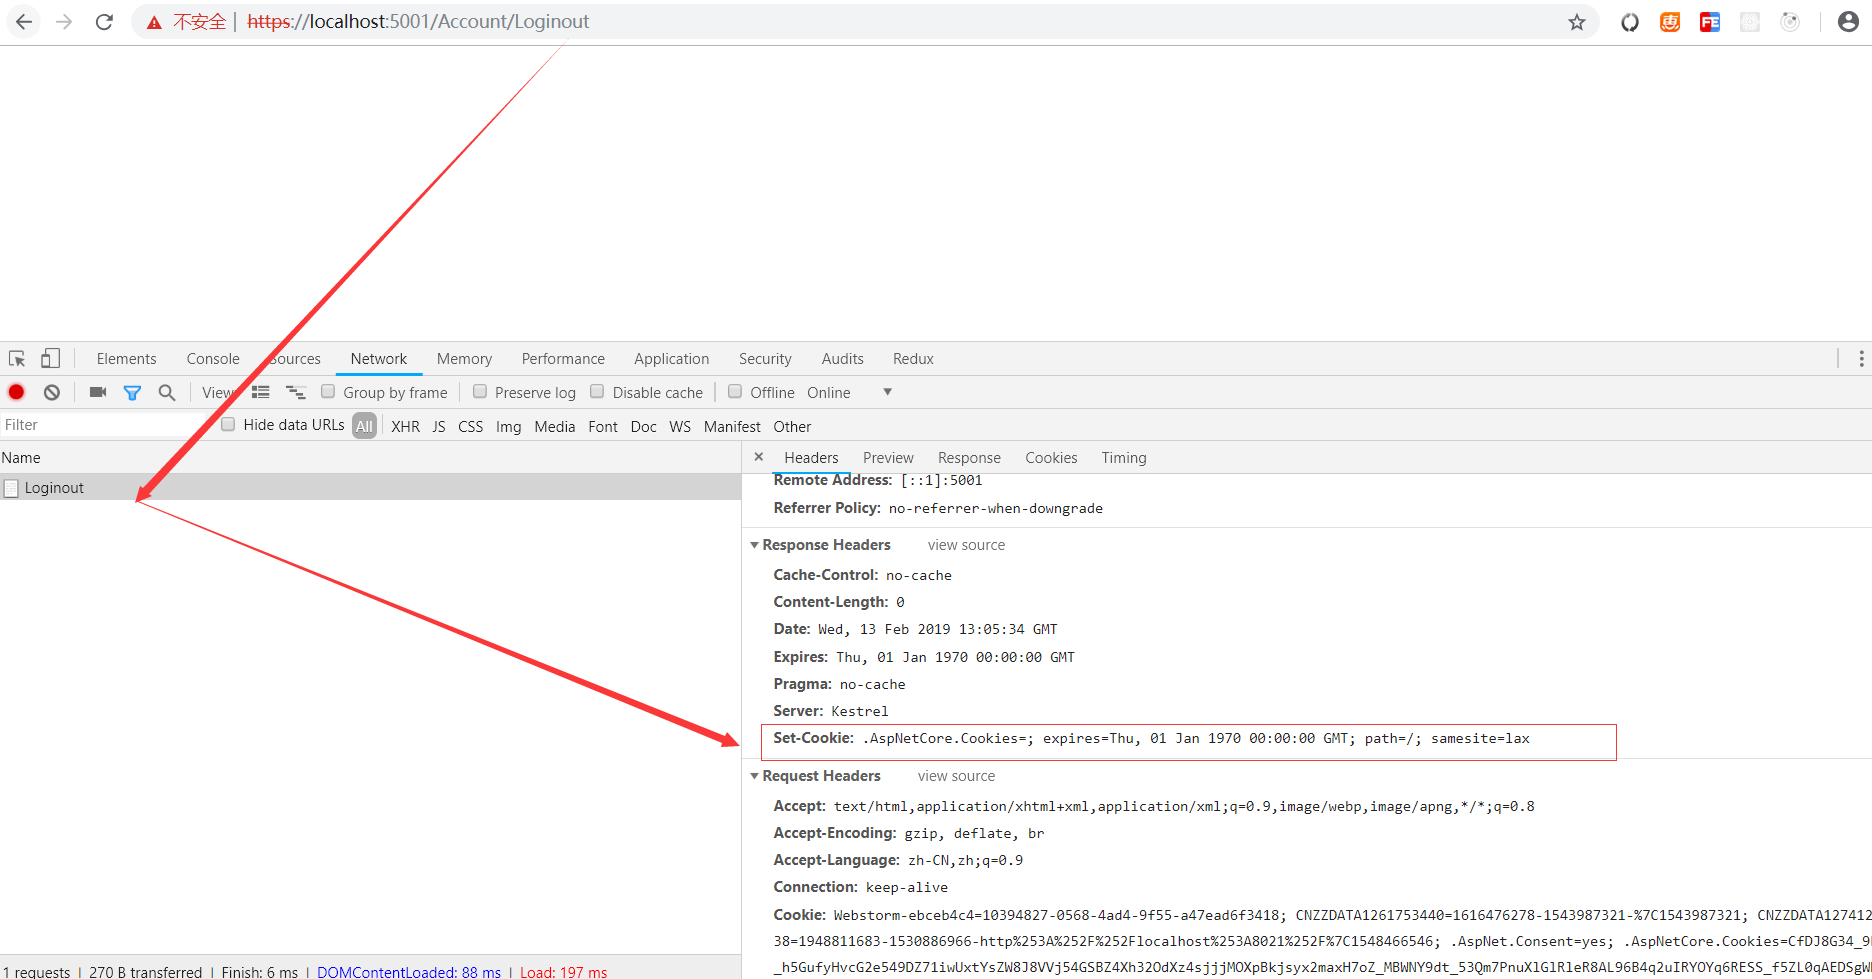
我们先访问:退出
https://localhost:5001/Account/loginout
然后在访问admin
https://localhost:5001/admin
这样就访问不到了。
会自动跳转到:
https://localhost:5001/Account/Login?ReturnUrl=%2Fadmin
我们访问:执行登陆的操作
https://localhost:5001/Account/MakeLogin
会把我们的cookie设置好
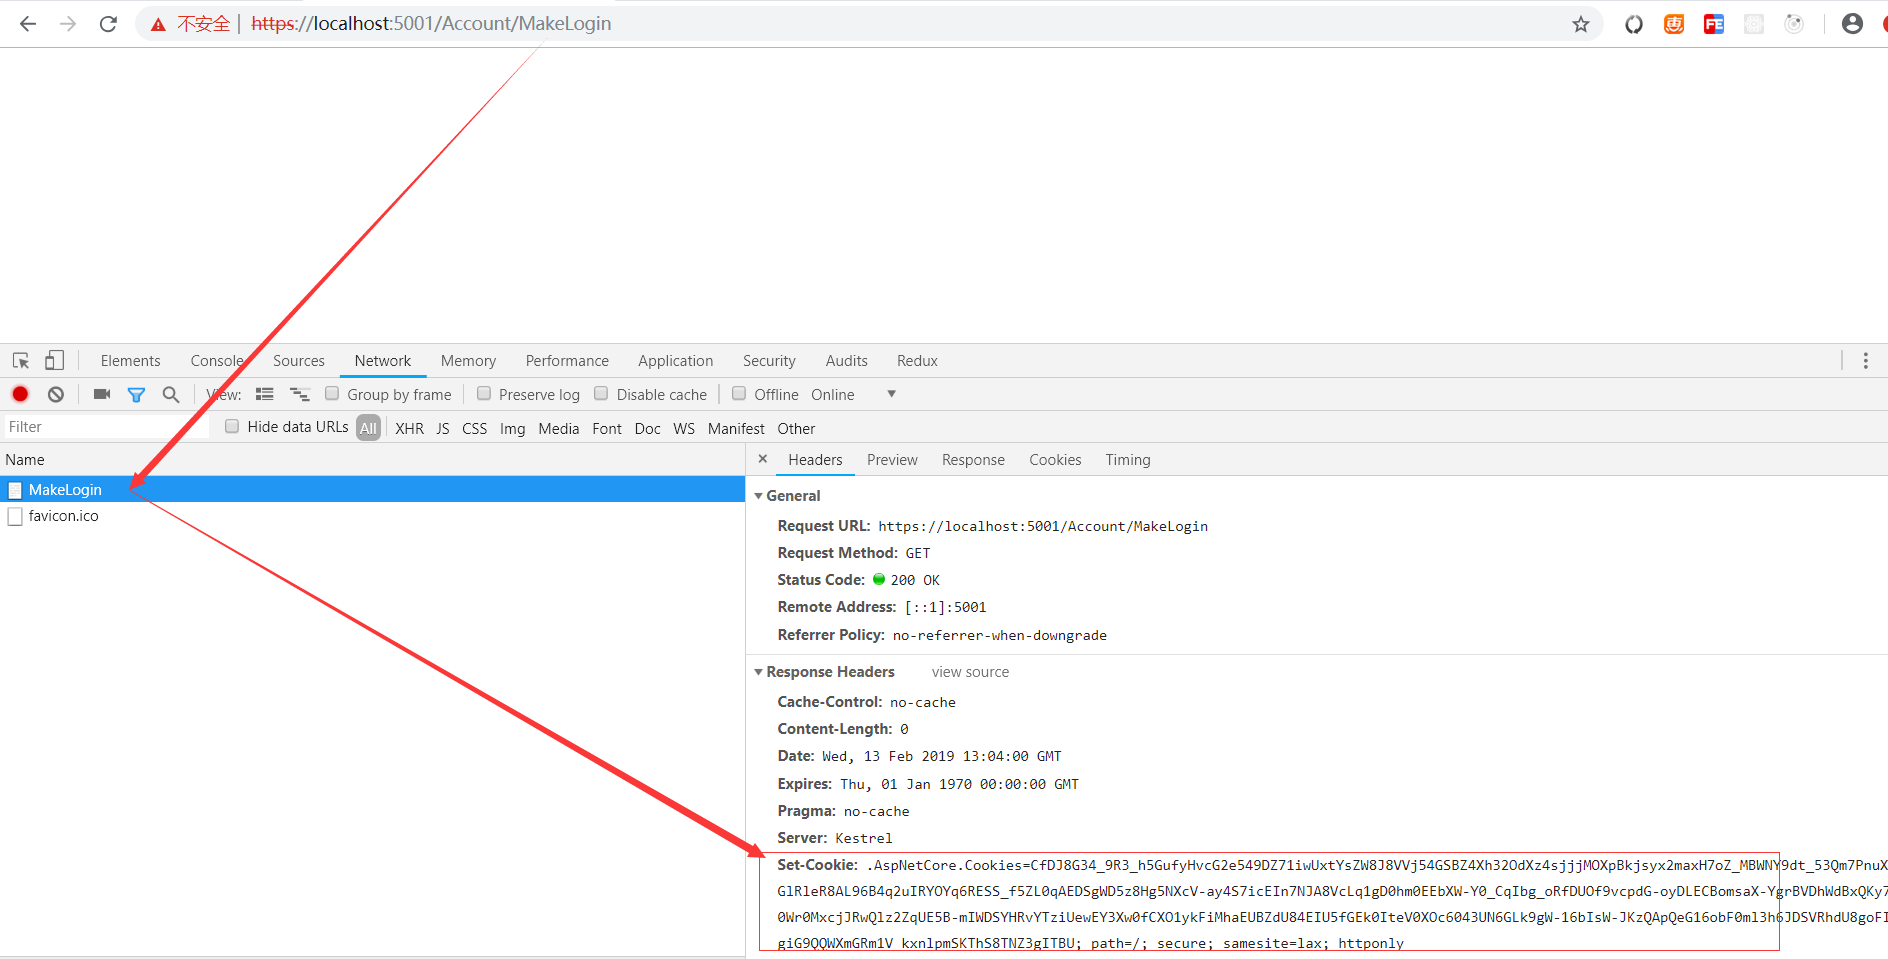
再次访问admin的页面,这样就能成功访问到了。
https://localhost:5001/Admin
退出的操作
https://localhost:5001/Account/Loginout
修改默认跳转的页面地址:

访问:https://localhost:5001/admin
会自动跳转到:这样就实现了自动登陆
https://localhost:5001/Account/MakeLogin?ReturnUrl=%2Fadmin
我们再次访问admin就可以成功登陆了。