背景
samba服务+vscode 实现代码快速修改生效到服务器上
最终实现,开发的编辑器与远程的linux目录下的代码联动起来,实现本地修改与远程代码同步。
step1
linux服务上安装samba服务,实现远程linux服务机器与本地机器文件共享。(备注:该教程在linux上使用的root用户)
centos系统
- yum install -y samba
- vi /etc/samba/smb.conf
-
# See smb.conf.example for a more detailed config file or
# read the smb.conf manpage.
# Run 'testparm' to verify the config is correct after
# you modified it.

[global]
        workgroup = SAMBA
        security = user

        passdb backend = tdbsam

        printing = cups
        printcap name = cups
        load printers = yes
        cups options = raw

[homes]
        comment = Home Directories
        valid users = %S, %D%w%S
        browseable = No
        read only = No
        inherit acls = Yes

[printers]
        comment = All Printers
        path = /var/tmp
        printable = Yes
        create mask = 0600
        browseable = No

[print$]
        comment = Printer Drivers
        path = /var/lib/samba/drivers
        write list = @printadmin root
        force group = @printadmin
        create mask = 0664
        directory mask = 0775

### 以下为新增 ###
[root]
        comment = user root share files # 随意写,描述用途
        path = /root # 共享linux的目录
        writable = yes #将linux共享的目录实现可写操作
        public = no
- 将root用户添加到samba的服务中
- smbpasswd -a root (添加过程中要输入密码,记住该密码,远程登陆的时候需要)
- 重启samba服务:systemctl restart smb
-
ubuntu系统
- 安装samba: sudo apt-get install samba samba-common
- 配置smb.conf : vi /etc/samba/smb.conf 在该文件中追加如下代码
[share]
comment = share folder
browseable = yes
path = /root # 要共享的目录
create mask = 0700
directory mask = 0700
valid users = root
force user = root
force group = root
public = yes
available = yes
writable = yes
3. smb添加用户: smbpasswd -a root
4. 重启smb服务: service smbd restart
step2 本地windows电脑上的操作
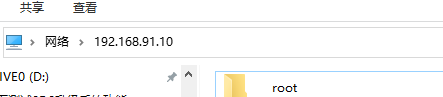
1. 网络连接远程机器的ip,如下图所示

2. 输入smbpasswd -a root 操作过程中输入的密码
3. 本地通过网路,成功进入远程linux share的文件目录
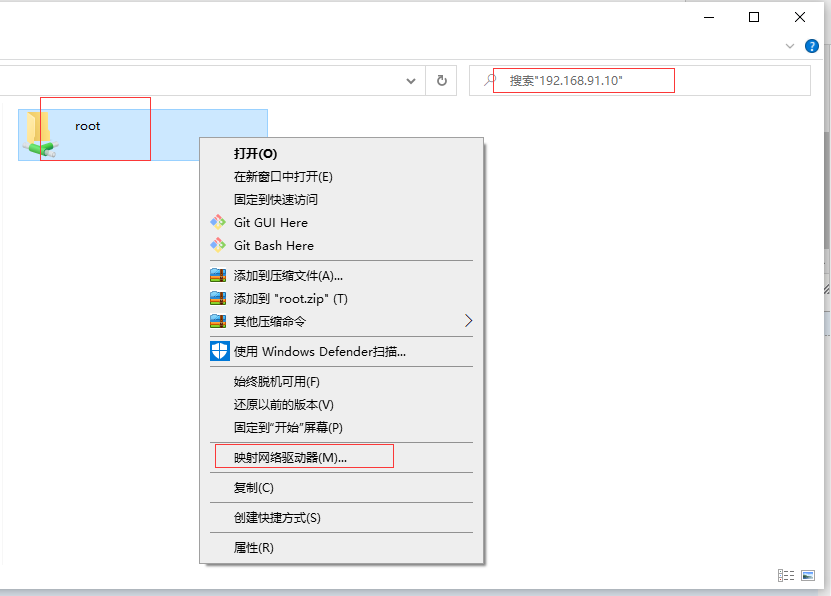
step3 vscode 打开本地的网络共享的文件目录root
1. 网络文件夹驱动映射到本地
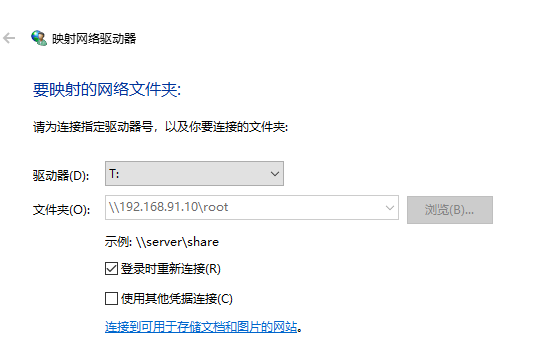
2. vscode打开映射到本地的网络T文件夹,即实现了vscode直接连接远程的linux系统下共享的目录,再改代码,就能实时的联动起来。
参考
1. centos 安装smb :https://www.cnblogs.com/kevingrace/p/8550810.html
2. ubuntu 安装smb: https://www.linuxidc.com/Linux/2018-11/155466.htm
3. 网络映射到本地驱动设置 : https://jingyan.baidu.com/article/e3c78d646dfe8c3c4c85f5a9.html