.NET Core微服务三:polly熔断与降级
本文的项目代码,在文章结尾处可以下载。
本文使用的环境:Windows10 64位 + VS 2019 + .NET Core 3.1 + Ocelot 14.0.3
Ocelot 相关地址:
https://github.com/ThreeMammals/Ocelot
https://ocelot.readthedocs.io/en/latest/introduction/gettingstarted.html
Ocelot 单独使用,可以查看“Ocelot的简单使用”这篇文章
本文接着“.NET Core微服务一:Consul服务中心”这篇文章,通过cmd运行起“Student”和“Teacher”服务,接下来就是创建网关项目
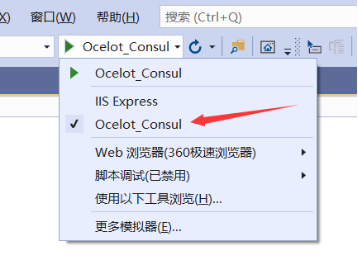
一、新建webapi项目,命名为“Ocelot_Consul”,去掉HTTPS勾选,不需要Controller,改为控制台方式启动
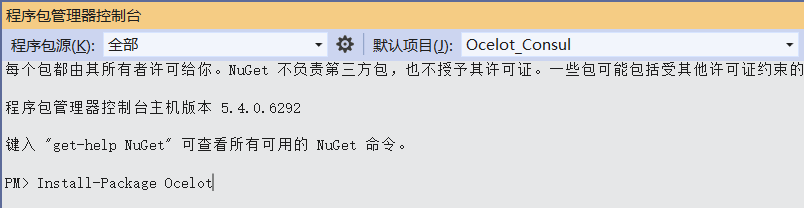
二、打开程序包管理器控制台,依次执行命令:
Install-Package Ocelot
Install-Package Ocelot.Provider.Consul
三、在项目根目录下,新建配置文件“ocelot.json”
"LoadBalancer"负载均衡类型:
RoundRobin:轮询机制,循环找到可以用的服务
LeastConnection:最少连接数,跟踪发现现在有最少请求或处理的可用服务
NoLoadBalancer:不使用负载均衡,直接访问第一个发现的可用的服务
 1 {
 2   "ReRoutes": [
 3     {
 4       "DownstreamPathTemplate": "/api/Default/GetList",
 5       "DownstreamScheme": "http",
 6       "UpstreamPathTemplate": "/api/v1/Student/GetList",
 7       "UpstreamHttpMethod": [ "Get" ],
 8       "ServiceName": "Student",
 9       "LoadBalancerOptions": {
10         "Type": "RoundRobin"
11       },
12       "UseServiceDiscovery": true
13       //  ,
14       //"RateLimitOptions": {
15       //  "ClientWhitelist": [], //白名单
16       //  "EnableRateLimiting": true, //是否限流
17       //  "Period": "30s", //指定一个时间
18       //  "PeriodTimespan": 10, //多少时间后,可以重新请求。
19       //  "Limit": 5 //在Period的指定时间内,最多请求次数
20       //}
21     },
22     {
23       "DownstreamPathTemplate": "/api/Default/GetList",
24       "DownstreamScheme": "http",
25       "UpstreamPathTemplate": "/api/v1/Teacher/GetList",
26       "UpstreamHttpMethod": [ "Get" ],
27       "ServiceName": "Teacher",
28       "LoadBalancerOptions": {
29         "Type": "RoundRobin"
30       },
31       "UseServiceDiscovery": true
32     }
33   ],
34
35   "GlobalConfiguration": {
36     "ServiceDiscoveryProvider": {
37       "Host": "127.0.0.1",
38       "Port": 8500
39     }
40   }
41 }
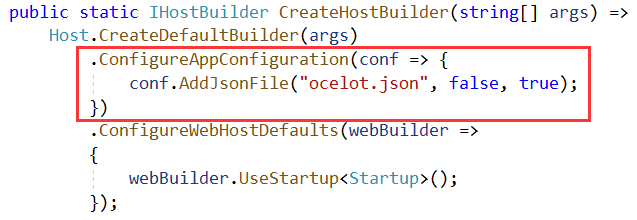
四、在Program.cs的CreateHostBuilder中加入
.ConfigureAppConfiguration(conf => {
    conf.AddJsonFile("ocelot.json", false, true);
})
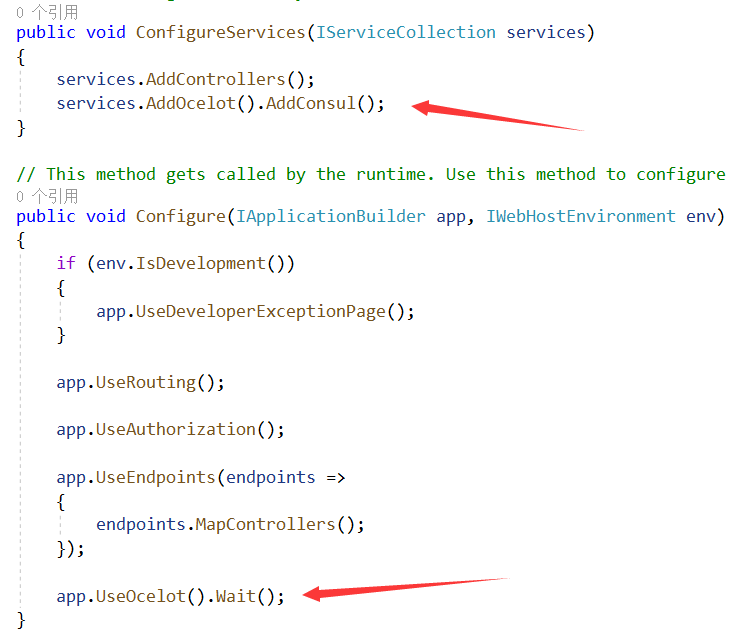
五、找到Startup.cs
在ConfigureServices中加入:
services.AddOcelot().AddConsul();
在Configure中加入:
app.UseOcelot().Wait();
六、通过VS启动“Ocelot_Consul”,由于“ocelot.json”配置的对外的路由
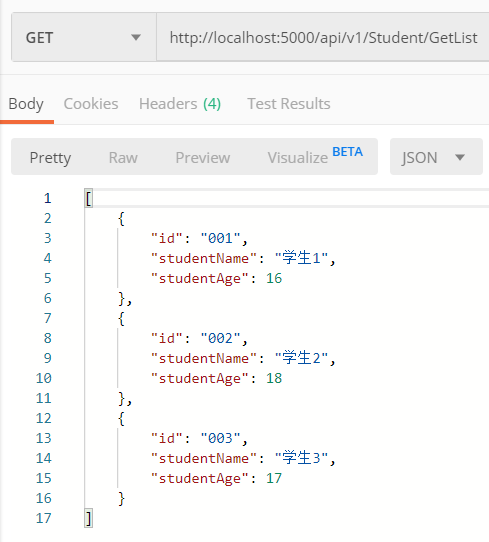
“Student”服务的访问地址为:http://localhost:5000/api/v1/Student/GetList
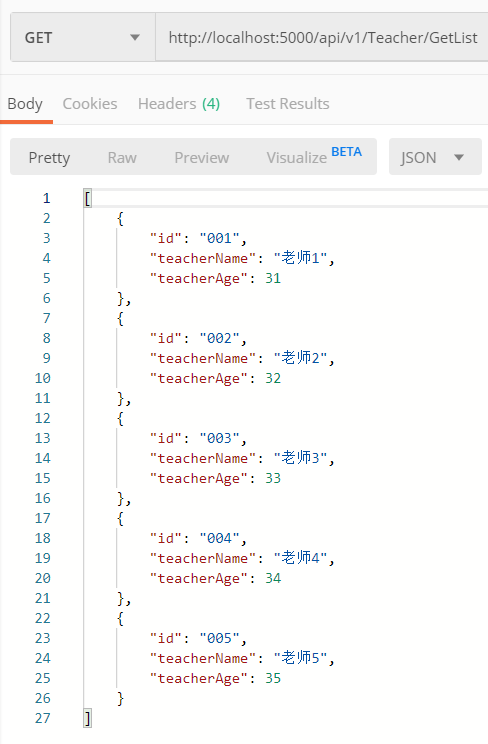
“Teacher”服务的访问地址为:http://localhost:5000/api/v1/Teacher/GetList
代码:https://files.cnblogs.com/files/shousiji/Ocelot_Consul.rar