最近新弄了个k8s,需要用到私仓,在此简单记录一下
一、Harbor介绍
暂略
二、Harbor离线部署
-
系统:Centos-7.x
-
Harbor版本:2.2.2
2.1 安装docker-compose
Harbor是通过docker compose来部署的,docker安装这里就略过了,有需要的请查看以前文章,这里只介绍docker compose的安装
[root@node ~]# wget -O /etc/yum.repos.d/epel.repo http://mirrors.aliyun.com/repo/epel-7.repo
[root@node ~]# yum install -y docker-compose
2.2 下载Harbor离线包
Harbor离线包github下载地址:https://github.com/goharbor/harbor/releases
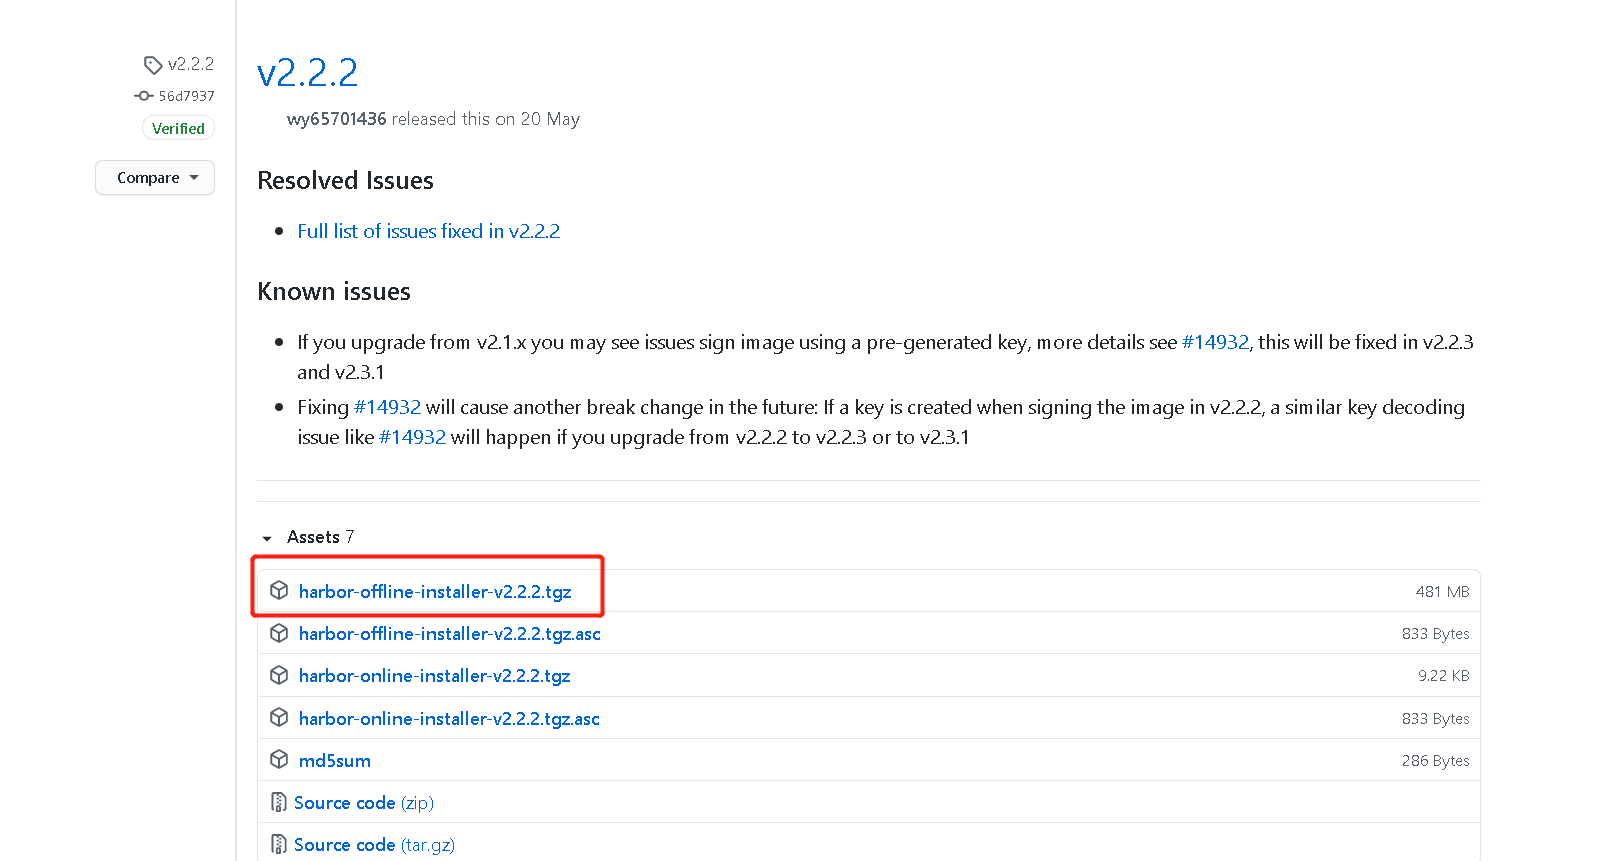
上传至服务器
[root@node ~]# cd /usr/local/
[root@node ~]# tar -xvf harbor-offline-installer-v2.2.2.tgz
[root@node ~]# cd harbor
[root@node ~]# cp harbor.yml.tmpl  harbor.yml
[root@node ~]# mkdir -p /data/harbor/
[root@node ~]# vim harbor.yml
http:
  # port for http, default is 80. If https enabled, this port will redirect to https port
  port: 80

# https related config
# https:
  # https port for harbor, default is 443
  # port: 443
  # The path of cert and key files for nginx
  # certificate: /your/certificate/path
  # private_key: /your/private/key/path

# # Uncomment following will enable tls communication between all harbor components
# internal_tls:
#   # set enabled to true means internal tls is enabled
#   enabled: true
#   # put your cert and key files on dir
#   dir: /etc/harbor/tls/internal

# Uncomment external_url if you want to enable external proxy
# And when it enabled the hostname will no longer used
# external_url: https://reg.mydomain.com:8433

# The initial password of Harbor admin
# It only works in first time to install harbor
# Remember Change the admin password from UI after launching Harbor.
harbor_admin_password: Harbor

# Harbor DB configuration
database:
  # The password for the root user of Harbor DB. Change this before any production use.
  password: qmHarbor
  # The maximum number of connections in the idle connection pool. If it <=0, no idle connections are retained.
  max_idle_conns: 50
  # The maximum number of open connections to the database. If it <= 0, then there is no limit on the number of open connections.
  # Note: the default number of connections is 1024 for postgres of harbor.
  max_open_conns: 1000

# The default data volume
data_volume: /data/harbor
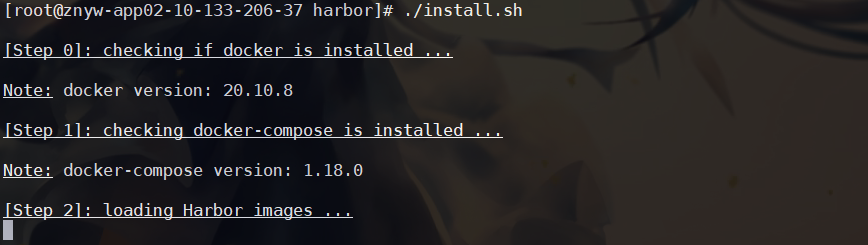
[root@node ~]# ./install.sh
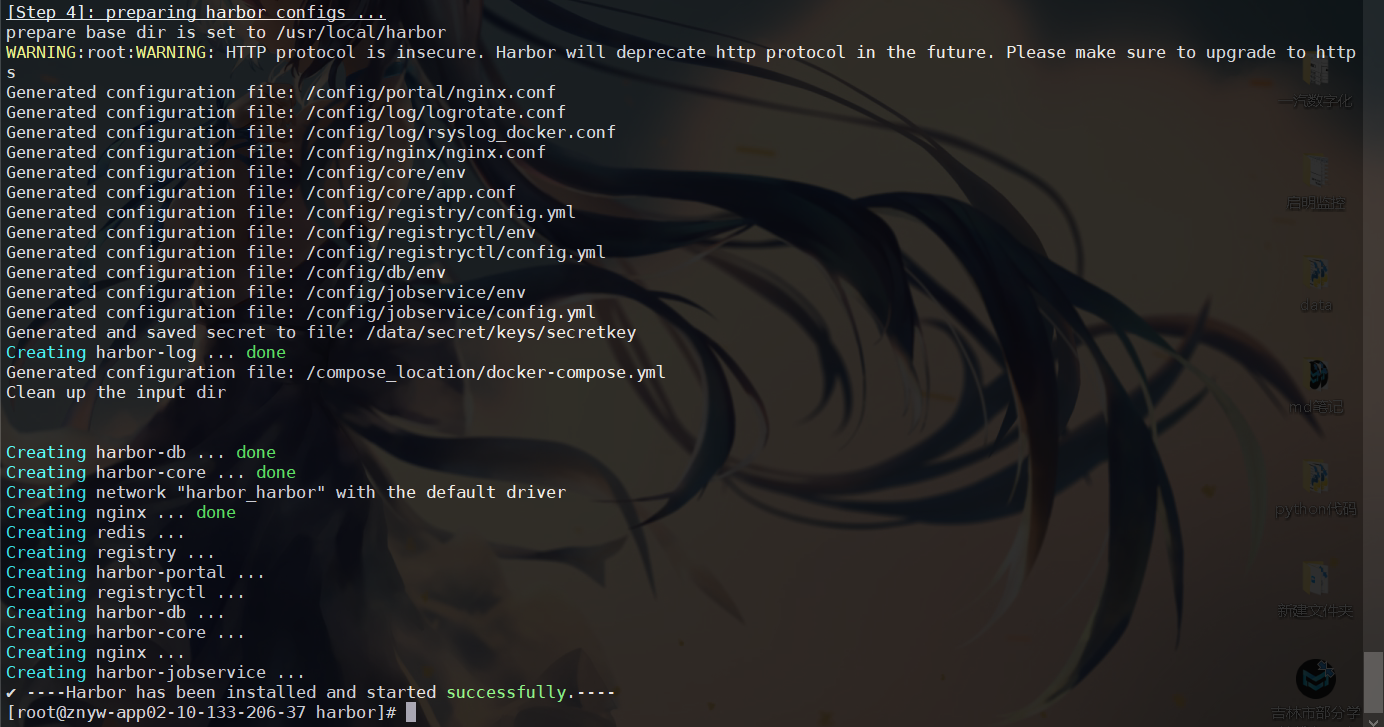
可以看到安装成功
接下来访问一下

三、上传镜像到私仓
我们安装好私仓,那么如何上传自己的镜像呢
在私仓的界面我们可以看到推送命令
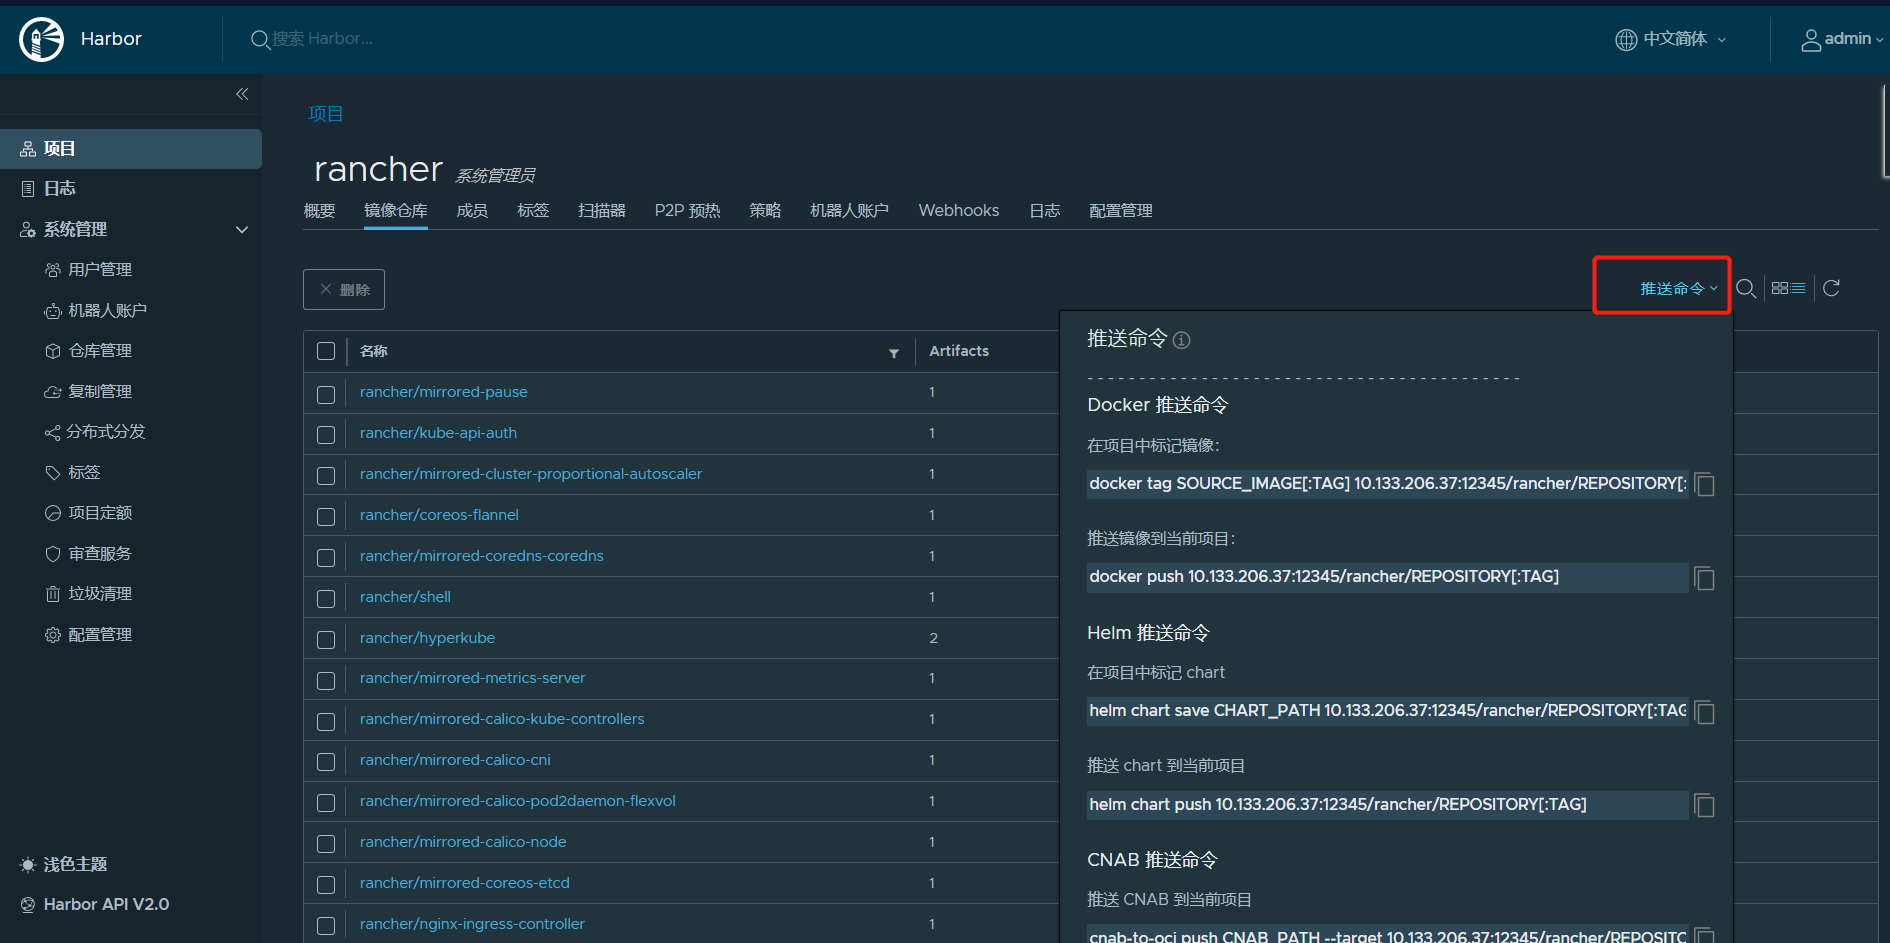
我这里以nginx的镜像举例 10.10.10.10:12345为私仓示例地址
上传镜像和拉取流程:
登录docker私仓
[root@node ~]# docker login --password Harbor8869 --username admin 10.10.10.10:12345
标记nginx镜像
[root@node ~]# docker tag nginx:latest 10.10.10.10:12345/devops/nginx:latest
上传nginx镜像到私仓
[root@node ~]# docker push 10.10.10.10:12345/devops/nginx:latest
拉取nginx镜像到本地
[root@node ~]# docker pull 10.10.10.10:12345/devops/nginx:latest