转自:http://www.ruanyifeng.com/blog/2015/12/a-mocha-tutorial-of-examples.html
除了在命令行运行,Mocha还可以在浏览器运行。
首先,使用mocha init命令在指定目录生成初始化文件。
$ mocha init demo08
运行上面命令,就会在demo08目录下生成index.html文件,以及配套的脚本和样式表。
<!DOCTYPE html>
<html>
  <body>
    <h1>Unit.js tests in the browser with Mocha</h1>
    <div id="mocha"></div>
    <script src="mocha.js"></script>
    <script>
      mocha.setup('bdd');
    </script>
    <script src="tests.js"></script>
    <script>
      mocha.run();
    </script>
  </body>
</html>
然后,新建一个源码文件add.js。
// add.js
function add(x, y) {
  return x + y;
}
然后,把这个文件,以及断言库chai.js,加入index.html。
<script>
  mocha.setup('bdd');
</script>
<script src="add.js"></script>
<script src="http://chaijs.com/chai.js"></script>
<script src="tests.js"></script>
<script>
  mocha.run();
</script>
最后,在tests.js里面写入测试脚本。
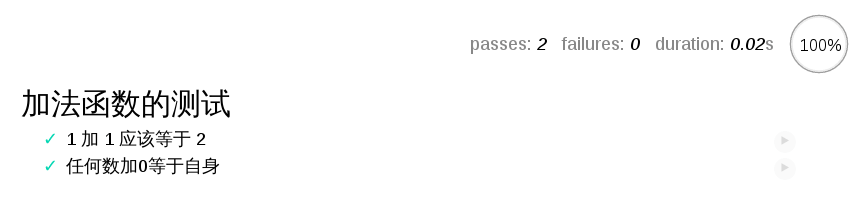
var expect = chai.expect;

describe('加法函数的测试', function() {
  it('1 加 1 应该等于 2', function() {
    expect(add(1, 1)).to.be.equal(2);
  });

  it('任何数加0等于自身', function() {
    expect(add(1, 0)).to.be.equal(1);
    expect(add(0, 0)).to.be.equal(0);
  });
});
现在,在浏览器里面打开index.html,就可以看到测试脚本的运行结果。