近期因为项目需要,进行熟悉SSM框架的搭建,基本实现了一个BS界面的完成,现在对于其中的迭代跳转控制进行分析。
一、环境
环境:Maven+Spring+SpringMVC+MyBatis
开发工具:IntelliJ IDEA
数据库:MySQL
平台分为这几个内容块:
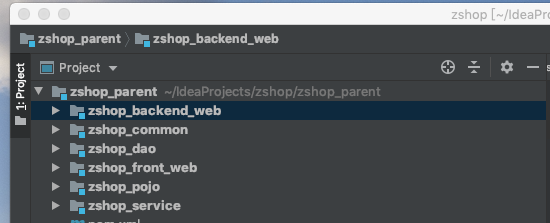
backend_web和front_web分别表示后台管理平台和前台工作平台,两个平台页面展示。
common --- 来放公共用的一些Util类、Exception类和常量文件等。
dao -- 数据访问层,来存对数据库操作的一些接口及其映射文件Mapper。
pojo -- javaBean类的存放,与数据库表的实体类。
service -- 业务逻辑层的实现
二、开发逻辑
前后端代码实现后,首先是通过调用关系进行访问,再思考页面功能的实现。因对于框架底层代码实现暂时不是很熟悉,所以暂时从页面到后台逻辑实现的步骤进行分析,后续在别的博客中对于各个框架实现再进行以此分析。
首先,通过页面访问 http://localhost:9001/ 默认访问首页,localhost为本机的服务器,如果访问其他机器上的服务,则可修改为其服务器的IP。9001,为设置的服务器的端口号。在Tomcat的web.xml文件中顺序找其首页。index.jsp
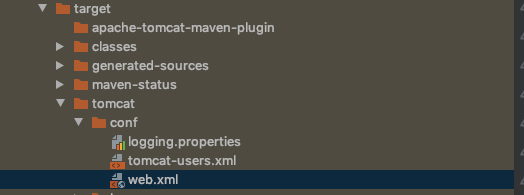
<welcome-file-list>
        <welcome-file>index.html</welcome-file>
        <welcome-file>index.htm</welcome-file>
        <welcome-file>index.jsp</welcome-file>
</welcome-file-list>
index.jsp 文件内容如下:
1 <%@page contentType="text/html; charset=utf-8" %>
2 <html>
3 <body>
4     <jsp:forward page="${pageContext.request.contextPath}/showLogin"/>
5 </body>
6 </html>
其做相当于 页面跳转是 http://localhost:9001/showLogin页面 ,那么showLogin页面是什么页面呢?
在spring-mvc.xml 的配置文件中有 如下代码:
    <!--  视图解析器  指定前缀和后缀-->
    <bean class="org.springframework.web.servlet.view.InternalResourceViewResolver">
        <property name="prefix" value="/WEB-INF/views/"/>
        <property name="suffix" value=".jsp"/>
    </bean>

    <mvc:view-controller path="/showLogin" view-name="login"/>
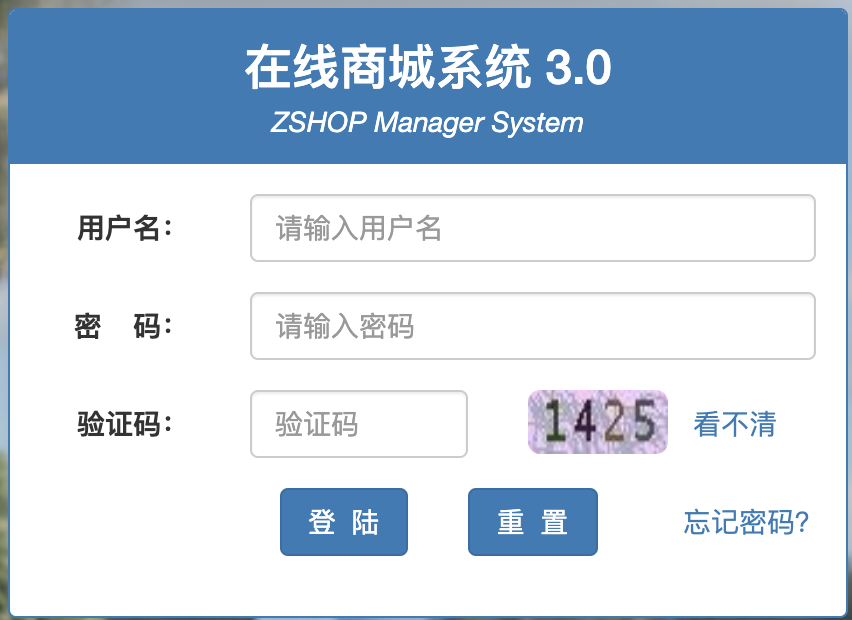
跳转到/WEB-INF/views/login.jsp 页面。
在此进实现登录页面暂时,暂不做登录功能实现,下面主要分析下,商品类型管理页的展示功能。
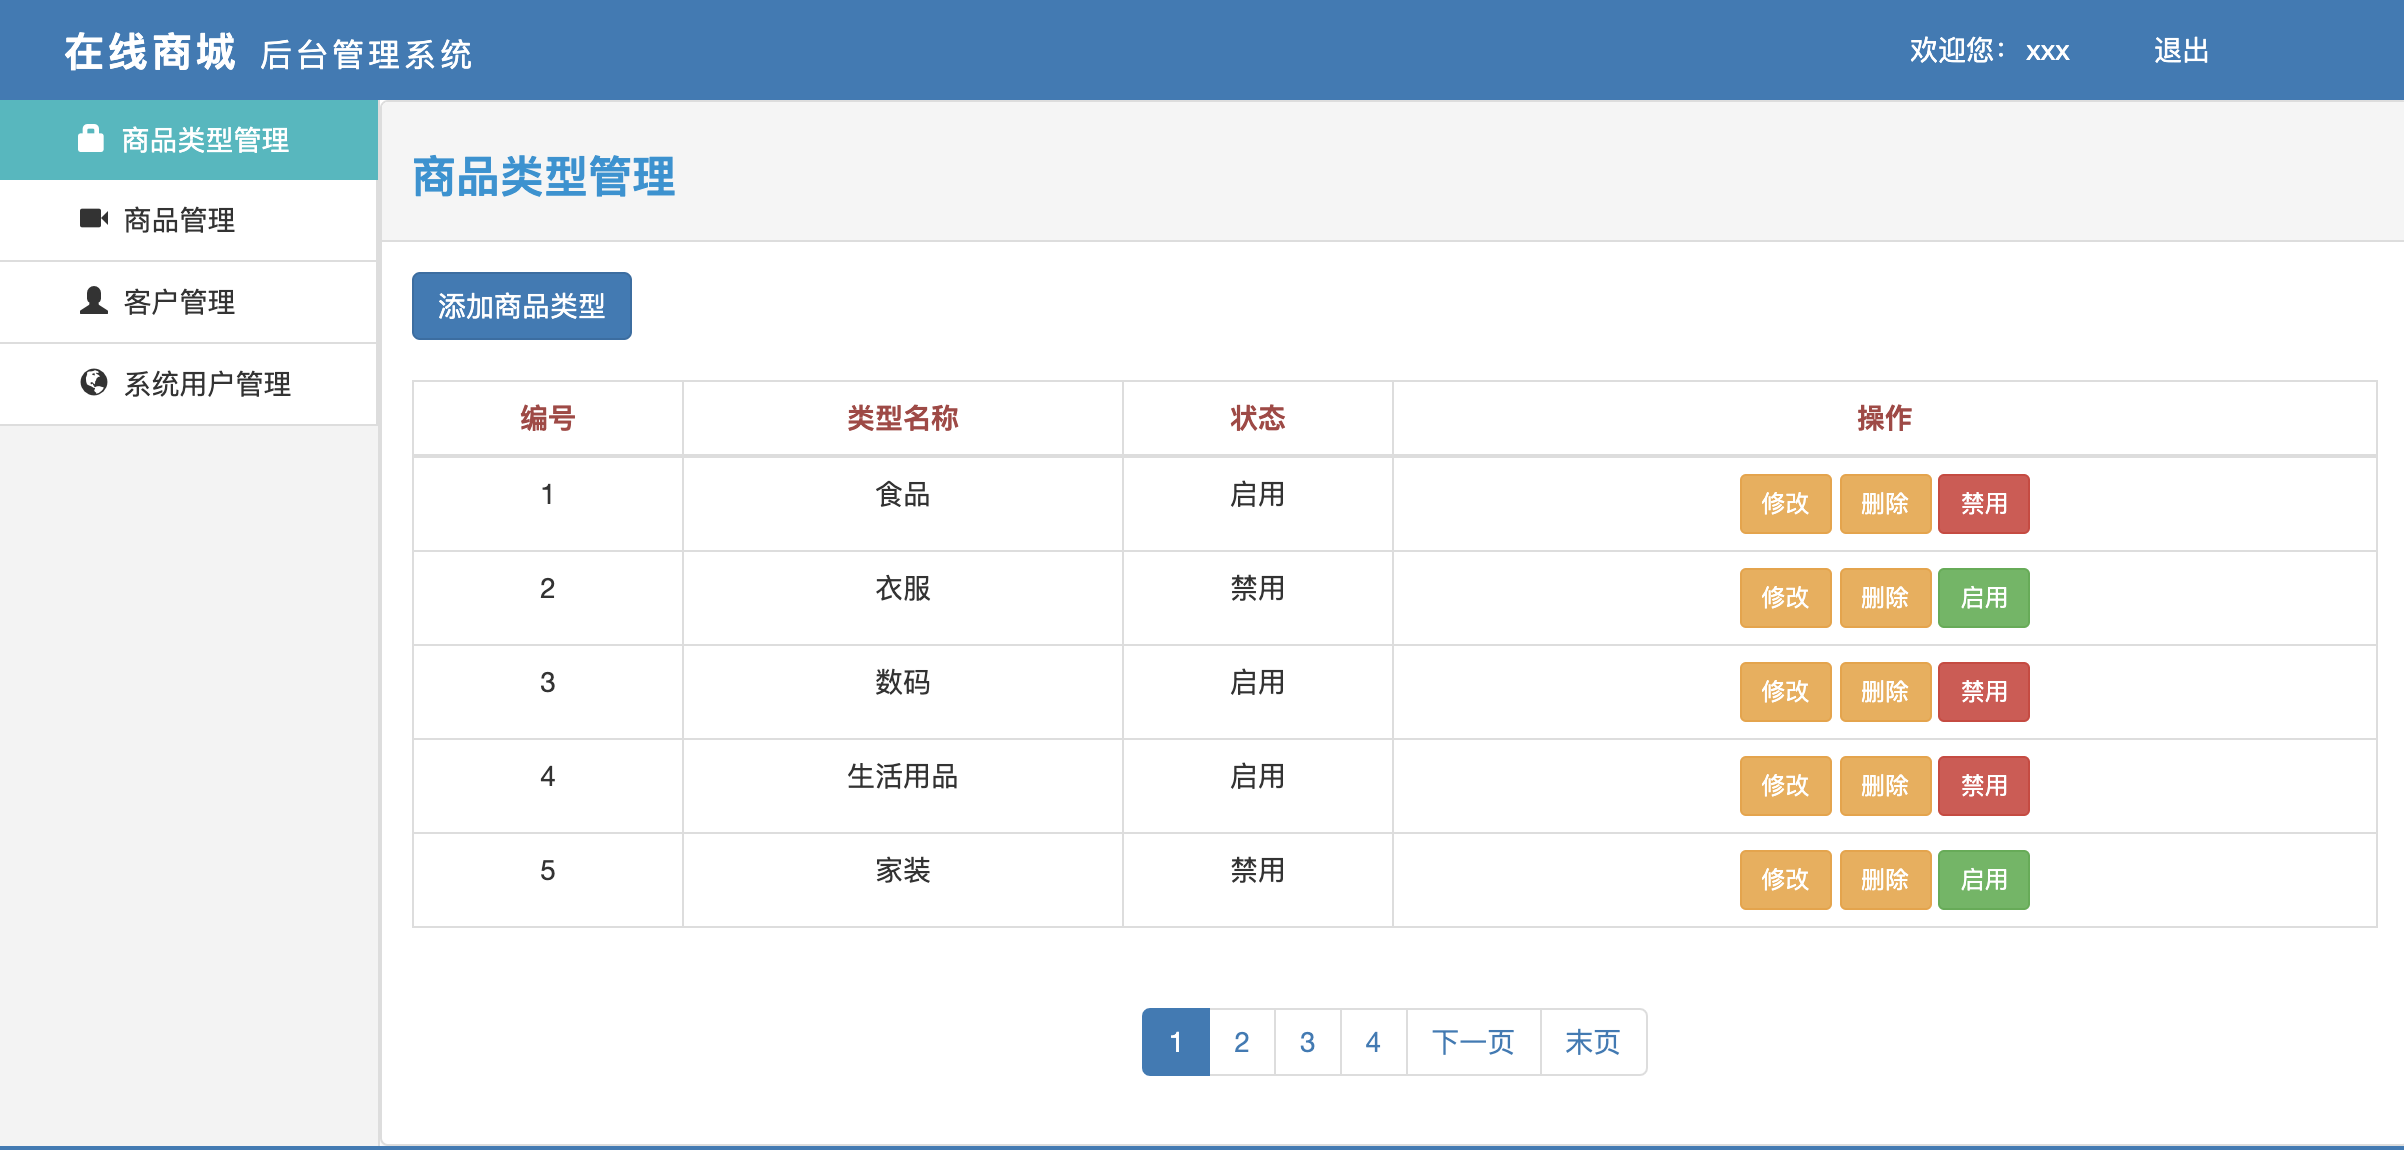
三、商品类型页面展示的实现:
在login.jsp中对form表单进行处理
<form action="${pageContext.request.contextPath}/backend/sysuser/login" class="form-horizontal" method="post">
这里会有SpringMVC 的使用
1 @Controller
2 @RequestMapping("/backend/sysuser")
3 public class SysuserController {
4     @RequestMapping("/login")
5     public String login(){
6         //实现登录的功能
7         return "main";
8     }
9 }
扫描找到对应的controller中对应的路径下请求,暂时没有实现login的逻辑,直接跳转至main.jsp页面中。
简单实现从登陆界面跳转至主页面的跳转,现在再来看下主页面中商品类型管理页面的展示:
<div class="col-xs-10" id="userPanel">
             <iframe id="frame-id" src="${pageContext.request.contextPath}/backend/productType/findAll" width="100%" height="100%" frameborder="0" scrolling="no">
            </iframe>
</div>
仅仅实现首页展示,而不是“商品类型管理” 按钮的功能实现。
商业类型管理页面中部分代码分享:
$(function(){
            $('#pagination').bootstrapPaginator({
                bootstrapMajorVersion:3,
                currentPage:${pageInfo.pageNum},
                totalPages:${pageInfo.pages},
                pageUrl:function(type,page,current){
                    return '${pageContext.request.contextPath}/backend/productType/findAll?pageNum='+page;
                },
                itemTexts:function(type,page,current){
                    switch (type) {
                        case "first":
                            return "首页";
                        case "prev":
                            return "上一页";
                        case "next":
                            return "下一页";
                        case "last":
                            return "末页";
                        case "page":
                            return page;
                    }
                }
            });
        });
<c:forEach items="${pageInfo.list}" var="productType">
</c:forEach>
ProductTypeController.java
 1 @Controller
 2 @RequestMapping("/backend/productType")
 3 public class ProductTypeController {
 4
 5     @Autowired
 6     private ProductTypeService productTypeService;
 7
 8     @RequestMapping("/findAll")
 9     public String findAll(Integer pageNum,Model model){
10         if(ObjectUtils.isEmpty(pageNum)){
11             pageNum= PaginationConstant.PAGE_NUM;
12         }
13         //设置分页
14         PageHelper.startPage(pageNum,PaginationConstant.PAGE_SIZE);
15         //查找所有产品类型
16         List<ProductType> productTypes = productTypeService.findAll();
17
18         //将查询结果封装到PageInfo中
19         PageInfo<ProductType> pageInfo = new PageInfo<>(productTypes);
20
21         model.addAttribute("pageInfo",pageInfo);
22         return "productTypeManager";
23     }
24  }
ProductTypeService.java
1 public interface ProductTypeService {
2     /**
3      * 查询所有商品类型信息
4      * @return
5      */
6     public List<ProductType> findAll();
7 }
ProductTypeServiceImpl.java
 1 @Service
 2 @Transactional(propagation = Propagation.REQUIRED, rollbackFor = Exception.class)
 3         public class ProductTypeServiceImpl implements ProductTypeService {
 4     @Autowired
 5     public ProductTypeDao productTypeDao;
 6     @Override
 7     @Transactional(propagation = Propagation.SUPPORTS,readOnly = true)
 8     public List<ProductType> findAll() {
 9         return productTypeDao.selectAll();
10     }
11 }
service层再去调用DAO层
ProductTypeDao.java
1 public interface ProductTypeDao {
2     //查找所有商品类型
3     public List<ProductType> selectAll();
4 }
ProductTypeMapper.xml
 1 <mapper namespace="com.itany.zshop.dao.ProductTypeDao">
 2     <sql id="productTypeColumn">
 3         id,
 4         name,
 5         status
 6     </sql>
 7     <select id="selectAll" resultType="ProductType">
 8         select <include refid="productTypeColumn"/>
 9         from t_product_type
10     </select>
11 </mapper>
这里还需要进行配置Spring-dao.xml和Spring-service.xml 文件:
Spring-dao.xml 文件 配置数据连接及数据源信息。
 1 <?xml version="1.0" encoding="UTF-8"?>
 2 <beans xmlns="http://www.springframework.org/schema/beans"
 3        xmlns:xsi="http://www.w3.org/2001/XMLSchema-instance" xmlns:mac="http://www.springframework.org/schema/mvc"
 4        xmlns:util="http://www.springframework.org/schema/util"
 5        xmlns:context="http://www.springframework.org/schema/context"
 6        xsi:schemaLocation="http://www.springframework.org/schema/beans http://www.springframework.org/schema/beans/spring-beans.xsd http://www.springframework.org/schema/mvc http://www.springframework.org/schema/mvc/spring-mvc.xsd http://www.springframework.org/schema/util http://www.springframework.org/schema/util/spring-util.xsd http://www.springframework.org/schema/context http://www.springframework.org/schema/context/spring-context.xsd">
 7
 8     <!-- 数据库连接信息-->
 9     <context:property-placeholder location="classpath:dataSource.properties"/>
10
11     <!--数据源信息-->
12     <bean id="dataSource" class ="com.alibaba.druid.pool.DruidDataSource">
13         <property name ="driverClassName" value ="${jdbc.driverClassName}"/>
14         <property name="url" value="${jdbc.url}"/>
15         <property name="username" value="${jdbc.username}"/>
16         <property name="password" value="${jdbc.passrod}"/>
17         <property name="initialSize" value="${jdbc.initialSize}"/>
18     </bean>
19
20     <!--SqlSessionFactory-->
21     <bean id="sqlSessionFactory" class="org.mybatis.spring.SqlSessionFactoryBean">
22         <property name="dataSource" ref="dataSource"/>
23         <property name="mapperLocations" value="classpath:com/itany/zshop/mapper/*.xml"/>
24         <property name="typeAliasesPackage" value="com.itany.zshop.pojo"/>
25         <!--  分页插件      -->
26         <property name="plugins">
27             <list>
28                 <!--配置拦截器 -->
29                 <bean class="com.github.pagehelper.PageInterceptor">
30                 <property name="properties">
31                 <props>
32                     <prop key="helperDialect">mysql</prop>
33                 </props>
34                 </property>
35                 </bean>
36             </list>
37         </property>
38     </bean>
39
40  <!---  指定代理 接口位置  创建DAO的实体类-->
41     <bean class="org.mybatis.spring.mapper.MapperScannerConfigurer">
42         <property name="sqlSessionFactoryBeanName" value="sqlSessionFactory"/>
43         <property name="basePackage" value="com.itany.zshop.dao"/>
44     </bean>
45 </beans>
Spring-service.xml
<?xml version="1.0" encoding="UTF-8"?>
<beans xmlns="http://www.springframework.org/schema/beans"
       xmlns:xsi="http://www.w3.org/2001/XMLSchema-instance"
       xmlns:context="http://www.springframework.org/schema/context" xmlns:tx="http://www.springframework.org/schema/tx"
       xsi:schemaLocation="http://www.springframework.org/schema/beans http://www.springframework.org/schema/beans/spring-beans.xsd http://www.springframework.org/schema/context http://www.springframework.org/schema/context/spring-context.xsd http://www.springframework.org/schema/tx http://www.springframework.org/schema/tx/spring-tx.xsd">

    <!--    扫包文件的配置-->
    <context:component-scan base-package="com.itany.zshop.service.impl"/>

    <!--    配置事务管理器-->
    <bean id ="transactionManager" class="org.springframework.jdbc.datasource.DataSourceTransactionManager">
    <!--     注入数据源   -->
        <property name="dataSource" ref="dataSource"/>
    </bean>

<!--    事务的注解驱动-->
    <tx:annotation-driven transaction-manager="transactionManager"/>

</beans>
至此完成首页展示,其他功能均可按照此思路进行分析。