前两篇springcloud入门系列文章已经创建好了Eureka注册中心和服务提供者,现在来创建服务消费者。
在创建消费者之前,我们先启动好Eureka注册中心,在微服务架构中,通常会存在多个服务提供者来提供服务,为了方便让服务提供者使用不同的端口号来启动多个服务,我们可以在application.properties文件里把端口号改为读取启动参数的模式。
server.port=${port}
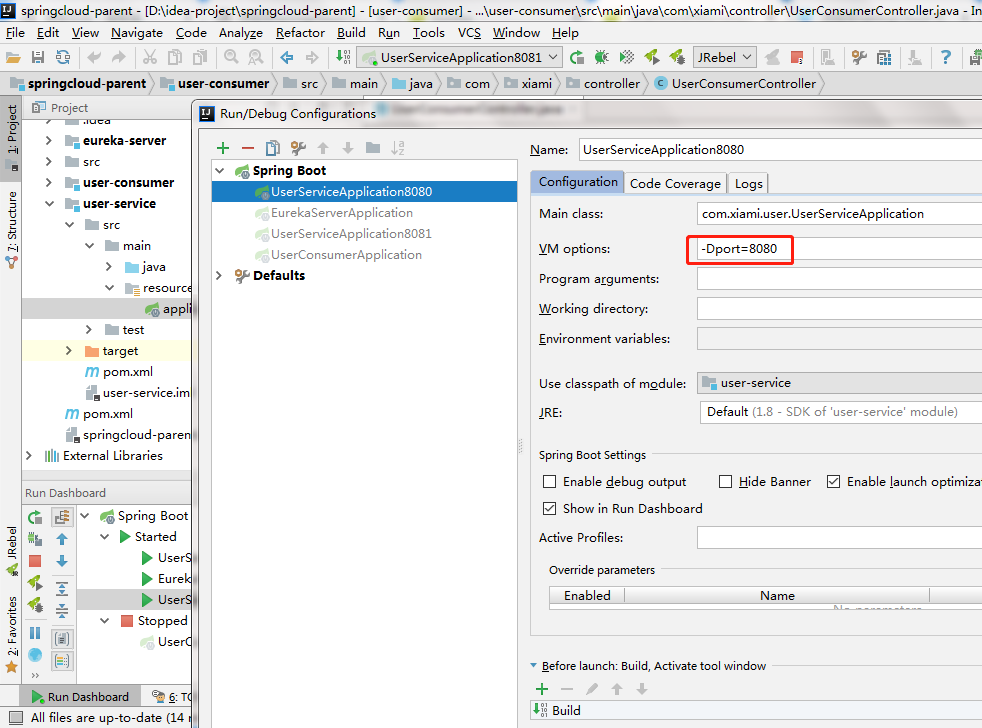
然后再通过配置启动参数来设置端口号(如上图所示),再分别启动8080和8081端口的服务提供者。
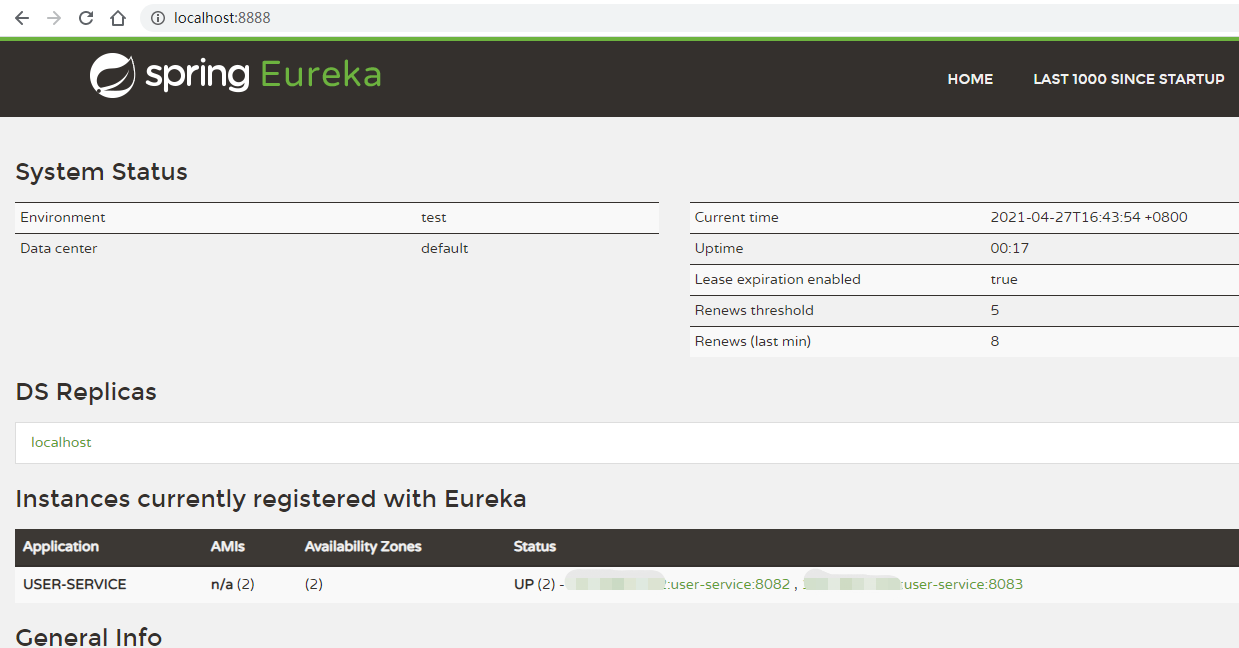
启动好后,可以在注册中心看到两个服务提供者了。现在我们开始创建服务消费者,并以url = "http://user-service/user/"+id的形象来模拟负载均衡的方式来调用服务。
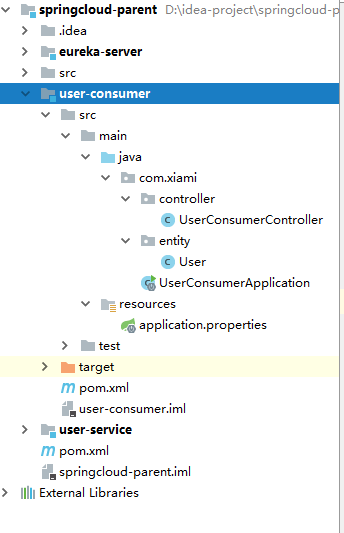
这就是服务消费者的目录结构了。
这是pom文件:
<?xml version="1.0" encoding="UTF-8"?>
<project xmlns="http://maven.apache.org/POM/4.0.0"
         xmlns:xsi="http://www.w3.org/2001/XMLSchema-instance"
         xsi:schemaLocation="http://maven.apache.org/POM/4.0.0 http://maven.apache.org/xsd/maven-4.0.0.xsd">
<parent>
    <artifactId>springcloud-parent</artifactId>
    <groupId>com.xiami</groupId>
    <version>1.0-SNAPSHOT</version>
</parent>
<modelVersion>4.0.0</modelVersion>

<artifactId>user-consumer</artifactId>

<dependencies>
    <dependency>
        <groupId>org.springframework.boot</groupId>
        <artifactId>spring-boot-starter-web</artifactId>
    </dependency>
    <dependency>
        <groupId>org.springframework.cloud</groupId>
        <artifactId>spring-cloud-starter-netflix-eureka-client</artifactId>
    </dependency>
</dependencies>
</project>
这是application.properties文件:
server.port=8090
spring.application.name=user-consumer
eureka.client.service-url.defaultZone=http://localhost:8888/eureka
这是服务消费者的启动文件,要注意的是需要在restTemplate方法里加入了@LoadBalanced标签,表示使用Ribbon负载均衡。
。
package com.xiami;

import org.springframework.boot.SpringApplication;
import org.springframework.boot.autoconfigure.SpringBootApplication;
import org.springframework.cloud.client.discovery.EnableDiscoveryClient;
import org.springframework.cloud.client.loadbalancer.LoadBalanced;
import org.springframework.context.annotation.Bean;
import org.springframework.web.client.RestTemplate;

@SpringBootApplication
@EnableDiscoveryClient
public class UserConsumerApplication {
    public static void main(String[] args) {
        SpringApplication.run(UserConsumerApplication.class,args);
    }

    @Bean
    @LoadBalanced
    public RestTemplate restTemplate(){
        return new RestTemplate();
    }
}
我们接着写UserConsumerController文件:
package com.xiami.controller;

import com.xiami.entity.User;
import org.springframework.beans.factory.annotation.Autowired;
import org.springframework.web.bind.annotation.GetMapping;
import org.springframework.web.bind.annotation.PathVariable;
import org.springframework.web.bind.annotation.RequestMapping;
import org.springframework.web.bind.annotation.RestController;
import org.springframework.web.client.RestTemplate;

@RestController
@RequestMapping("/consumer")
public class UserConsumerController {

    @Autowired
    private RestTemplate restTemplate;

    @GetMapping("/{id}")
    public User queryById(@PathVariable Long id){
        String url = "http://user-service/user/"+id;
        return restTemplate.getForObject(url,User.class);
    }
}
User文件:
package com.xiami.entity;

public class User {
    private int id;
    private String username;
    private int age;
    private String ctm;

    public int getId() {
        return id;
    }

    public void setId(int id) {
        this.id = id;
    }

    public String getUsername() {
        return username;
    }

    public void setUsername(String username) {
        this.username = username;
    }

    public int getAge() {
        return age;
    }

    public void setAge(int age) {
        this.age = age;
    }

    public String getCtm() {
        return ctm;
    }

    public void setCtm(String ctm) {
        this.ctm = ctm;
    }
}
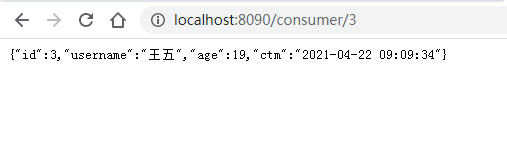
所有文件都写好后,再启动消费者,最后访问localhost:8090/consumer/3,显示运行成功。
我们也可以在服务提供者的方法里加一下打印日志,然后我们刷新几次上面的URL,就可以看到以间隔的效果来调用服务提供者了。