一.SpringBoot
1.1:SpringBoot简介
Spring Boot是由Pivotal团队提供的全新框架,其设计目的是用来简化新Spring应用的初始搭建以及开发过程。该框架使用了特定的方式来进行配置,从而使开发人员不再需要定义样板化的配置。
1.2:SpringBoot特性
1. SpringBoot并不是对Spring功能上的增强,而是提供了一种快速创建独立的Spring应用程序的框架
2. 嵌入的Tomcat,无需部署WAR文件
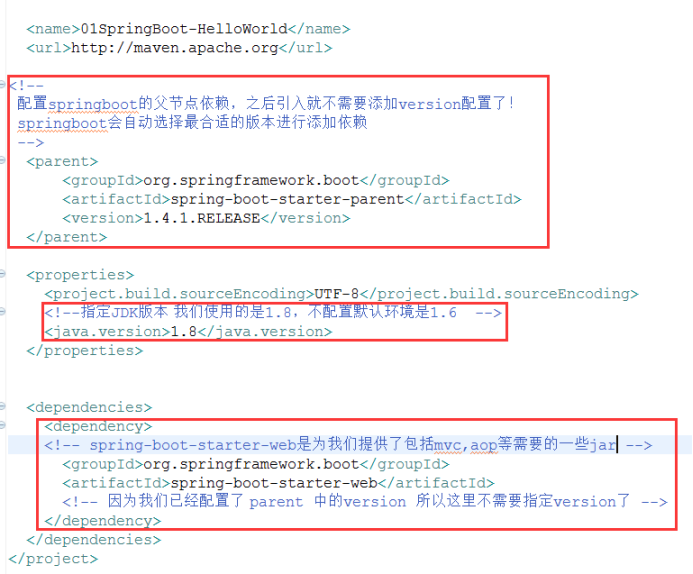
3. 简化Maven配置
4. 自动配置Spring
5. 绝对没有代码生成和对XML没有要求配置
6.备受关注,是下一代框架,已经是不争的事实,不需要学习springmvc
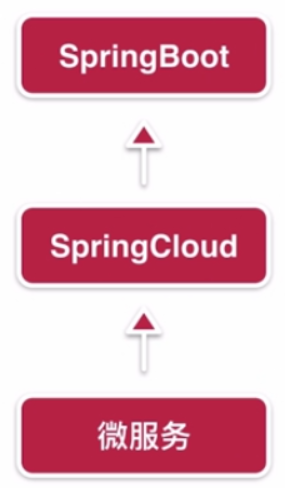
7.微服务的入门级微框架,springboot是springcloud的基础
1.3:SpringBoot开发环境准备
1.开发环境JDK1.8 Tomcat7.0(这里不演示配置)
2.开发工具Eclipse或者是Idea
1.4:SpringBoot之HelloWorld
(1. )配置pom文件节点
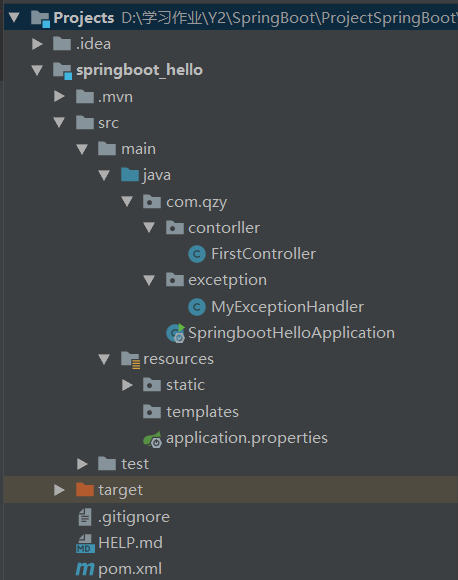
(2. )创建Controller
package com.qzy.contorller;
import org.springframework.web.bind.annotation.RequestMapping;
import org.springframework.web.bind.annotation.RestController;
@RestController
/**
* 如果说在Controller类上加RestController注解代表该controller当中的所有方法都返回Json串
*/
@RequestMapping("/first")
public class FirstController {
@RequestMapping("/firstRequest")
public String firstRequest(){
int result=5/0;
System.out.println("第一个请求到达Controller");
return "Hello SpringBoot";
}
}
(3. )在App.java文件中书写测试代码并运行
package com.qzy;
import org.springframework.boot.SpringApplication;
import org.springframework.boot.autoconfigure.SpringBootApplication;
@SpringBootApplication
public class SpringbootHelloApplication {
public static void main(String[] args) {
SpringApplication.run(SpringbootHelloApplication.class, args);
}
}
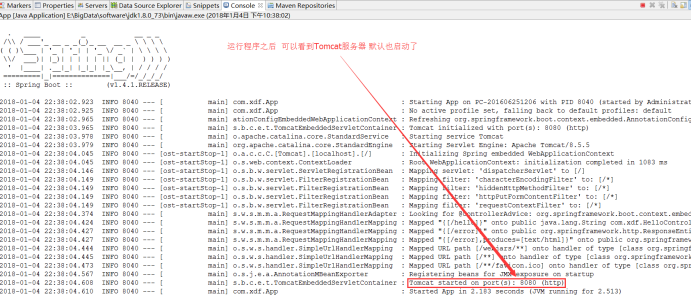
(4. )在浏览器中输入访问路径查看效果

目录
1.5:SpringBoot返回json数据
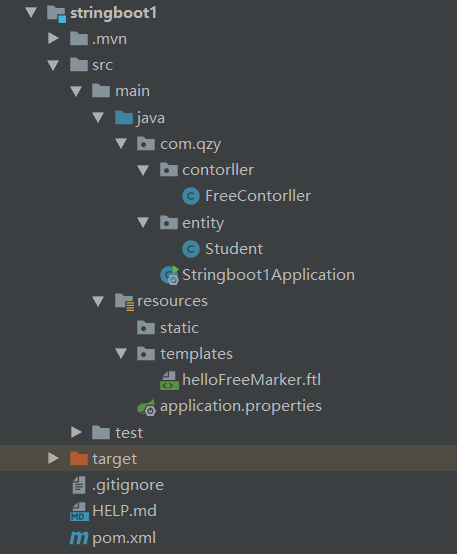
(1. )创建一个实体类对象Student
package com.qzy.entity;
public class Student {
private int id;
private String name;
public int getId() {
return id;
}
public void setId(int id) {
this.id = id;
}
public String getName() {
return name;
}
public void setName(String name) {
this.name = name;
}
}
(2. )在Controller文件中增加代码
package com.qzy.contorller;
import com.qzy.entity.Student;
import org.springframework.stereotype.Controller;
import org.springframework.ui.ModelMap;
import org.springframework.web.bind.annotation.RequestMapping;
import java.util.ArrayList;
import java.util.List;
@Controller
@RequestMapping("/ferr")
public class FreeContorller {
@RequestMapping("/freeFirst")
public String freeFirst(ModelMap map){
map.put("name","张三");
return "helloFreeMarker";
}
@RequestMapping("/freeSecond")
public String freeSecond(ModelMap map){
List<String> list=new ArrayList<>();
list.add("张");
list.add("李");
list.add("王");
map.put("userList",list);
return "helloFreeMarker";
}
@RequestMapping("/freeThread")
public String freeThread(ModelMap map){
List<Student> list=new ArrayList<>();
Student stu=new Student();
stu.setId(1);
stu.setName("张三");
list.add(stu);
map.put("stuList",list);
return "helloFreeMarker";
}
}
(3. )在application.properties文件中配置代码
###FreeMarker配置
spring.freemarker.template-loader-path=classpath:/templates/
spring.freemarker.cache=false
spring.freemarker.charset=UTF-8
spring.freemarker.check-template-location=true
spring.freemarker.content-type=text/html
spring.freemarker.expose-request-attributes=false
spring.freemarker.expose-session-attributes=false
spring.freemarker.request-context-attribute=request
spring.freemarker.prefix=/
spring.freemarker.suffix=.ftl
(4. )在helloFreeMarker.ftl文件中配置代码
<!DOCTYPE html>
<html lang="en">
<head>
<meta charset="UTF-8">
<title>SpringBoot整合FreeMarker</title>
</head>
<body>
欢迎:<#--${name}-->
<#list stuList as stu>
${stu.name}
</#list>
<#if 1==1>
呵呵,相等
</#if>
</body>
</html>
(5. )测试
package com.qzy;
import org.springframework.boot.SpringApplication;
import org.springframework.boot.autoconfigure.SpringBootApplication;
@SpringBootApplication
public class Stringboot1Application {
public static void main(String[] args) {
SpringApplication.run(Stringboot1Application.class, args);
}
}


目录