周末经过两天折腾,终于将SharePoint 2010的ADFS设置好。
1. 首先设置两个虚拟机, 一个使用Microsoft SharePoint 2010VM, 机器名demo2010a. 域:contoso.com. IP地址192.168.1.151. 另一个是ADFS 2.0 Server.机器名是fsweb. 加入域。 IP地址192.168.1.20. DNS:192.168.1.151, 192.168.1.1.
2. 可根据http://technet.microsoft.com/en-us/library/adfs2-federation-wif-application-step-by-step-guide(WS.10).aspx来设置fsweb机器的adfs2.0设置.
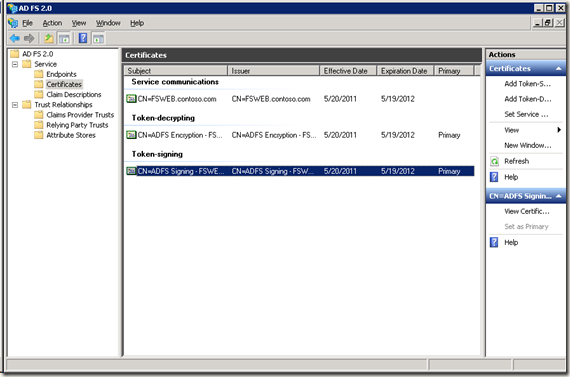
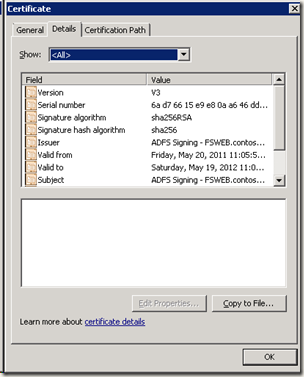
3.在机器fsweb 上导出token-signing certificate: ADFS2.0 management- >Services -> Certificate -> Token signing 中右击出primary certificate, 选择 view certificate, details tab中的copy to file, 选择DER格式。存为ADFS.cer 文件。拷贝到demo2010a 的c:\certificate目录下
4. 在demo2010a的sharepoint 2010 management shell run:
$cert = New-Object System.Security.Cryptography.X509Certificates.X509Certificate2("C:\certificate\adfs.cer ")
New-SPTrustedRootAuthority -Name "Token Signing Cert" -Certificate $cert
$map1 = New-SPClaimTypeMapping “http://schemas.xmlsoap.org/ws/2005/05/identity/claims/emailaddress” -IncomingClaimTypeDisplayName “EmailAddress” -SameAsIncoming
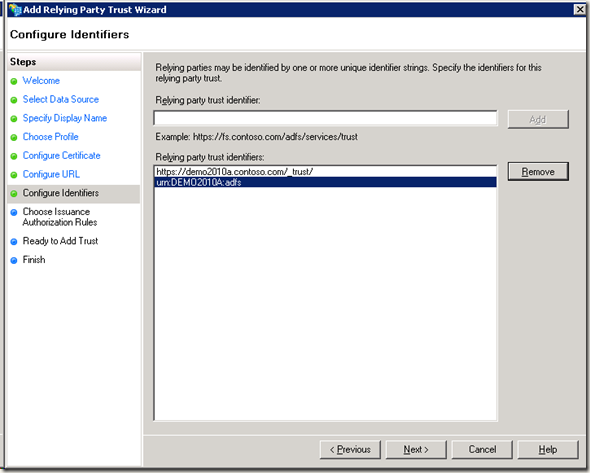
$realm = “urn:” + $env:ComputerName + “:adfs”
$signinurl = “https://[YOUR_SERVER_NAME]/adfs/ls/“
$ap = New-SPTrustedIdentityTokenIssuer -Name “ADFS20Server” -Description “ADFS 2.0 Federated Server” -Realm $realm -ImportTrustCertificate $cert -ClaimsMappings $map1 -SignInUrl $signinurl -IdentifierClaim $map1.InputClaimType
在当前我的环境中, [YOUR_SERVER_NAME]替换成fsweb.contoso.com
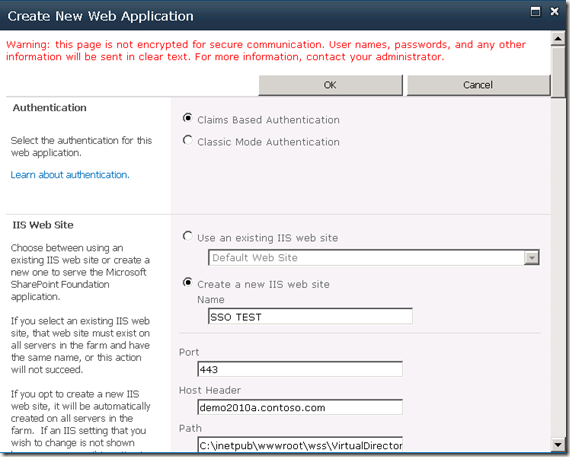
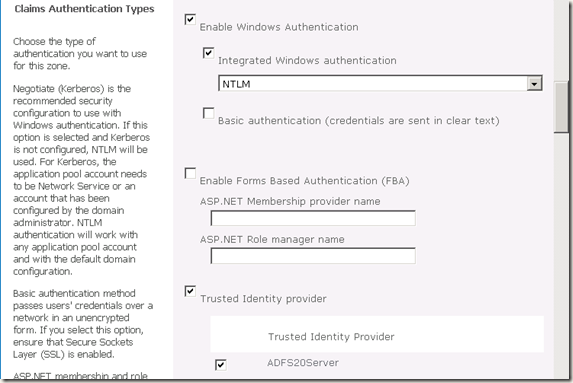
5. 在demo2010a , SharePoint 2010 central admin中建立新的web application. 选择claim based authentication. host header 选择demo2010a.contoso.com. 端口选择443, 选择SSL. 这时Claim authentication type 选择Enable window authentication 和 Trusted Indentity Provider 中的 ADFS20 Server. 如果这是见不到ADFS2.0 Server Indentity Provider, 请重新检查步骤4. 如果成功建立web application. 这是在相对应的C:\inetpub\wwwroot\wss\VirtualDirectories的web site 的目录中应该可以发现_trust 目录。
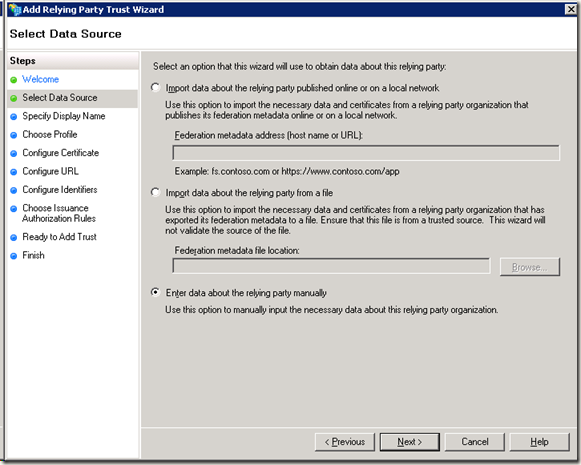
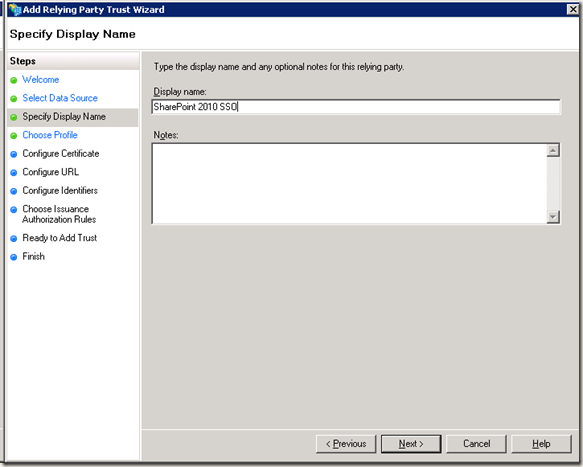
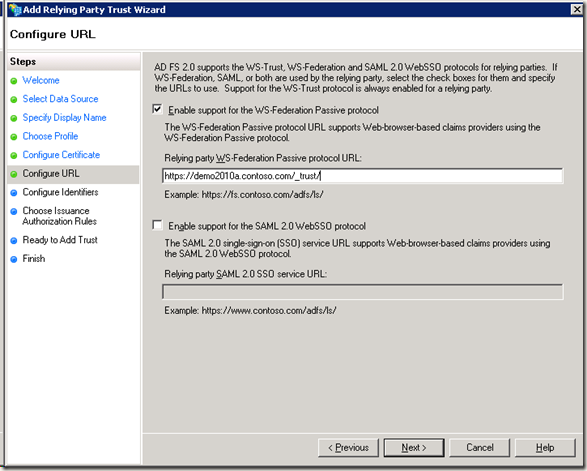
6. 在fsweb 的adfs 2.0 management中添加relying party trust : Enter data about the relying party manully -> Display Name: SharePoint 2010 DemoTest -> ADFS 2.0 profile -> Enable support for the WS-federation passive protocal : https://demo2010a.contoso.com/_trust/ -> Relying party trust Identifier:urn:DEMO2010A:adfs(这里同步骤4中的设置保持一致) ->Permit all users to the relying party .
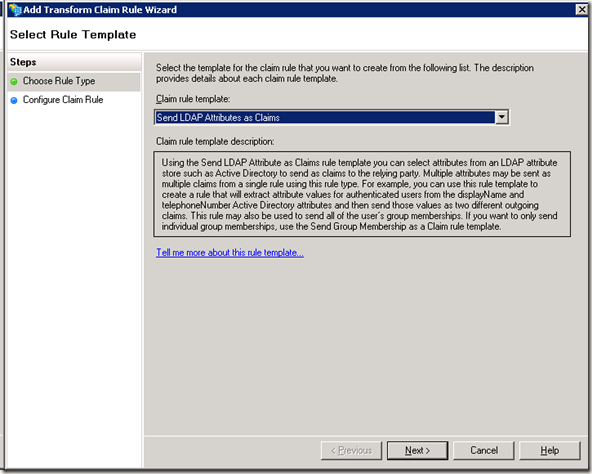
7. Add new rule:
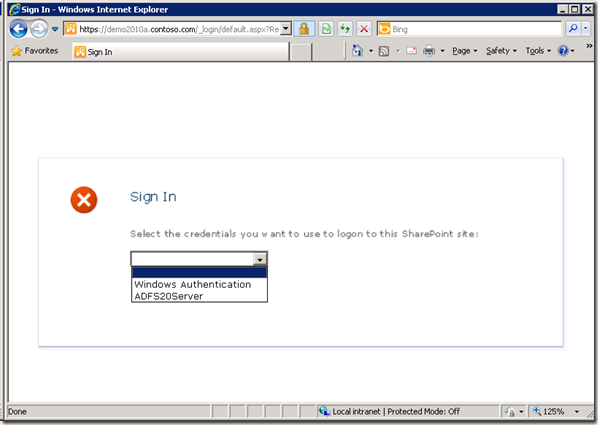
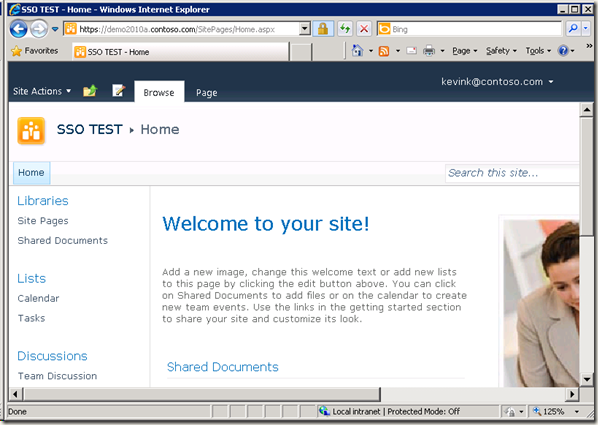
8.验证CBA ADFS工作正常
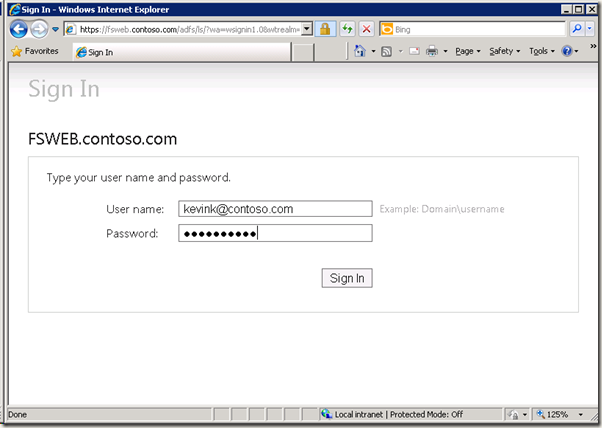
当选择ADFS20Server 以后, 到达页面:
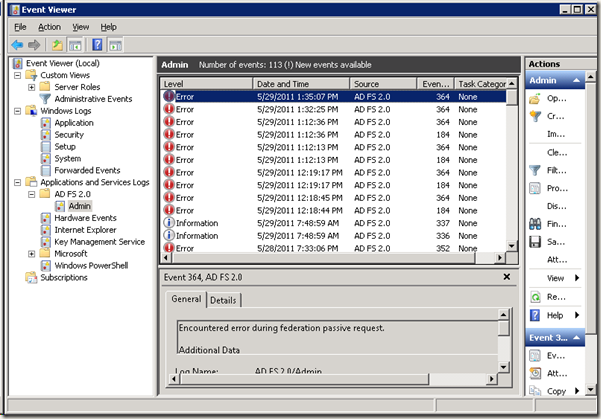
9.TroubleShooting Event Viewer 下的adfs2.0 和用mmc下的certificate.
