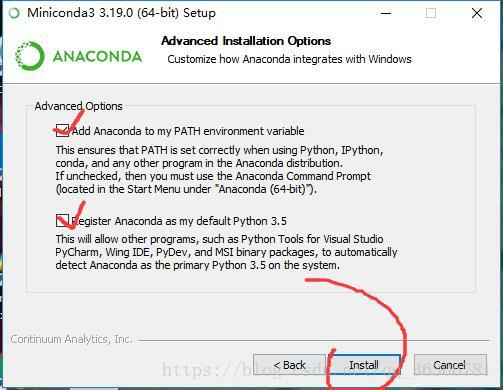
一 安装canda / python3.8
pip config set global.index-url https://pypi.tuna.tsinghua.edu.cn/simple
https://www.runoob.com/python3/python3-install.html
下载地址www.anaconda.com选择download,
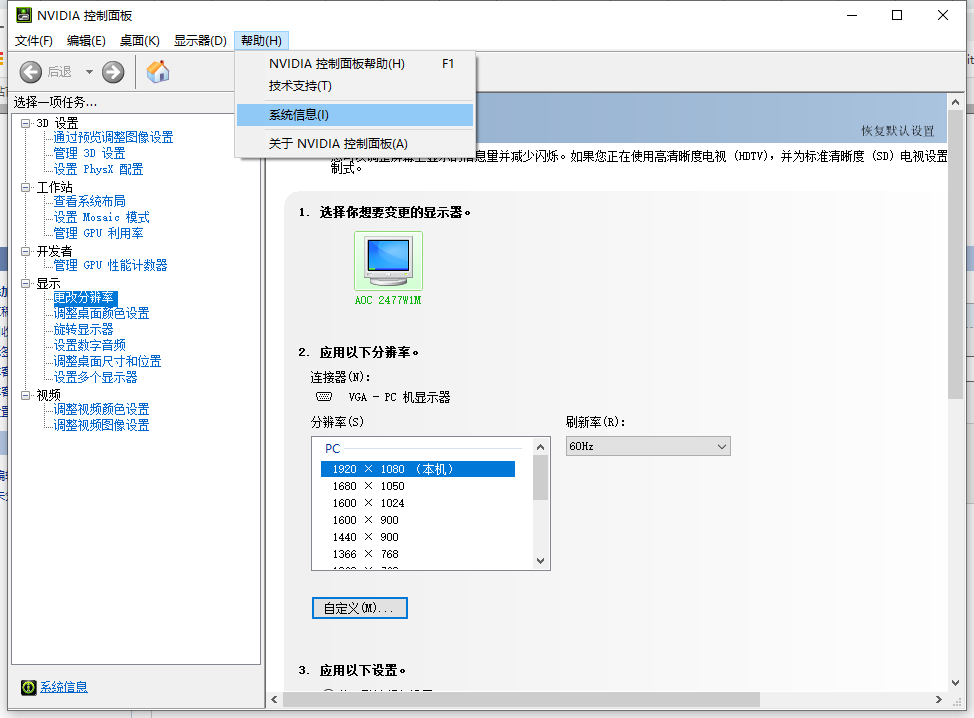

我们可以看见该显卡支持CUDA最高版本号、
GPU应用开发者的各位,请速前去下载。
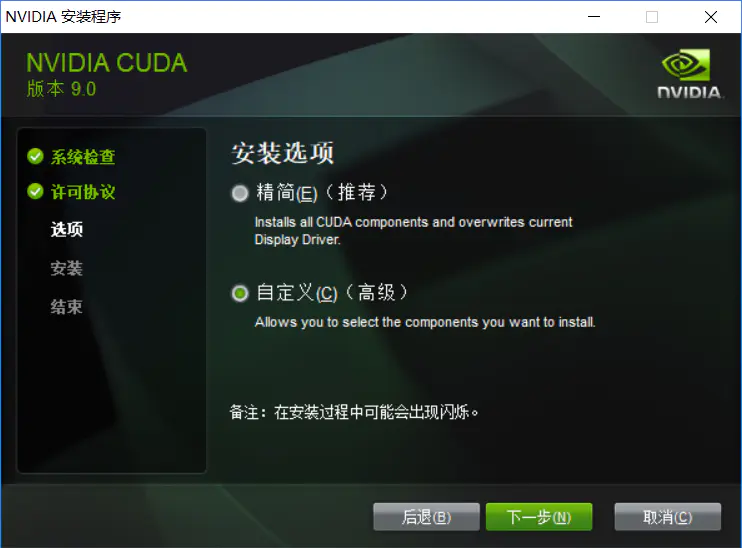
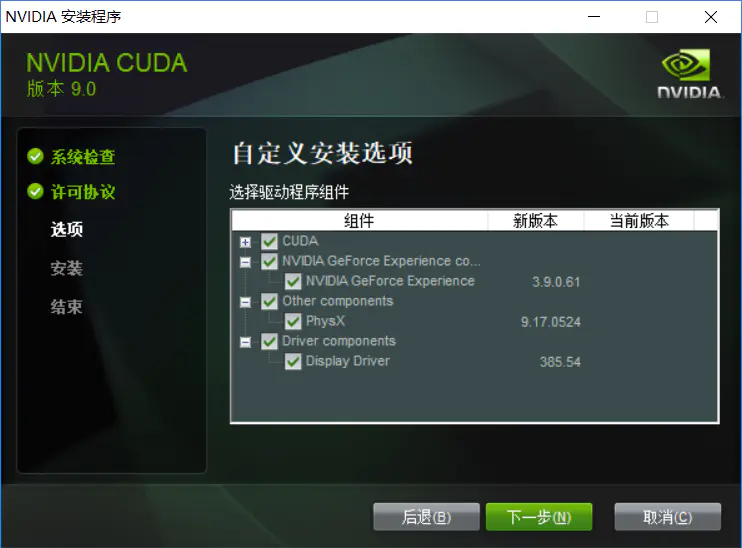
下载传送门: https://developer.nvidia.com/cuda-downloads
博客传送门: https://devblogs.nvidia.com/cuda-10-features-revealed/
本人的下载链接


安装之前关闭杀毒软件
打开命令行工具,输入 nvcc -V
nvcc --version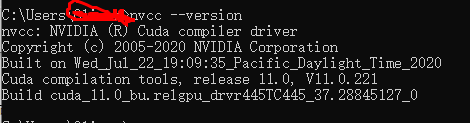
一、添加环境:
conda info -e #查看当前系统下的环境列表
conda info #查询当前环境的具体信息
conda list #列出此环境下安装的包
(e.g. 名称为py38,python版本为3.8)
conda create -n py38 python=3.8
删除环境:
conda remove -n py38 --all
查看所有环境
conda env list
或者:
conda info --e
添加镜像源:
conda config --add channels https://mirrors.tuna.tsinghua.edu.cn/anaconda/pkgs/free/
conda config --set show_channel_urls yes
1)先查看它的各个版本:
conda search tensorflow
或者
conda search tensorflow-gpu
2)选择一个版本安装:
conda install tensorflow=0.10.0rc0
conda install tensorflow=0.10.0rc0
其他命令
更新:
conda update xxx
删除包:
conda remove xxx
二、激活虚拟环境
activate my_test
1、查看已有的虚拟环境
conda env list
conda config --add channels https://mirrors.ustc.edu.cn/anaconda/pkgs/main/
conda config --add channels https://mirrors.ustc.edu.cn/anaconda/pkgs/free/
conda config --add channels https://mirrors.ustc.edu.cn/anaconda/cloud/conda-forge/
conda config --add channels https://mirrors.ustc.edu.cn/anaconda/cloud/msys2/
conda config --add channels https://mirrors.ustc.edu.cn/anaconda/cloud/bioconda/
conda config --add channels https://mirrors.ustc.edu.cn/anaconda/cloud/menpo/
conda config --set show_channel_urls yes
conda search tensorflow-gpu
conda install tensorflow-gpu
conda create -n tensorflow_gpu python=3.8
activate tensorflow_gpu
pip install tensorflow==2.3.0 -i https://pypi.tuna.tsinghua.edu.cn/simple
pip install tensorflow-gpu==2.3.0 -i https://pypi.tuna.tsinghua.edu.cn/simple
pip install tensorflow-gpu==2.5.0 -i https://pypi.tuna.tsinghua.edu.cn/simple
测试:
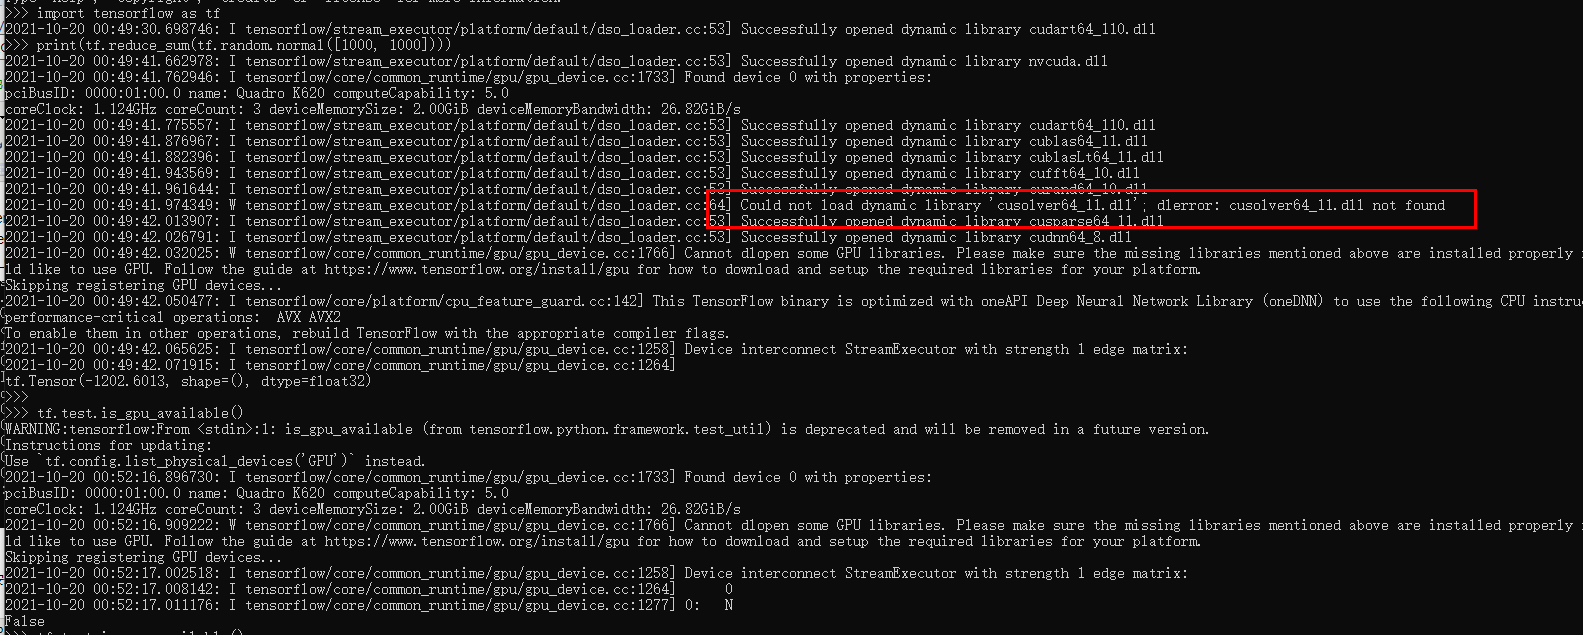
import tensorflow as tf
print(tf.reduce_sum(tf.random.normal([1000, 1000])))
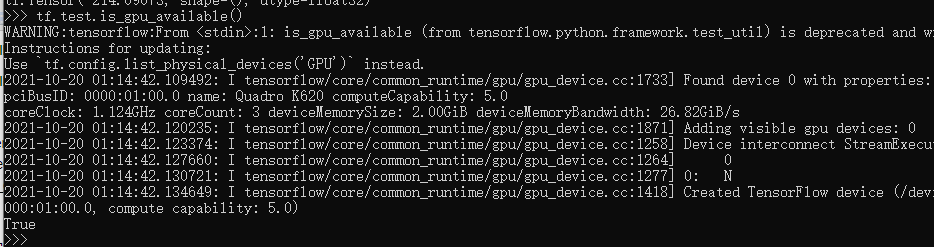
tf.test.is_gpu_available()
# 在import tensorflow之前 添加这两行可以禁用GPU
import osos.environ['CUDA_VISIBLE_DEVICES'] = '-1'经过测试 GPU比纯cpu在运行restnet18 快很多倍。
conda安装库时报错:
conda install keras
Collecting package metadata (current_repodata.json): done
Solving environment: failed with initial frozen solve. Retrying with flexible solve.
Solving environment: failed with repodata from current_repodata.json, will retry with next repodata source.
解决方案:
conda config --set channel_priority flexible
更新conda到最新版本:conda update -n base conda
再查一下conda版本:conda -V
并不是最新版本conda 4.7.11
第二次更新conda到最新版本:conda update -n base conda
第二次很重要!!!而且,这次它读环境的时候贼慢,我以为我电脑卡死机了呢,半年不动弹,等着就行了
更新完后再查一下conda版本:conda -V,发现是最新版本conda 4.7.11
然后执行:conda update --all
然后,装啥啥好使,整啥啥好使,啥啥都好使,好使就完事了!!!!!!