在写项目布局的时候会有这么一种情况
或者
这种页面 是单一的页面,别的地方也用不到,, 用xib写的话 cell就需要注册好几个。看起来挺多的,实际上有种方法能不用创建那么多的xib。
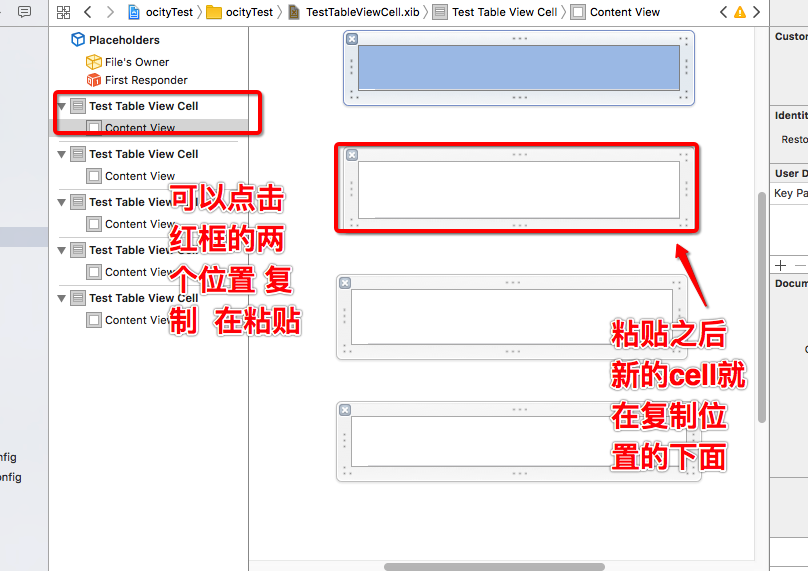
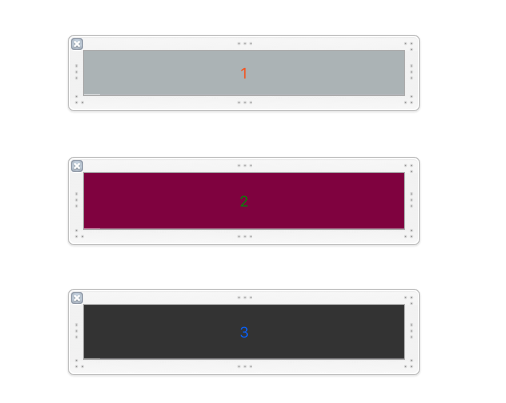
那就是在一个xib中创建多个cell
第一步创建
第二步 设置identifier
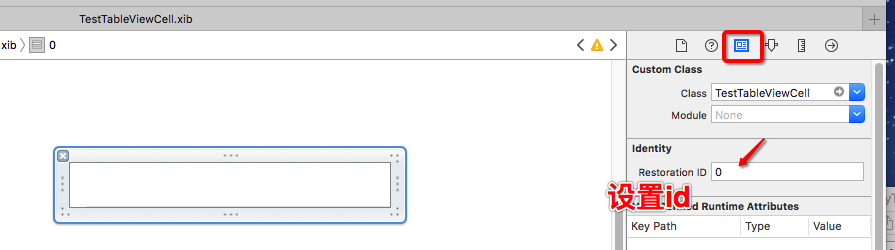
把每个cell 都设置成 相应的id之后
在tableView中
- (UITableViewCell *)tableView:(UITableView *)tableView cellForRowAtIndexPath:(NSIndexPath *)indexPath {
    NSString *identifier = @"";//对应xib中设置的identifier
    NSInteger index = 0; //xib中第几个Cell
    switch (indexPath.row) {
            case 0:
            identifier = @"0";
            index = 0;
            break;
            case 1:
            identifier = @"1";
            index = 1;
            break;
            case 2:
            identifier = @"2";
            index = 2;
            break;

        default:
            break;
    }

    TestTableViewCell *cell = [tableView dequeueReusableCellWithIdentifier:identifier];
    if (!cell) {
        cell = [[[NSBundle mainBundle] loadNibNamed:@"TestTableViewCell" owner:self options:nil] objectAtIndex:index];
    }
    return cell;
}
注册 cell 之后运行 没bug之后 xib 创建多个cell就完成了
===============================华丽的分割线=======================================
这个操作完成之后 我们在cell上添加button
我们想做的操作是 点击cell上的button 把button的title 打印出来。
其实有好多方法 通过属性添加点击事件 cell.button 或者 通过tag值找到button
还有一种在控制器里面很省代码的方法
在TestTableViewCell.h中 写个代理
#import <UIKit/UIKit.h>
@protocol TestTableViewCellDelegate <NSObject>

- (void)testBtn:(UIButton*)btn;

@end
@interface TestTableViewCell : UITableViewCell
@property (nonatomic, weak)id <TestTableViewCellDelegate> testdelegate;

@end
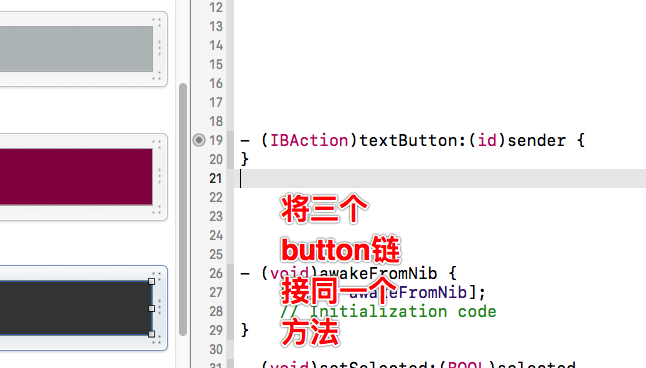
在TestTableViewCell.m中 加一个判断
- (IBAction)textButton:(id)sender {

    if (self.testdelegate && [self.testdelegate respondsToSelector:@selector(testBtn:)]) {
        [self.testdelegate testBtn:sender];
    }

}
接着在你的controller中 添加代理
cell.testdelegate = self;
实现方法
- (void)testBtn:(UIButton *)btn
{
    NSLog(@"%@", btn.titleLabel.text);
}
