inflxudb1.7.7
1.拉取最新的镜像 docker pull influxdb
2.运行实例:
docker run -d --restart=always -p 8086:8086 -p 8083:8083 -p 2003:2003 -v /root/docker/influxdb/data/:/var/lib/influxdb/data -v /root/docker/influxdb/dump/:/var/lib/influxdb/dump/ -e INFLUXDB_GRAPHITE_ENABLED=true -e INFLUXDB_ADMIN_ENABLED=true -e INFLUXDB_DB=db0 -e INFLUXDB_ADMIN_USER=admin -e INFLUXDB_ADMIN_PASSWORD=admin -e INFLUXDB_USER=telegraf -e INFLUXDB_USER_PASSWORD=telegraf --name influxdb influxdb
8086 HTTP API port
8083 Administrator interface port, if it is enabled
2003 Graphite support, if it is enabled
The above would create the database db0, create an admin user with the password admin, then create the telegraf user with your telegraf's secret password. It would then exit and leave behind any files it created in the volume that you mounted.
参考:https://hub.docker.com/_/influxdb
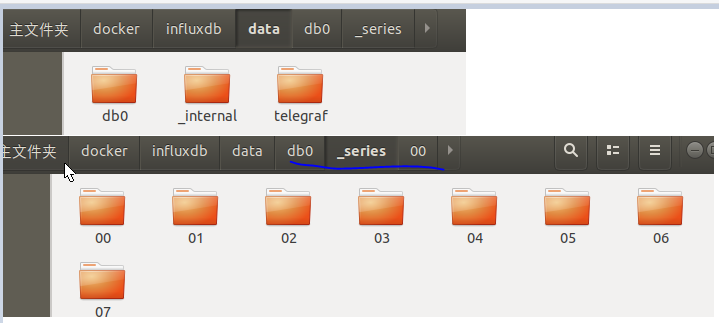
需要保证/root/docker/influxdb/data/是空的
3.建数据库
方法1 进入容器系统
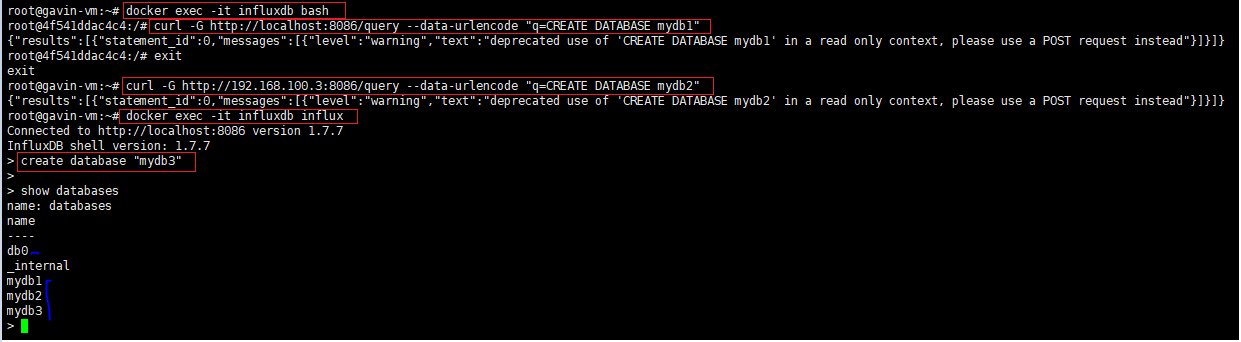
docker exec -it influxdb bash
curl -G http://localhost:8086/query --data-urlencode "q=CREATE DATABASE mydb1"
或者(192.168.100.3 是物理机的ip)
curl -G http://192.168.100.3:8086/query --data-urlencode "q=CREATE DATABASE mydb2"
方法2
docker exec -it influxdb influx
create database "mydb3"
如图(注意这里有我们初始化的db0数据库):
基本用法如下:
create database "db_name" #创建数据库
show databases #显示所有的数据库
drop database "db_name" #删除数据库
use db_name #使用数据库
show measurements #显示该数据库中所有的表
drop measurement "measurement_name" #删除表
#insertyour_measurement,tag_name=tag_value... column_name=column_value
insert test,host=127.0.0.1,monitor_name=test count=1 #创建表test,直接在插入数据的时候指定表名test
insert payment,device=mobile,product=Notepad,method=credit billed=33,licenses=3i #创建表payment i是integer的意思,默认数字是float
#例子
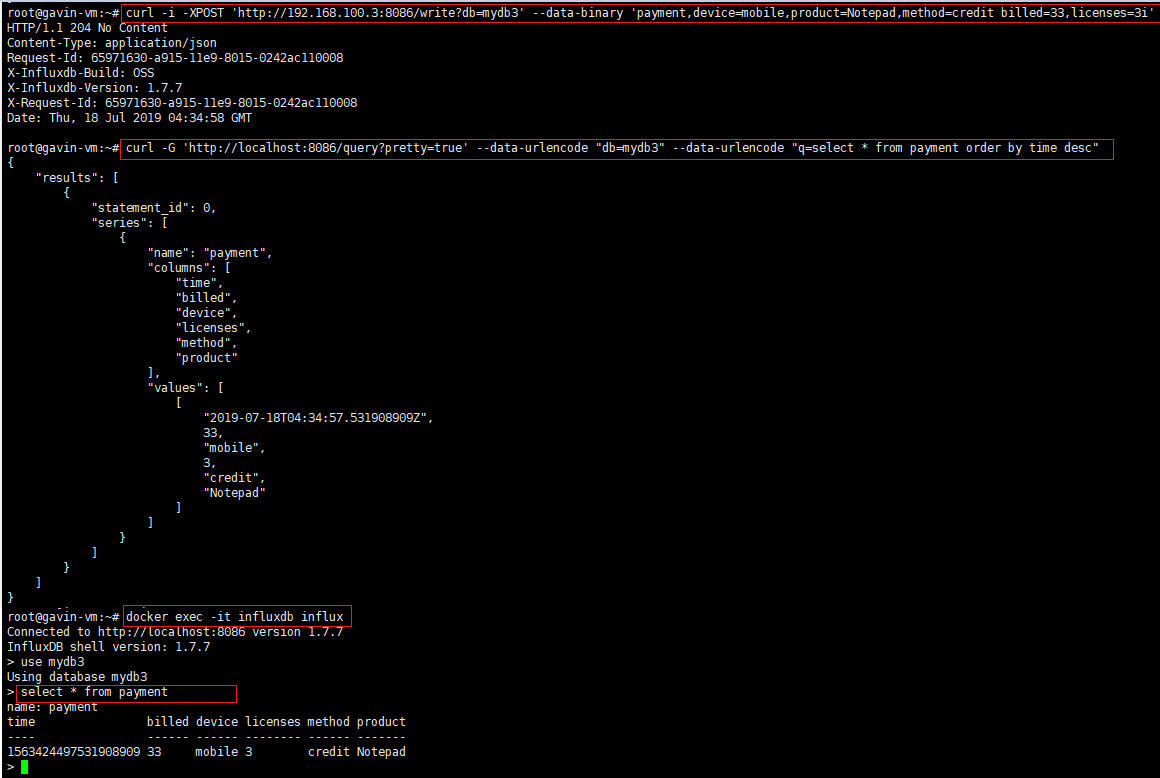
curl -i -XPOST 'http://192.168.100.3:8086/write?db=mydb3' --data-binary 'payment,device=mobile,product=Notepad,method=credit billed=33,licenses=3i'
curl -G 'http://localhost:8086/query?pretty=true' --data-urlencode "db=mydb3" --data-urlencode "q=select * from payment order by time desc"
python操作influxdb:
需要安装pip3 install influxdb

python 代码如下:
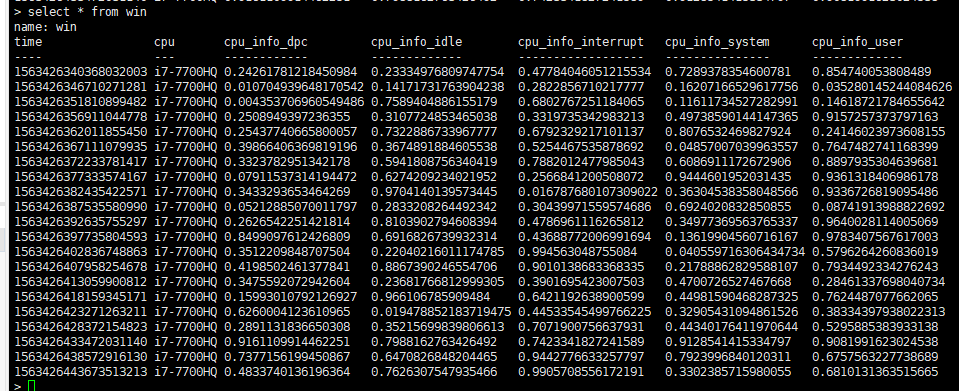
# -*- coding: utf-8 -*-
import time ,random
from influxdb import InfluxDBClient
#这个函数每次调用返回当前cpu的运行状况
#因为没有安装psutil包,所以使用一个随机函数代替cpu信息的获取
def read_info():
    data_list = [{
        'measurement': 'win'
        ,'tags': {'cpu': 'i7-7700HQ'}
        ,'fields': {
            'cpu_info_user': random.random()
            ,'cpu_info_system': random.random()
            ,'cpu_info_idle': random.random()
            ,'cpu_info_interrupt': random.random()
            ,'cpu_info_dpc': random.random()
        }
    }]
    return data_list

if __name__ == '__main__':
    db_name = 'db0'
    #创建一个influxdb的客户端
    client = InfluxDBClient('192.168.100.3', 8086, 'admin', 'admin', db_name)
    #创建数据库
    client.create_database(db_name)
    # 初始化
    counts = 0
    #计数,也就是数据上传20次
    while counts <= 20:
        counts += 1
        #write_points(points, time_precision=None, database=None, retention_policy=None, tags=None, batch_size=None, protocol=u'json')
        #write(data, params=None, expected_response_code=204, protocol=u'json')
        client.write_points(read_info())
        time.sleep(5)
    #查询结果
    #query(query, params=None, epoch=None, expected_response_code=200, database=None, raise_errors=True, chunked=False, chunk_size=0)
    result = client.query('select * from win')
    print("Result: {0}".format(result))
python参考https://influxdb-python.readthedocs.io/en/latest/examples.html 和https://zhuanlan.zhihu.com/p/37523795
备份和还原
我们先备份db0然后还原db1
docker exec -it influxdb influxd backup -portable -database db0 /tmp/db0 #备份db0到容器
docker cp influxdb:/tmp/db0 /root/docker/influxdb/dump #拷贝到主机
docker exec -it influxdb influxd restore -portable -db db0 -newdb db1 /tmp/db0 #还原到新的数据库db1, 这里省略了拷贝到容器的步骤
或者
docker exec -it influxdb influxd backup -portable -database db0 /var/lib/influxdb/dump/db0 #备份
docker exec -it influxdb influxd restore -portable -db db0 -newdb db1 /var/lib/influxdb/dump/db0 #还原
如果指定了dump文件 备份结果如下: 备份还原请参考https://docs.influxdata.com/influxdb/v1.7/administration/backup_and_restore/


注意进入容器的指令是docker exec -it influxdb influx 而不是docker exec -it influxdb influxd 我在还原数据库 就多输入了一个d字符 老提示listen tcp 127.0.0.1:8088: bind: address already in use 还找了很多解决方法https://stackoverflow.com/questions/40844762/influxdb-port-8088

telegraf
这里的数据采集可以采用telegraf来完成, ubuntu下的安装如下:
cat <<EOF | sudo tee /etc/apt/sources.list.d/influxdata.list
deb https://repos.influxdata.com/ubuntu bionic stable
EOF
sudo curl -sL https://repos.influxdata.com/influxdb.key | sudo apt-key add -
sudo apt-get update
sudo apt-get -y install telegraf
参考https://computingforgeeks.com/how-to-install-and-configure-telegraf-on-ubuntu-18-04-debian-9/
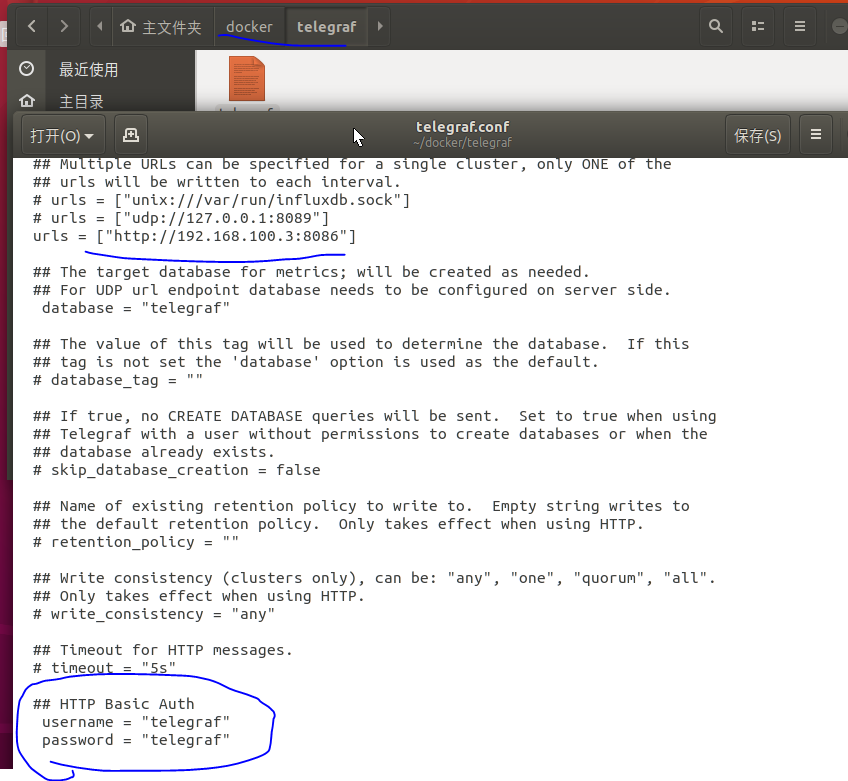
修改配置:
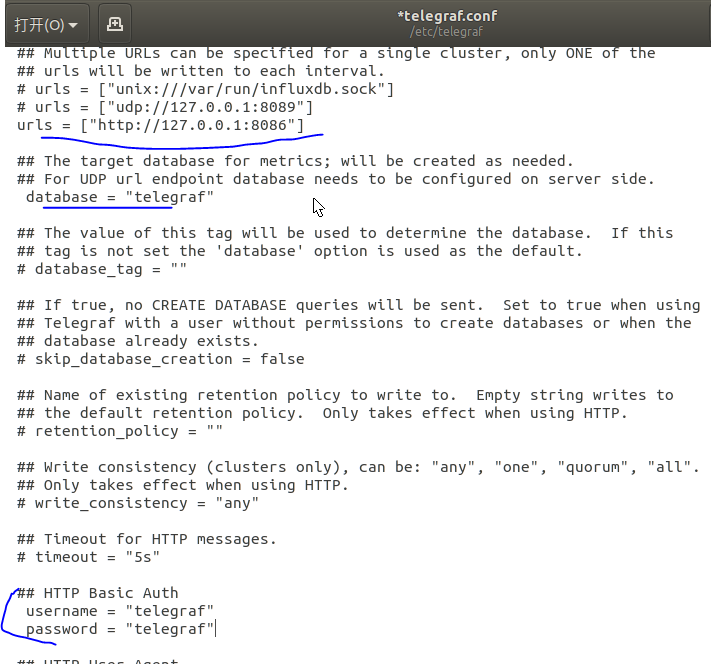
添加服务并启动
sudo systemctl enable --now telegraf
systemctl status telegraf

grafana
1.拉取镜像 docker pull grafana/grafana
2.运行实例:docker run -d --restart=always -p 3000:3000 --name grafana grafana/grafana 如果需要开启防火墙,请执行:
firewall-cmd --zone=public --add-port=8086/tcp --permanent
firewall-cmd --zone=public --add-port=3000/tcp --permanent
systemctl restart firewalld
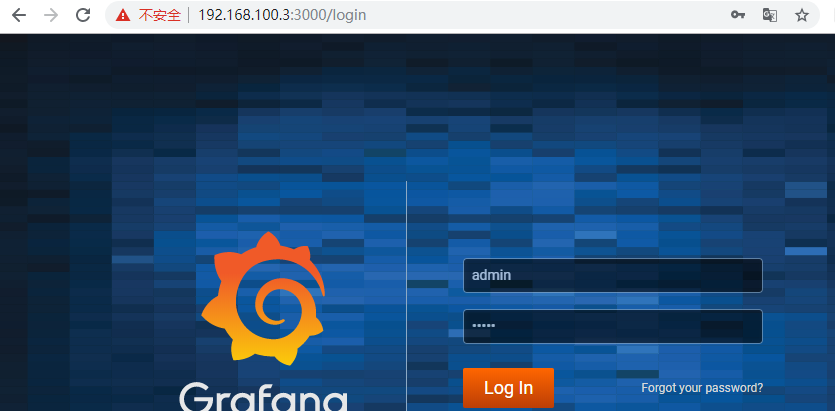
3.访问grafana :http://192.168.100.3:3000 输入用户名和密码 admin/admin
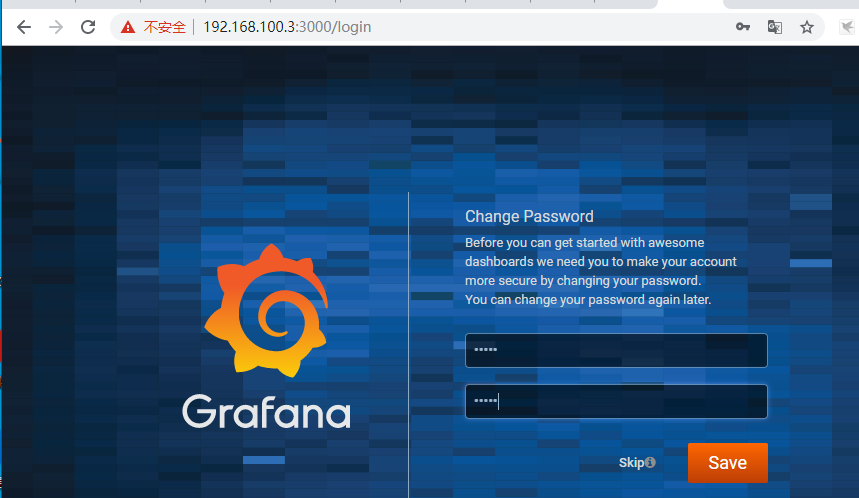
第一次进入需要修改密码:
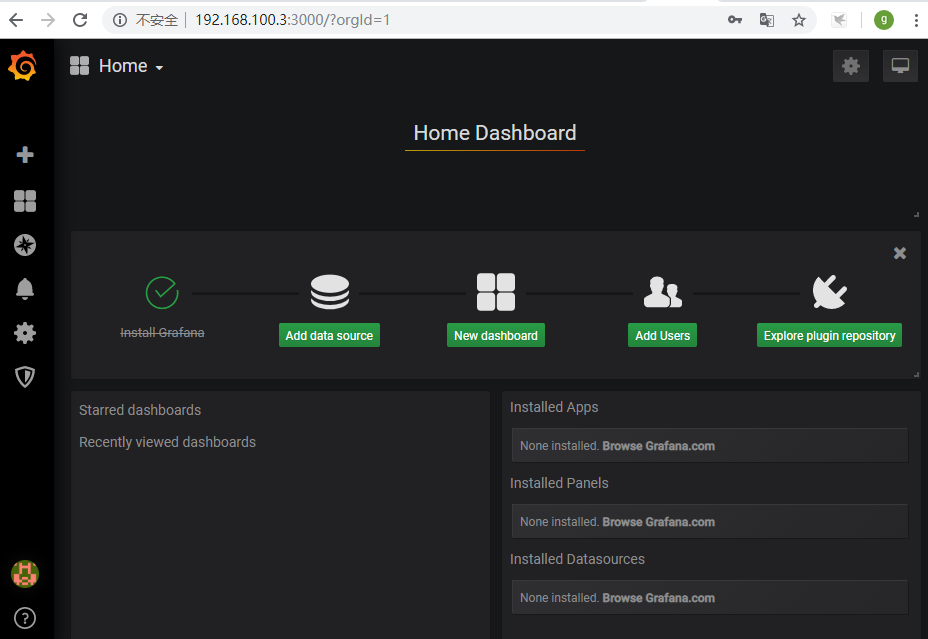
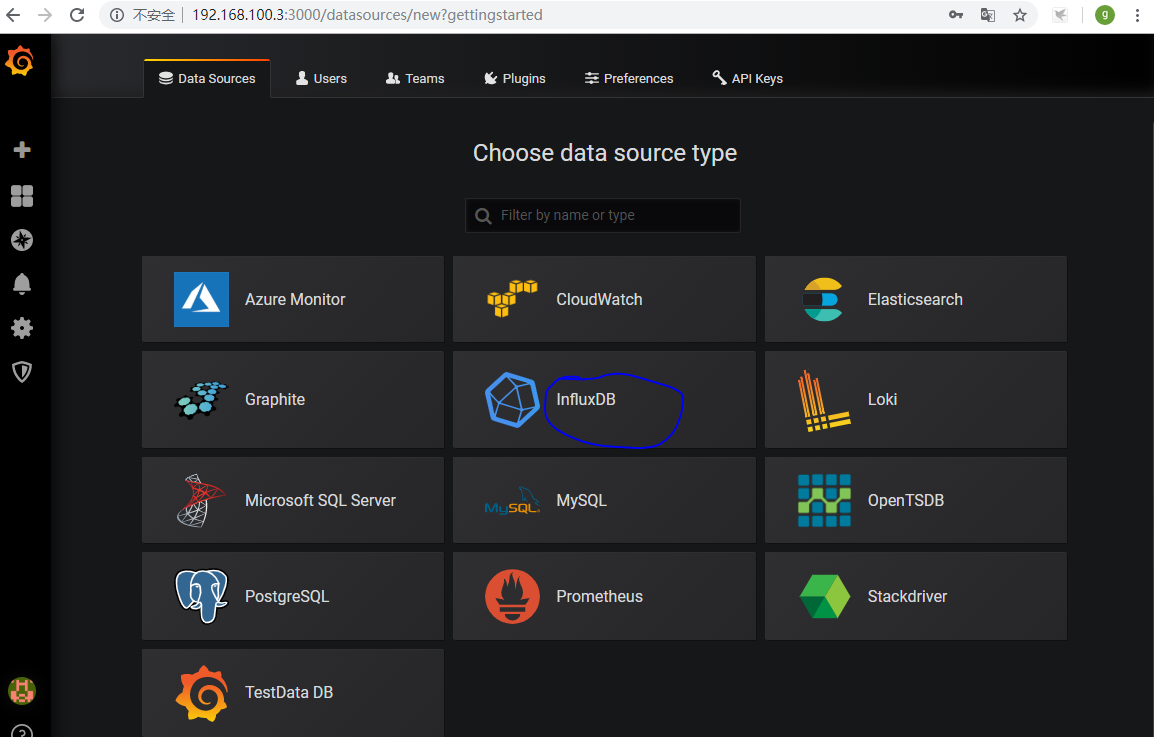
4.配置数据源(add data source)


5. 回到主页添加 dashboard


上面的terlegraf是安装到linux的物理机,现在我们来试一下它的docker安装
docker pull influxdb #拉取镜像
docker run -d --restart=always --name=telegraf -v /root/docker/telegraf/telegraf.conf:/etc/telegraf/telegraf.conf:ro telegraf #启动实例
docker logs -f telegraf #查看日志

---2019-8-13补充
注意上面python操作influxdb的文件而命名不能包含influxxxx.py; 我第一次命名比较随意,但是这次新搭建环境命名叫influxdb.py,结果程序在运行时提示 ImportError: cannot import name 'InfluxDBClient', 参考influxdb-python结果还是失败

![]()

也修改了python路径, sudo gedit /etc/profile 指令来修改环境变量,加入 export PATH=<你要加入的路径>:$PATH
最后修改文件名称就好了,。。。。。

![]()
参考地址:
https://hub.docker.com/_/influxdb