接着上篇vue-cli脚手架构建项目结构建好项目之后,就开始写个“hello world!”吧~~~
vue玩的都是组件,所以开发的也是组件。
1.新建helloworld.vue。(删除Hello.vue)代码如下:
<!--模板部分-->
<template>
    <div class="container">
        <h1>hello,world!</h1>
        <p>{{test}}</p>
    </div>
</template>
<!--js部分-->
<script>
export default {
    name: 'helloworld',
    data() {
        return {
            test: 'this is a test'
        };
    }
}
</script>
<!--样式部分-->
<style>
.container {
    background: #aaa;
    color: blue;
}
</style>
一个简单的组件就完成了。
2.我们打开入口组件App.vue并把里面的代码替换成如下代码:
<template>
  <div id="app">
    <img src="./assets/logo.png">
    <!--使用组件-->
    <helloworld></helloworld>
  </div>
</template>

<script>

import helloworld from './components/helloworld'
export default {
  components: { helloworld }
}
</script>

<style>
#app {


  font-family: 'Avenir', Helvetica, Arial, sans-serif;


  -webkit-font-smoothing: antialiased;


  -moz-osx-font-smoothing: grayscale;


  text-align: center;


  color: #2c3e50;


  margin-top: 60px;
}
</style>
这个时候还要将router文件夹下的index.js里面的代码屏蔽。因为这个栗子还没涉及到路由功能。
3.紧接着我们就可以启动服务了,在命令行下输入:
npm run dev
如果不报错,说明编译成功了,就会在浏览器中看到如下页面:
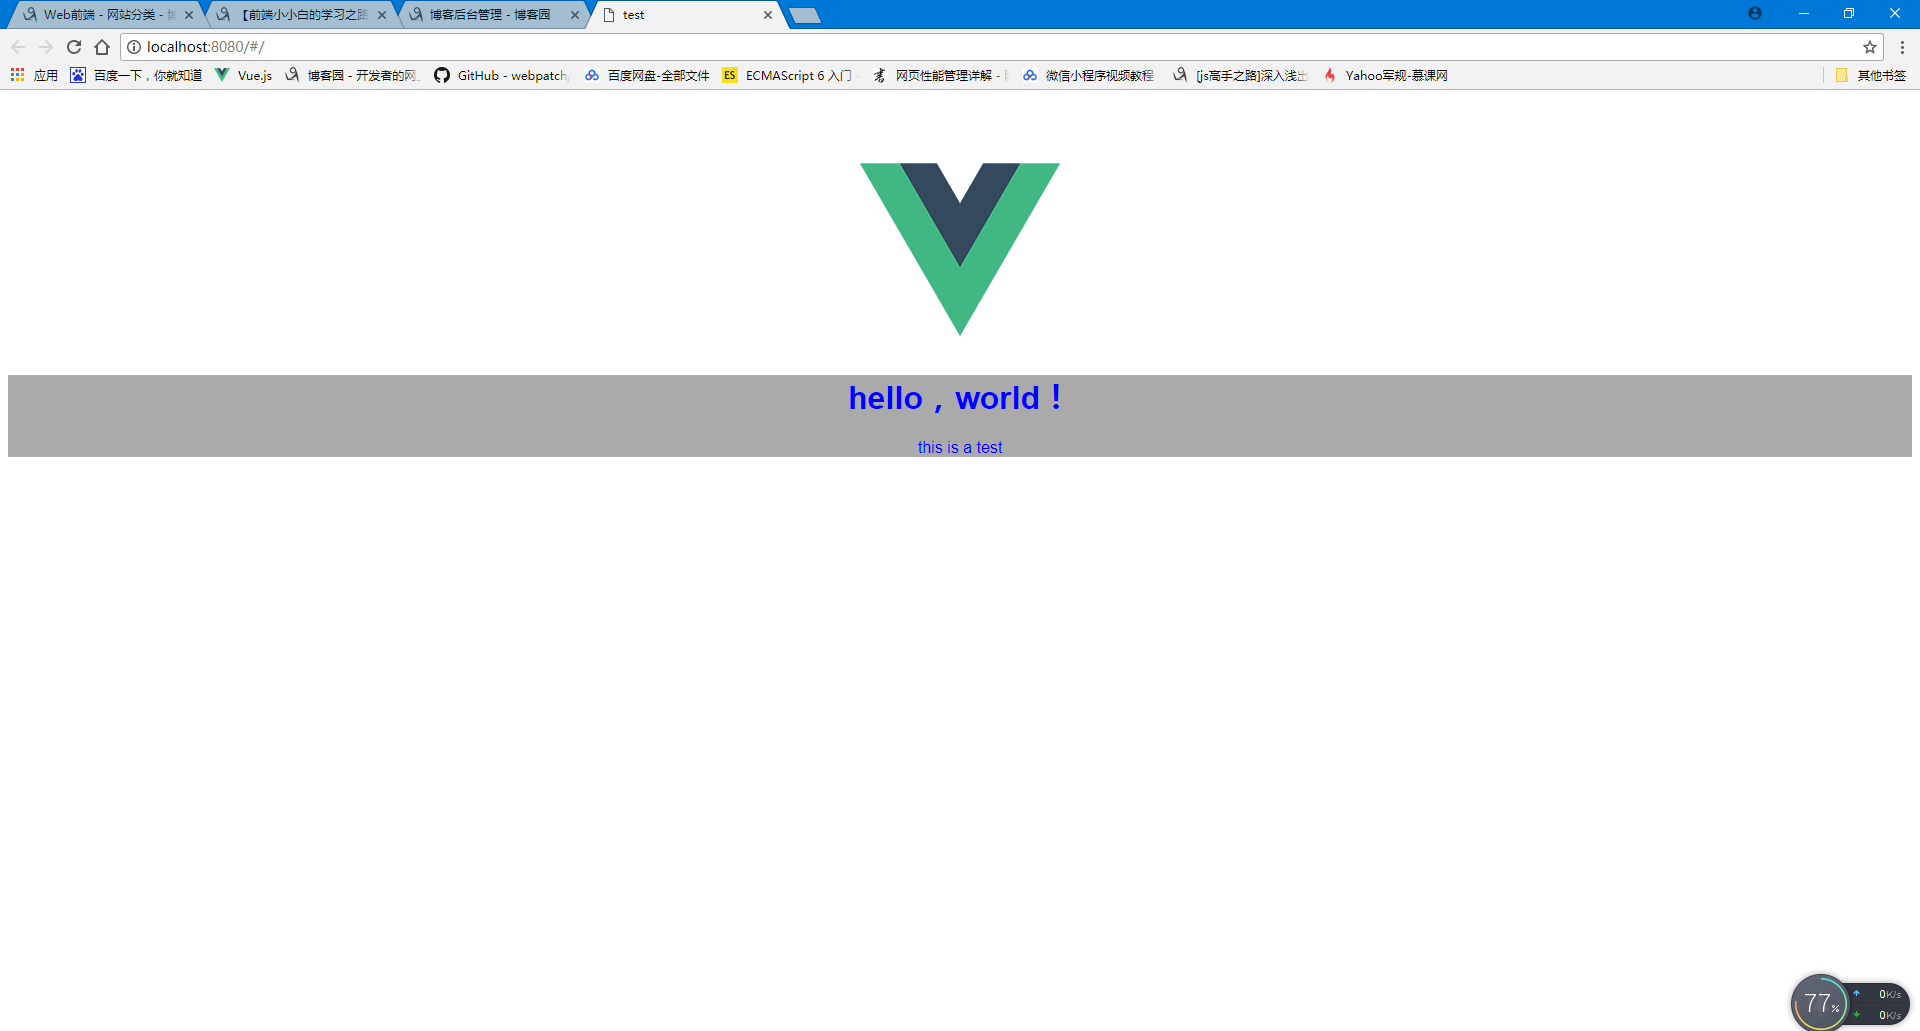
新建的helloworld.vue这个组件就运行成功了,hello world !也就出世了。