在MuleSoft中,创建Application的方式有三种
- Flow Designer:用于构建连接系统并使用API的集成应用程序的Web应用程序
- API Designer:用于设计,记录和模拟API的Web应用
- Anypoint Studio:桌面IDE,用于实现API和构建集成应用程序
那么来看看如何使用API Designer 设计API并进行测试
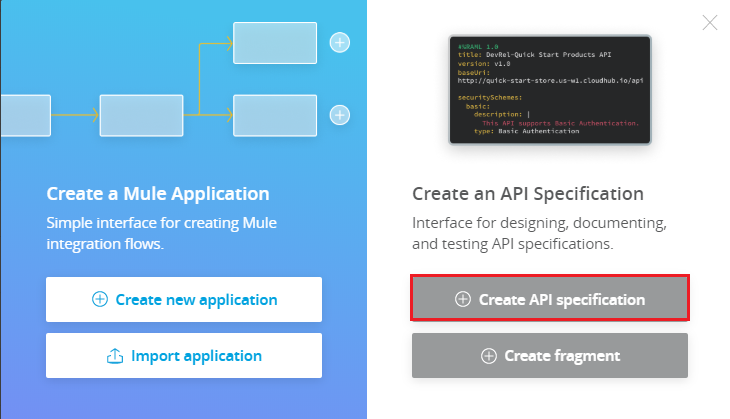
在Anypoint Platform中,进入Design Center,点击Create New,在弹出框中选择 Create API Specification,输入名称:GetPerson,其他保持默认选择,点击创建
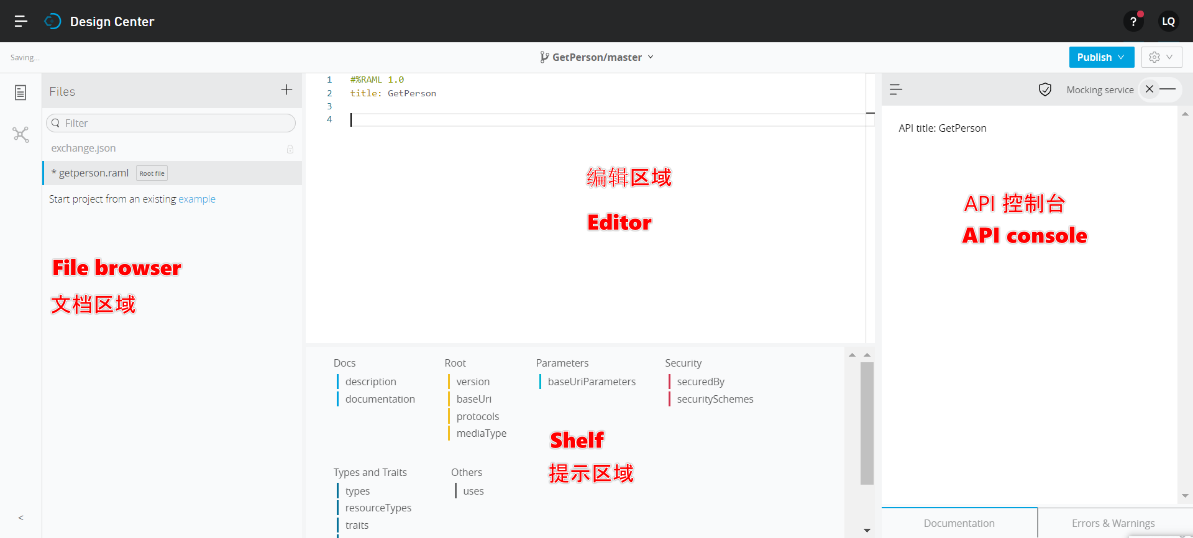
来看看进入的编辑页面,主要包括左侧的文档区域,右侧的API控制台,中间部分是编辑区域,底部有关键词提示区域,在MuleSoft中被称为Shelf
API Designer主要帮助我们编写RAML并提供语法建议,错误检测和实时模拟服务,并使用API Designer来测试你的API
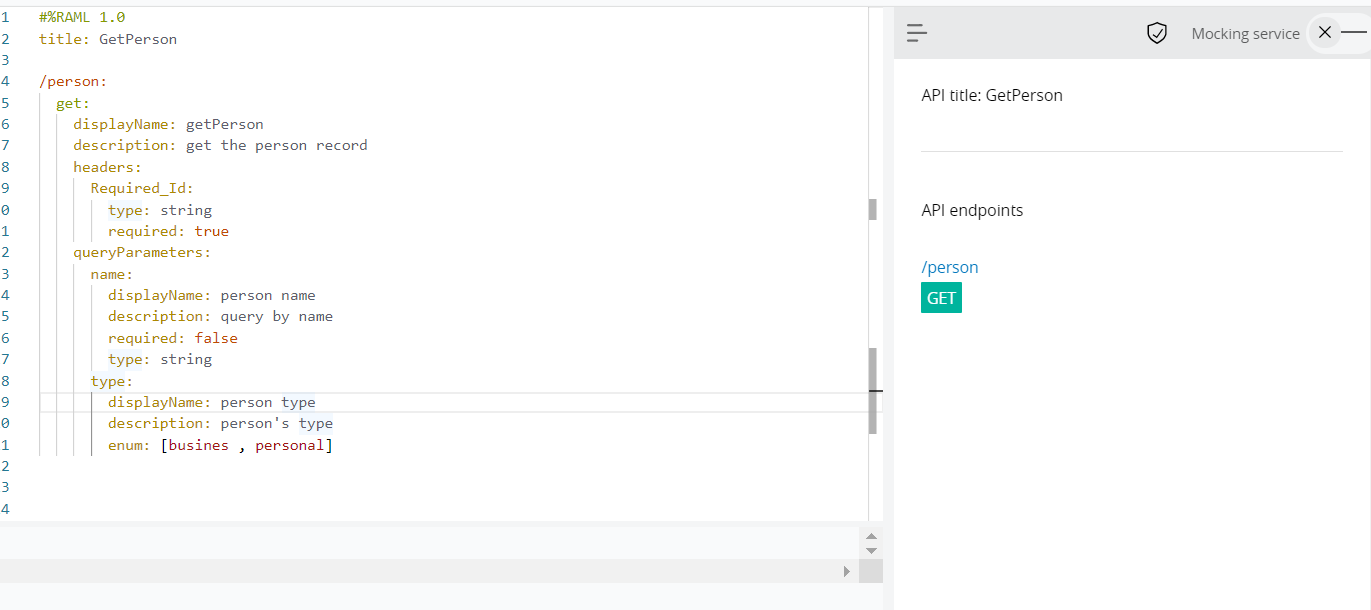
在代码的编辑区域,我们先来写一个person的get接口,首先定义了get接口的header中必须从传入一个叫Required_Id的参数,然后可选参数包括字符串类型的name和枚举类型的type,在右侧API 控制台,可以看到实时显示你定义的接口内容,点击Get方法可以查看详细的内容

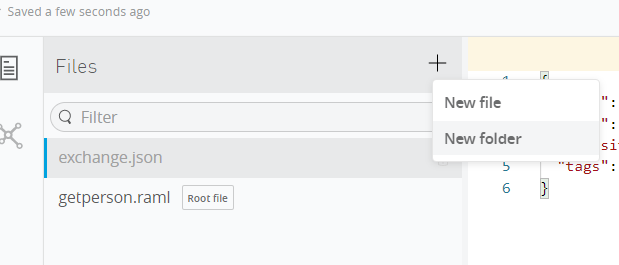
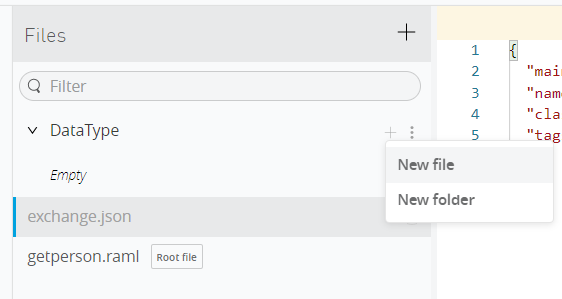
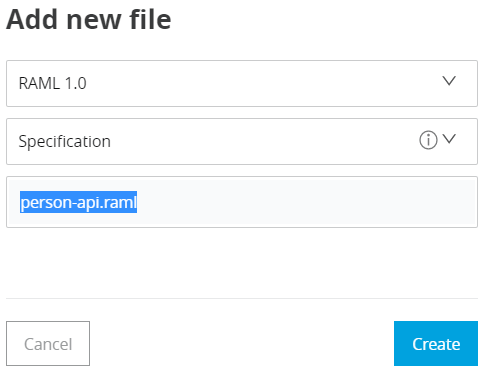
然后继续添加get方法的响应体,这里我们学习如何引入左侧文档区域的内容,点击Files右侧的➕,添加一个文件夹:DataType,然后在这个文件夹中创建一个文件:person-api.raml
定义的person-api如下,声明了id(可选),name,type,address,createdDate五个字段
#%RAML 1.0 DataType
displayName: person-api
description: Defines the fields in person Datatype

type: object
properties:
  id?: string
  name: string
  type: string
  address: string
  createdDate: datetime
在API中如何引用呢? 我们使用 !include 关键字
types:
  Person: !include DataType/person-api.raml
添加了Person类型之后,我们可以继续添加get方法的响应体,状态码为200时返回一个Person集合,但是在返回值上,我们希望能返回一些样例数据
responses:
      200:
        description: success
        body:
          application/json:
            type: Person[]
            examples:
所以这时候,我们再新建一个examples的文件夹,在里面添加一个带有测试样例的文件:person-example-api.raml, 里面的数据字段根据之前添加的Person对象添加
#%RAML 1.0 NamedExample

value:
  -
    id: '0001'
    name: 'test name'
    type: 'personal'
    address: 'beijing'
    createdDate: 2020-04-23T04:34:41.098Z
  -
    id: '0002'
    name: 'ricardo'
    type: 'business'
    address: 'shanghai'
    createdDate: 2020-04-22T04:34:41.098Z
回到编辑界面,我们再使用 !include 关键字,将测试样例添加到response中
examples:
              output: !include examples/person-example-api.raml
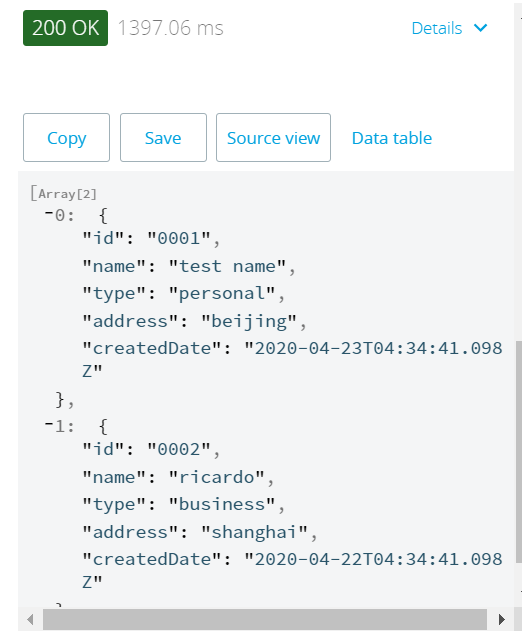
写完这一步后,我们可以打开右上角的模拟测试(Mocking Service), 选择GET方法,点击 Try It, 在填些必填的Required_Id之后,点击Send按钮,就能看到响应状态码200的返回值


到这里为止,我们已经成功定义了一个get接口,下面附上完整的RAML描述
 1 #%RAML 1.0
 2 title: GetPerson
 3
 4 types:
 5   Person: !include DataType/person-api.raml
 6
 7 /person:
 8   get:
 9     displayName: getPerson
10     description: get the person record
11     headers:
12       Required_Id:
13         type: string
14         required: true
15     queryParameters:
16       name:
17         displayName: person name
18         description: query by name
19         required: false
20         type: string
21       type:
22         displayName: person type
23         description: person's type
24         enum: [busines , personal]
25     responses:
26       200:
27         description: success
28         body:
29           application/json:
30             type: Person[]
31             examples:
32               output: !include examples/person-example-api.raml
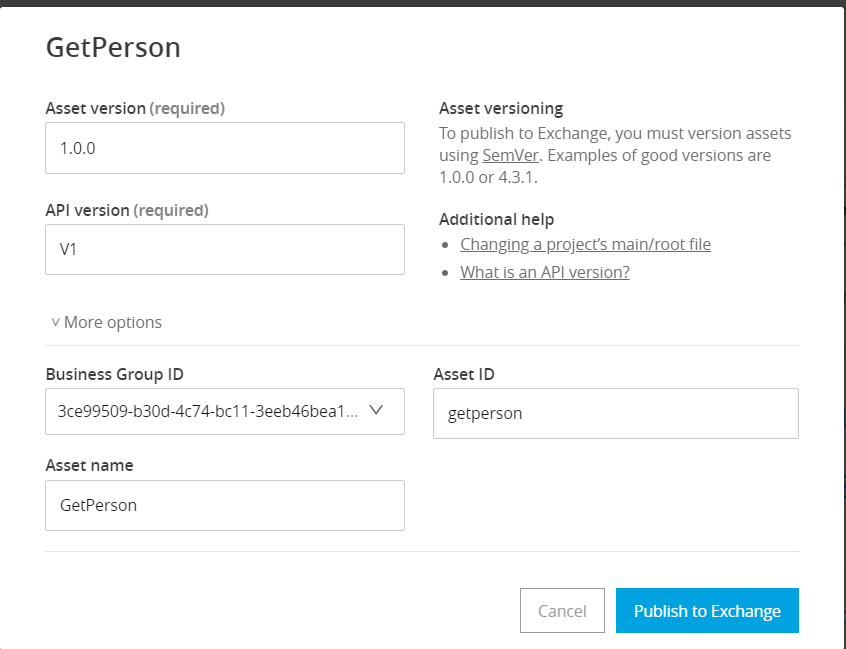
当我们完成了接口的开发后,紧接着需要将接口发布出去,点击右上角的Publish, 选择Publish to Exchange,会弹窗出来填接口的版本号,格式要求:x.y.z,然后点Publish to Exchange,完成后,切换到Exchange,就能找到你刚刚发布的接口:GetPerson
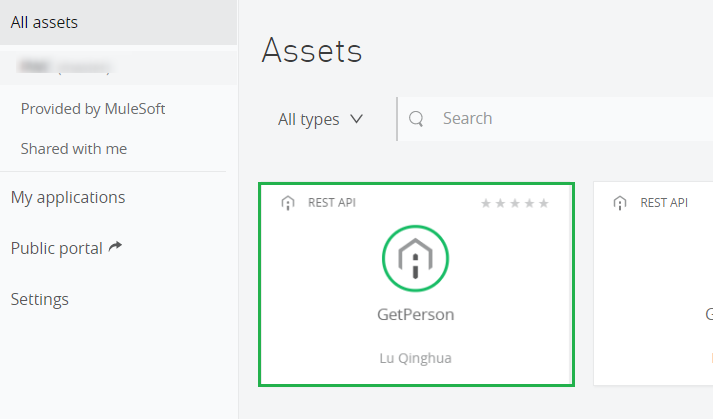
点GetPerson接口进入详情界面,在这里你可以查看接口的详细信息,添加接口的描述信息,或者模拟接口测试,你可以将接口Share给你的同事,让他们可以查看这个接口,MuleSoft提供了一个评论系统,能查看这个接口的同事也可以对接口进行评论打分。当你需要发布新版本的接口时,你只要修改后重新publish即可

以上是对MuleSoft API Design整个操作周期的描述,了解了在Anypoint平台上应该如何应用API Design去设计一个API,测试接口的同时发布到Exchange上分享给别人使用