安装
[root@server01 ~]#  rpm -ivh Nessus-8.7.2-es7.x86_64.rpm
警告:Nessus-8.7.2-es7.x86_64.rpm: 头V4 RSA/SHA1 Signature, 密钥 ID 1c0c4a5d: NOKEY
准备中...                          ################################# [100%]
正在升级/安装...
   1:Nessus-8.7.2-es7                 ################################# [100%]
Unpacking Nessus Core Components...
 - You can start Nessus by typing /bin/systemctl start nessusd.service
 - Then go to https://server01:8834/ to configure your scanner
启动
[root@server01 ~]# systemctl start nessusd
[root@server01 ~]# netstat -anpt
Active Internet connections (servers and established)
Proto Recv-Q Send-Q Local Address           Foreign Address         State       PID/Program name
tcp        0      0 0.0.0.0:22              0.0.0.0:*               LISTEN      6955/sshd
tcp        0      0 127.0.0.1:25            0.0.0.0:*               LISTEN      7164/master
tcp        0      0 0.0.0.0:8834            0.0.0.0:*               LISTEN      17553/nessusd
tcp        0     52 192.168.0.220:22        192.168.0.250:52404     ESTABLISHED 17226/sshd: root@pt
tcp6       0      0 :::22                   :::*                    LISTEN      6955/sshd
tcp6       0      0 ::1:25                  :::*                    LISTEN      7164/master
tcp6       0      0 :::8834                 :::*                    LISTEN      17553/nessusd
[root@server01 ~]#
web端访问:192.168.0.220:8834

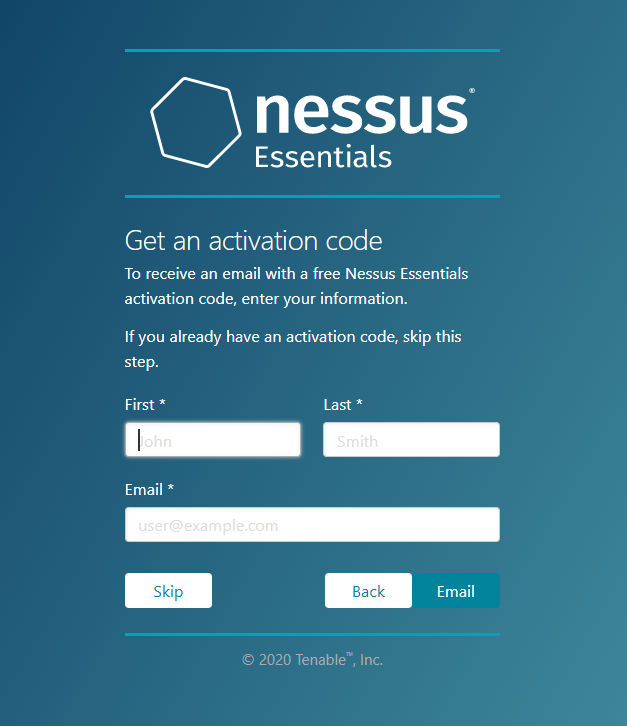
本次选择测试版本安装,如下图:
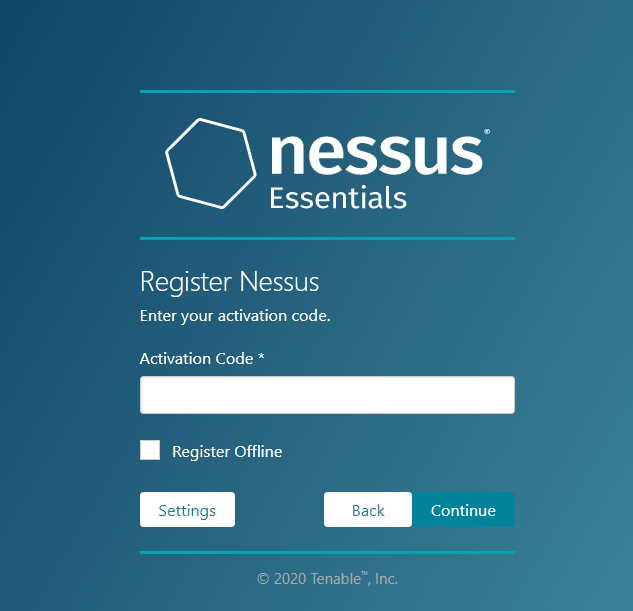
从注册邮箱收到激活码输入,如下图:
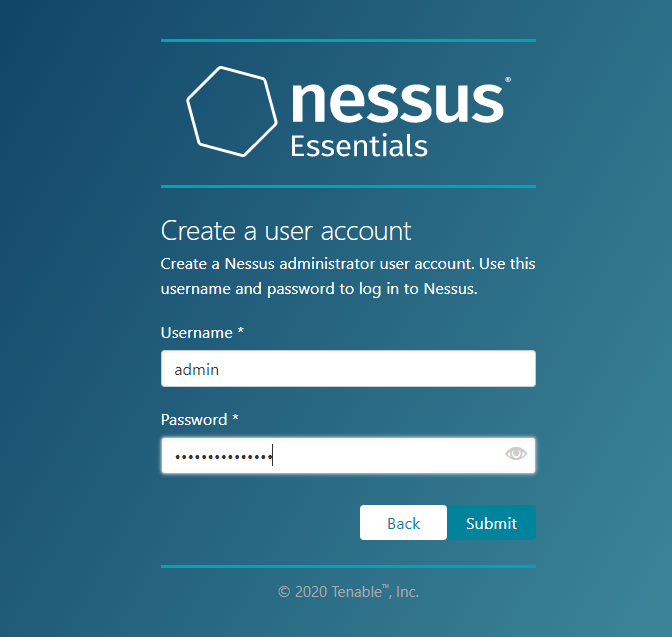
创建管理账户,如下图:
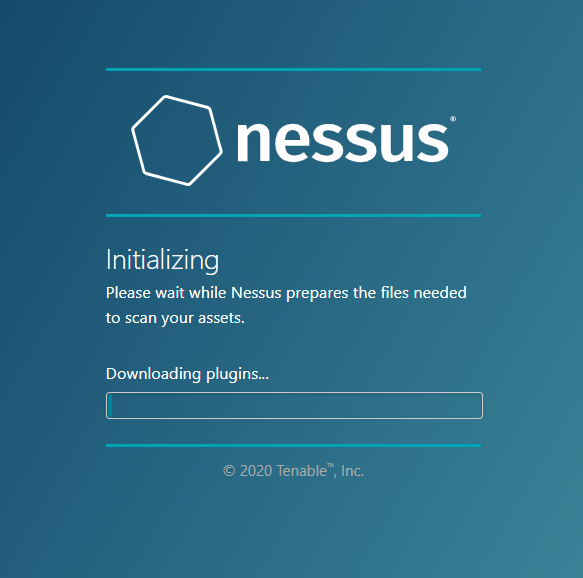
等待初始化完成,如下图:
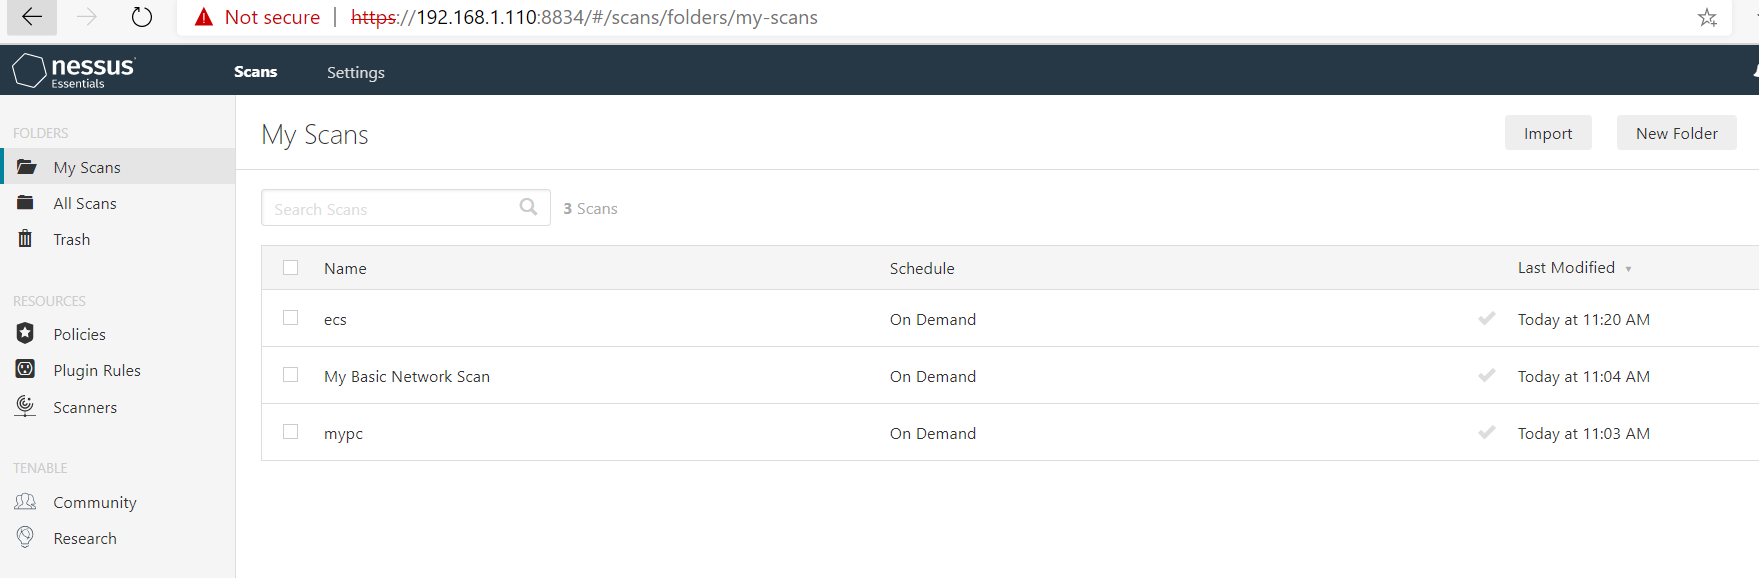
初始化完成后如下图:
Step4:创建扫描任务
创建一个扫描任务,如下图,免费版本默认只支持最大16个IP的扫描,如下图:

扫描完成后如下图:

导出HTML格式的扫描报告,如下图:
