安装方式有两种,
官方下载地址:http://nginx.org/en/download.html
一、官方下载源码编译(推荐练手用)
二、yum在线安装
推荐使用官方教程。下载页面下方有 【Pre-Built Packages】的编译版本,点开进入链接(http://nginx.org/en/linux_packages.html)
创建文件 /etc/yum.repos.d/nginx.repo
cd /etc/yum.repos.d/
touch nginx.repo
vim nginx.repo
复制以下代码到nginx.repo
[nginx-stable]
name=nginx stable repo
baseurl=http://nginx.org/packages/centos/$releasever/$basearch/
gpgcheck=1
enabled=1
gpgkey=https://nginx.org/keys/nginx_signing.key
module_hotfixes=true

[nginx-mainline]
name=nginx mainline repo
baseurl=http://nginx.org/packages/mainline/centos/$releasever/$basearch/
gpgcheck=1
enabled=0
gpgkey=https://nginx.org/keys/nginx_signing.key
module_hotfixes=true
执行安装命令
sudo yum install nginx
等待安装完成.....
配置 nginx做负载均衡用
# 基础的编辑文件
vim /etc/nginx/nginx.conf

#编辑文件(多数配置在这里)
vim /etc/nginx/conf.d/default.conf
附上我的配置内容(default.conf)
 1 #设定负载均衡的服务器列表
 2 upstream leizi {
 3         #weigth参数表示权值,权值越高被分配到的几率越大
 4         server 192.168.1.23:8006 weight=5 max_fails=2 fail_timeout=30s;#真实服务器A
 5         server 192.168.1.22:8006 weight=1 max_fails=2 fail_timeout=30s;#真实服务器B #这里是在30s内尝试2次失败即认为主机不可用!
 6 }
 7
 8 server {
 9     listen       8088;
10     server_name  localhost;
11
12     #charset koi8-r;
13     #access_log  /var/log/nginx/host.access.log  main;
14
15     location / {
16         root   /usr/share/nginx/html;
17         index  index.html index.htm;
18         proxy_pass  http://leizi; #请求转向leizi定义的服务器列表
19         proxy_redirect  default;
20     }
21
22     #error_page  404              /404.html;
23
24     # redirect server error pages to the static page /50x.html
25     #
26     error_page   500 502 503 504  /50x.html;
27     location = /50x.html {
28         root   /usr/share/nginx/html;
29     }
30
31     # proxy the PHP scripts to Apache listening on 127.0.0.1:80
32     #
33     #location ~ .php$ {
34     #    proxy_pass   http://127.0.0.1;
35     #}
36
37     # pass the PHP scripts to FastCGI server listening on 127.0.0.1:9000
38     #
39     #location ~ .php$ {
40     #    root           html;
41     #    fastcgi_pass   127.0.0.1:9000;
42     #    fastcgi_index  index.php;
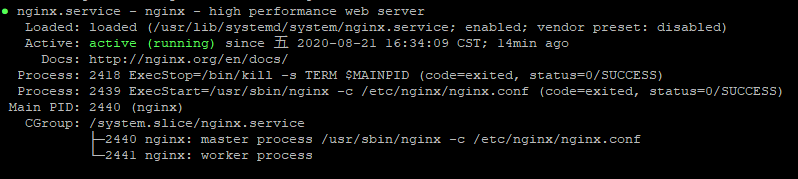
启动nginx 即可测试效果
其中需要注意:有的时候可能会提示 Permission denied 错误,这个我这里试了 关闭selinux即可,是一个权限管控的问题
#永久关闭
vim /etc/sysconfig/selinux
SELINUX=enforcing 改为 SELINUX=disabled  #设置之后需要重启才能生效
至此,搞定!
附上一篇详细的负载均衡配置说明的博客,感谢博主:https://blog.csdn.net/caijunsen/article/details/83002219