1. 将项目移至centos7中
2.创建Python虚拟环境
virtualenv -p python3 venv
-p 制定Python版本,我的中有2和3 ,所以指定一下
source activate

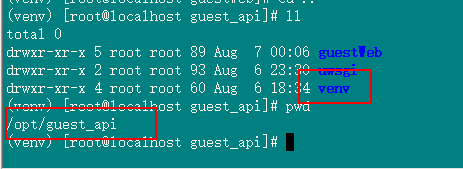
3.进入项目中
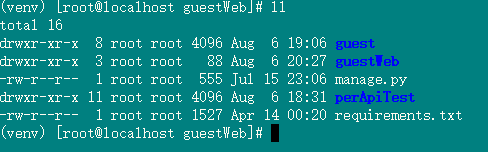
试运行一下项目,模块、数据库配置迁移什么自行解决,这里不做赘述,目的是确保项目可以正运行成功
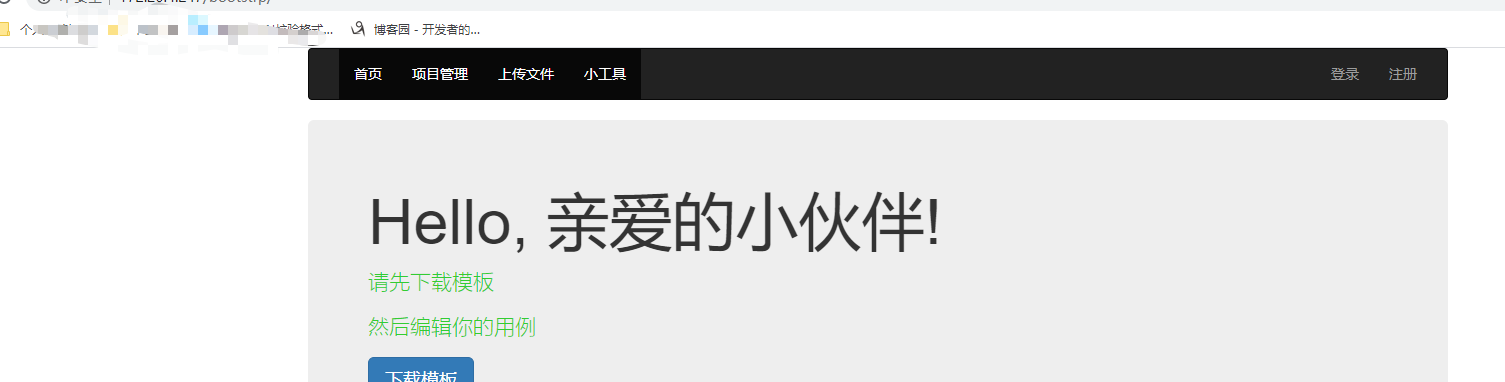
正常运行,接下来开始部署。
4. 安装uwsgi,使用pip安装
pip install uwsgi
我是直接安装成功了,可能是我之前又装过相关依赖 ,如果安装失败的安装一下依赖
测试一下,能否运行
uwsgi --http 0.0.0.0:8000 --chdir /opt/guest_api/guestWeb --module guestWeb.wsgi --home /opt/guest_api/venv
解释一下 --http 指定端口请求方式,对应就是部署NGINX使用的socket协议
--chdir 你的项目路径,注意项目路径地址哈,这个底下就是 manage.py 那些了,可别搞错了
--module 对应的就是下图
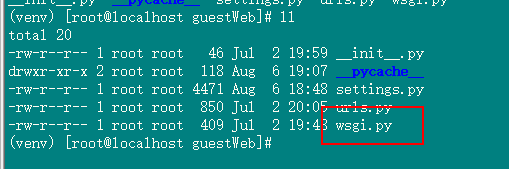
所以写对,我之前一直报错写成了.uwsgi了
--home 项目使用虚拟环境位置
地址要写对,这里啰嗦讲这么多,就是为了后边uwsgi的ini的配置文件不需要过多的解释
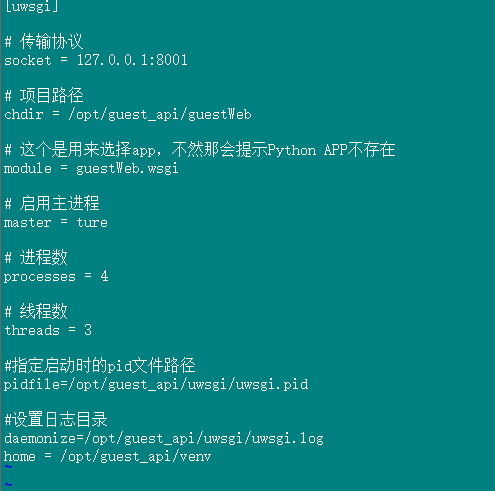
5. uwsgi的ini配置文件
新建目录为了方便好看
mkdir /opt/guest_api/uwsgi/
然后新建ini配置文件,名称随意我取得是uwsgi.ini
配置信息如下:
然后试着运行起来,
uwsgi --ini uwsgi.ini


为啥给这么多截图呢,因为你现在在浏览器看不了,还记得上边我们直接启用测试使用的 --http么,现在配置文件是用的socket协议,是用来跟NGINX通信的,所以不可以现在
6. 配置NGINX
首先你要下载,嗯,反正方式那么多你随意吧
配置文件,你可以单独写个项目配置文件放到conf.d目录下,如果使用yum安装,你NGINX的配置文件会在、etc/nginx/conf.d这个目录下
因为我不是yum安装的
所以直接改总配置文件nginx.conf
http {
include mime.types;
default_type application/octet-stream;#log_format main '$remote_addr - $remote_user [$time_local] "$request" '
# '$status $body_bytes_sent "$http_referer" '
# '"$http_user_agent" "$http_x_forwarded_for"';#access_log logs/access.log main;
sendfile on;
#tcp_nopush on;#keepalive_timeout 0;
keepalive_timeout 65;#gzip on;
# 注意这里的server要和uwsgi.ini配置文件中的socket保持一致
upstream django {
# server unix:///path/to/your/mysite/mysite.sock; # for a file socket
server "127.0.0.1:8001"; # for a web port socket (we'll use this first)
}
server{listen 80;
server_name 你的ip地址;location /{
uwsgi_pass django;
include uwsgi_params;
}
location /static{
alias /opt/guest_api/guestWeb/guest/static;
}

然后启动nginx服务,去看看吧。