20182320 2019-2020-1 《数据结构与面向对象程序设计》实验6报告
课程:《程序设计与数据结构》
班级: 1823
姓名: 郑力元
学号:20182320
实验教师:王志强
实验日期:2019年10月28日
必修/选修: 必修
1.实验内容
1.1 链表练习,要求实现下列功能:
通过键盘输入一些整数,建立一个链表;
这些数是你学号中依次取出的两位数。 再加上今天的时间。
例如你的学号是 20172301
今天时间是 2018/10/1, 16:23:49秒
数字就是
20, 17,23,1, 20, 18,10,1,16,23,49
打印所有链表元素, 并输出元素的总数。
在你的程序中,请用一个特殊变量名来纪录元素的总数,变量名就是你的名字。 例如你叫 张三, 那么这个变量名就是
int nZhangSan = 0; //初始化为 0.
做完这一步,把你的程序签入源代码控制(git push)。
1.2 链表练习,要求实现下列功能:
实现节点插入、删除、输出操作;
继续你上一个程序, 扩展它的功能,每做完一个新功能,或者写了超过10行新代码,就签入代码,提交到源代码服务器;
从磁盘读取一个文件, 这个文件有两个数字。
从文件中读入数字1, 插入到链表第 5 位,并打印所有数字,和元素的总数。 保留这个链表,继续下面的操作。
从文件中读入数字2, 插入到链表第 0 位,并打印所有数字,和元素的总数。 保留这个链表,并继续下面的操作。
从链表中删除刚才的数字1. 并打印所有数字和元素的总数。
1.3 链表练习,要求实现下列功能:
使用冒泡排序法或者选择排序法根据数值大小对链表进行排序;
如果你学号是单数, 选择冒泡排序, 否则选择选择排序。
在排序的每一个轮次中, 打印元素的总数,和目前链表的所有元素。
在(2)得到的程序中继续扩展, 用同一个程序文件,写不同的函数来实现这个功能。 仍然用 nZhangSan (你的名字)来表示元素的总数。
1.4 在android上实现实验(1)和(2)
1.5 在android平台上实现实验(3)
2. 实验过程及结果
2.1
第一步:编写一个类,代表每一个节点
public class Chain_exp6 {
    private int element;
    private Chain_exp6 next;

    public Chain_exp6(int element) {
        this.element = element;
        this.next = null;
    }

    public int getElement() {
        return element;
    }
    public void setElement(int element) {
        this.element = element;
    }
    public Chain_exp6 getNext() {
        return next;
    }
    public void setNext(Chain_exp6 next) {
        this.next = next;
    }

    @Override
    public String toString() {
        return ""+this.getElement();
    }
}
第二步:编写运行代码(解析在注释中)
import java.io.*;
import java.util.Scanner;

public class Chain_6 {
    public static Chain_exp6 head;
    public static int nZhengLiyuan=0;
    public static Chain_exp6 res1;
    public static Chain_exp6 res2;

    public static void main(String[] args) throws IOException {
        Scanner scan=new Scanner(System.in);

        //输入
        System.out.println("Please input numbers("+(nZhengLiyuan+1)+"):");
        String ele=scan.nextLine();
        int ele1=Integer.parseInt(ele);
        Chain_exp6 chain0=new Chain_exp6(ele1);
        head=chain0;

        //一直输入、一直创建新的链表并实现连接,直到输入“stop”
        while (!ele.equals("stop")){
            nZhengLiyuan++;
            System.out.println("Please input numbers("+(nZhengLiyuan+1)+"):");
            ele=scan.nextLine();
            if (ele.equals("stop")){
                break;
            }
            Chain_exp6 chain=new Chain_exp6(Integer.parseInt(ele));
            connect(head,chain);
        }

        //输出
        System.out.println("Output?Y/N");
        if (scan.nextLine().equals("Y")){
            Output(head);
            System.out.println("Total amount:"+nZhengLiyuan);
        }

    }


    //用来实现链表之间的连接的静态方法
    public static void connect(Chain_exp6 head,Chain_exp6 chn2){

        Chain_exp6 headx=head;

        while (headx.getNext()!=null){
            headx=headx.getNext();
        }
        headx.setNext(chn2);
    }

    //用来输出的静态方法
    public static void Output(Chain_exp6 head){
        Chain_exp6 temp=head;
        String temp1="";
        while (temp!=null){
            temp1=temp1+" "+temp.getElement();
            temp=temp.getNext();
        }
        System.out.println(temp1);
    }

    //计算链表总结点数量的静态方法
    public static int Size(Chain_exp6 head){
        int count=0;
        while (head!=null){
            head=head.getNext();
            count++;
        }
        return count;
    }
}
第三步:运行
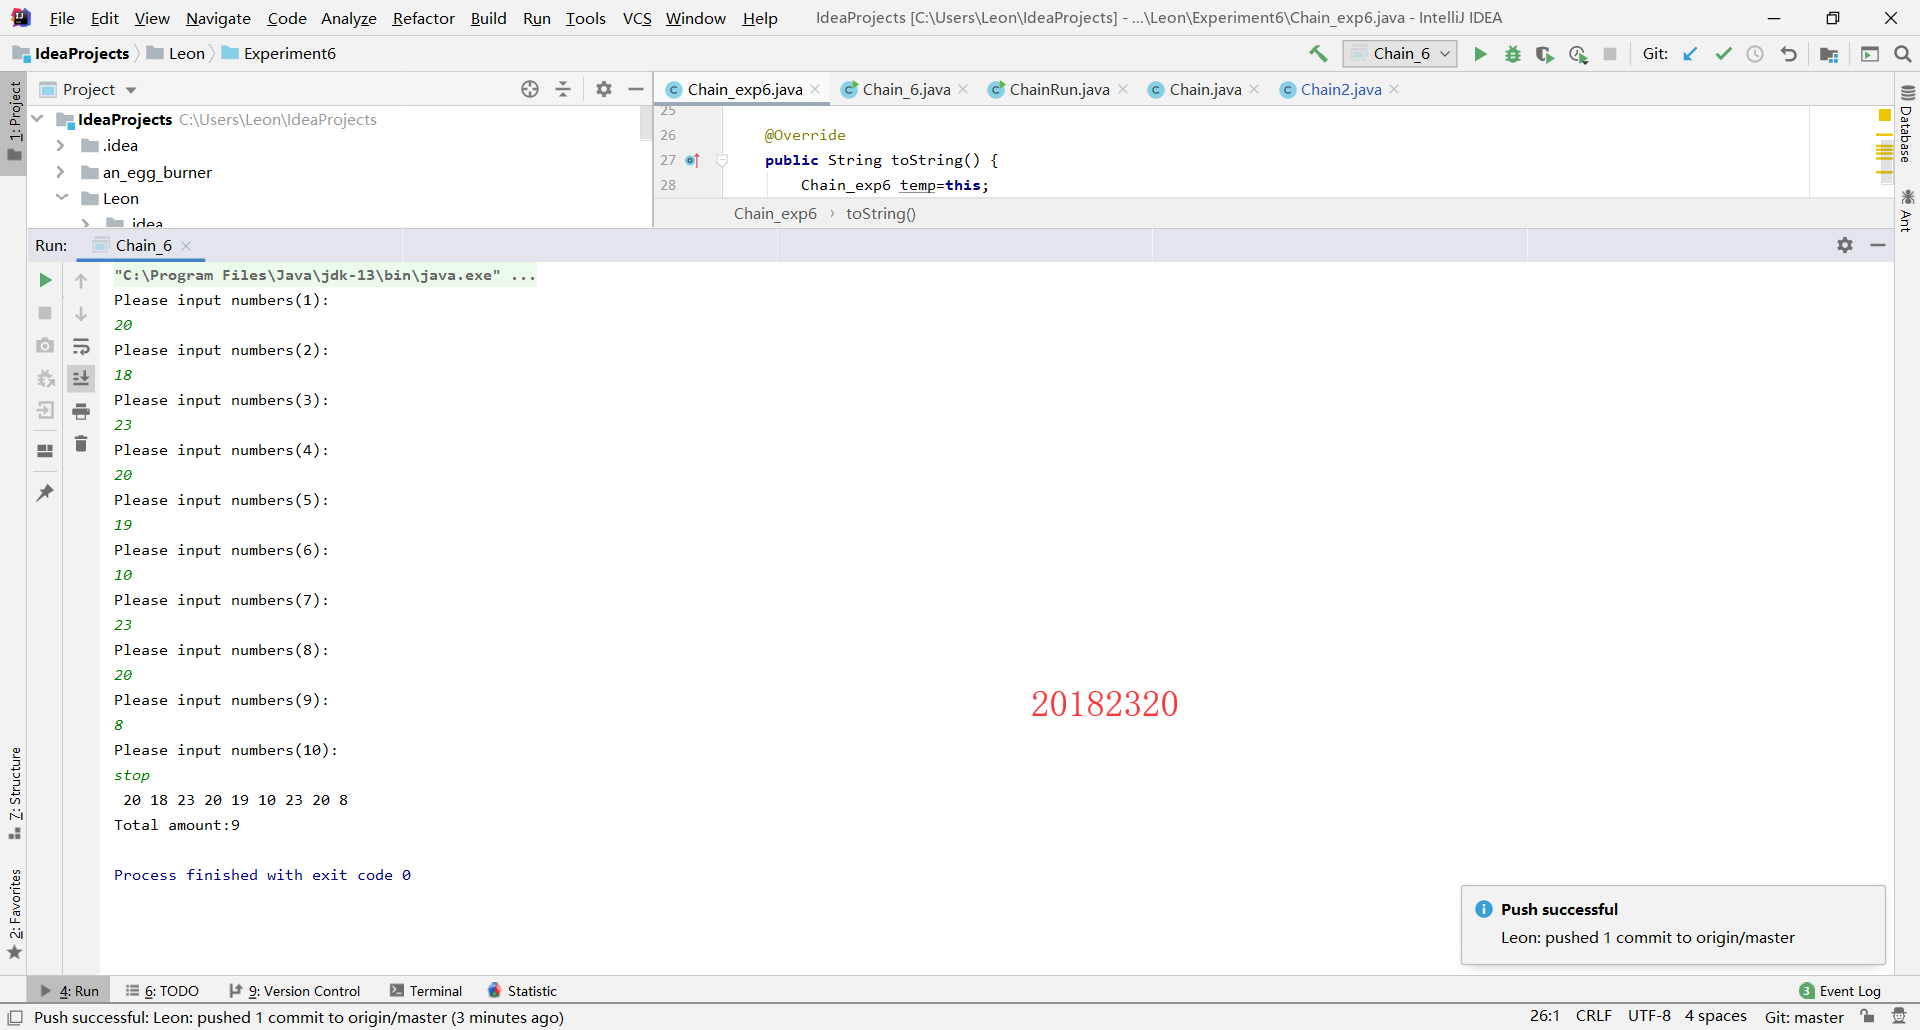
2.2
第一步:节点类代码不用修改,修改、编写运行代码,主要添加以下功能代码:
方法一 实现删除功能的静态方法
    public static void delete(Chain_exp6 head,int deletepoint){
        Chain_exp6 temp=head;

        //如果删除头部,直接修改头指针,之前的头部节点自动丢失
        if (deletepoint==1){
            Chain_6.head=head.getNext();
        }

        //若删除中间的节点,如下
        else {

            //一个个摸到需要删除的节点的前一个
            deletepoint--;
            for (int i=1;i<deletepoint;i++){
                temp=temp.getNext();
            }

            //把目标节点的前一个节点的指针设置如下,要删除的节点自动丢失
            temp.setNext(temp.getNext().getNext());
        }
        nZhengLiyuan--;
    }
方法二 实现插入功能的静态方法
    public static void input(Chain_exp6 head, int element, int inpoint){
        Chain_exp6 chain2=new Chain_exp6(element);
        Chain_exp6 temp=head;

        //若插入头部,直接修改头指针到新的节点并进行连接
        if (inpoint==1){
            chain2.setNext(head);
            Chain_6.head=chain2;
        }
        //插入中间,如下
        else {

            //一个个摸到要插入的节点前一个
            inpoint--;
            for (int i=1;i< inpoint;i++){
                temp=temp.getNext();
            }

            //设置新节点的下一个指针为后面的节点
            chain2.setNext(temp.getNext());
            //设置前一个节点的下一个指针为新节点
            temp.setNext(chain2);
        }
        nZhengLiyuan++;
    }
方法三 实现输出功能的方法在上一个实验中已经实现
第二步:在主函数中加入调用上面的功能代码实现功能
        //删除
        System.out.println("Delete?Y/N");
        if (scan.nextLine().equals("Y")){
            //提示输入删除点
            System.out.println("Please input deletepoint:");
            int deletepoint=scan.nextInt();
            delete(head,deletepoint);
            Output(head);
        }


        //插入
        System.out.println("Input?Y/N");
        String temp=scan.next();
        if (temp.equals("Y")){
            //提示输入插入元素和插入点
            System.out.println("Please input inputelement and inputpoint");
            int inputelement=scan.nextInt();
            int inputpoint=scan.nextInt();
            input(head,inputelement,inputpoint);
        }
        Output(head);
第三步:我选择在主函数中进行文件的写入和读取操作,所以在主函数中加入以下代码
        //创建一个文件并输入两个数字(字节流输入)
        File f= new File("exp6Writer.txt");
        if (!f.exists()){
            f.createNewFile();
        }

        byte bt[]={13,20};

        OutputStream os=new FileOutputStream(f);
        for (int i=0;i<bt.length;i++){
            os.write(bt[i]);
        }
        os.close();

        //从文件中读取数字并插入链表(字节流读取)
        Integer[] num=new Integer[2];
        InputStream is=new FileInputStream(f);
        System.out.println("The number read from the file:");
        for (int i=0;i<=is.available();i++){
            num[i]=(Integer)is.read();
            System.out.println(num[i]+" ");
        }

        //插入到链表第五位
        input(head,num[0],5);
        Output(head);

        //保留链表,一个节点一个节点进行对应赋值
        Chain_exp6 head1=head;
        res1=new Chain_exp6(head1.getElement());
        while (head1.getNext()!=null){
            res1.setElement(head1.getElement());
            head1=head1.getNext();
            Chain_exp6 n=new Chain_exp6(head1.getElement());
            res1.setNext(n);
            res1=res1.getNext();
        }

        //插入到链表第一位
        input(head,num[1],1);
        Output(head);

        //保留链表,一个节点一个节点进行对应赋值
        res2=new Chain_exp6(head1.getElement());
        while (head1.getNext()!=null){
            res2.setElement(head1.getElement());
            head1=head1.getNext();
            Chain_exp6 n=new Chain_exp6(head1.getElement());
            res2.setNext(n);
            res2=res2.getNext();
        }

        //删除数字1
        //因为在第五位插入数字1后又在第一位插入了一个数字2
        //所以这里数字1正处于第6的位置
        delete(head,6);
        Output(head);

        //打印元素总数
        System.out.println("Total amount:"+Size(head));
第四步:运行
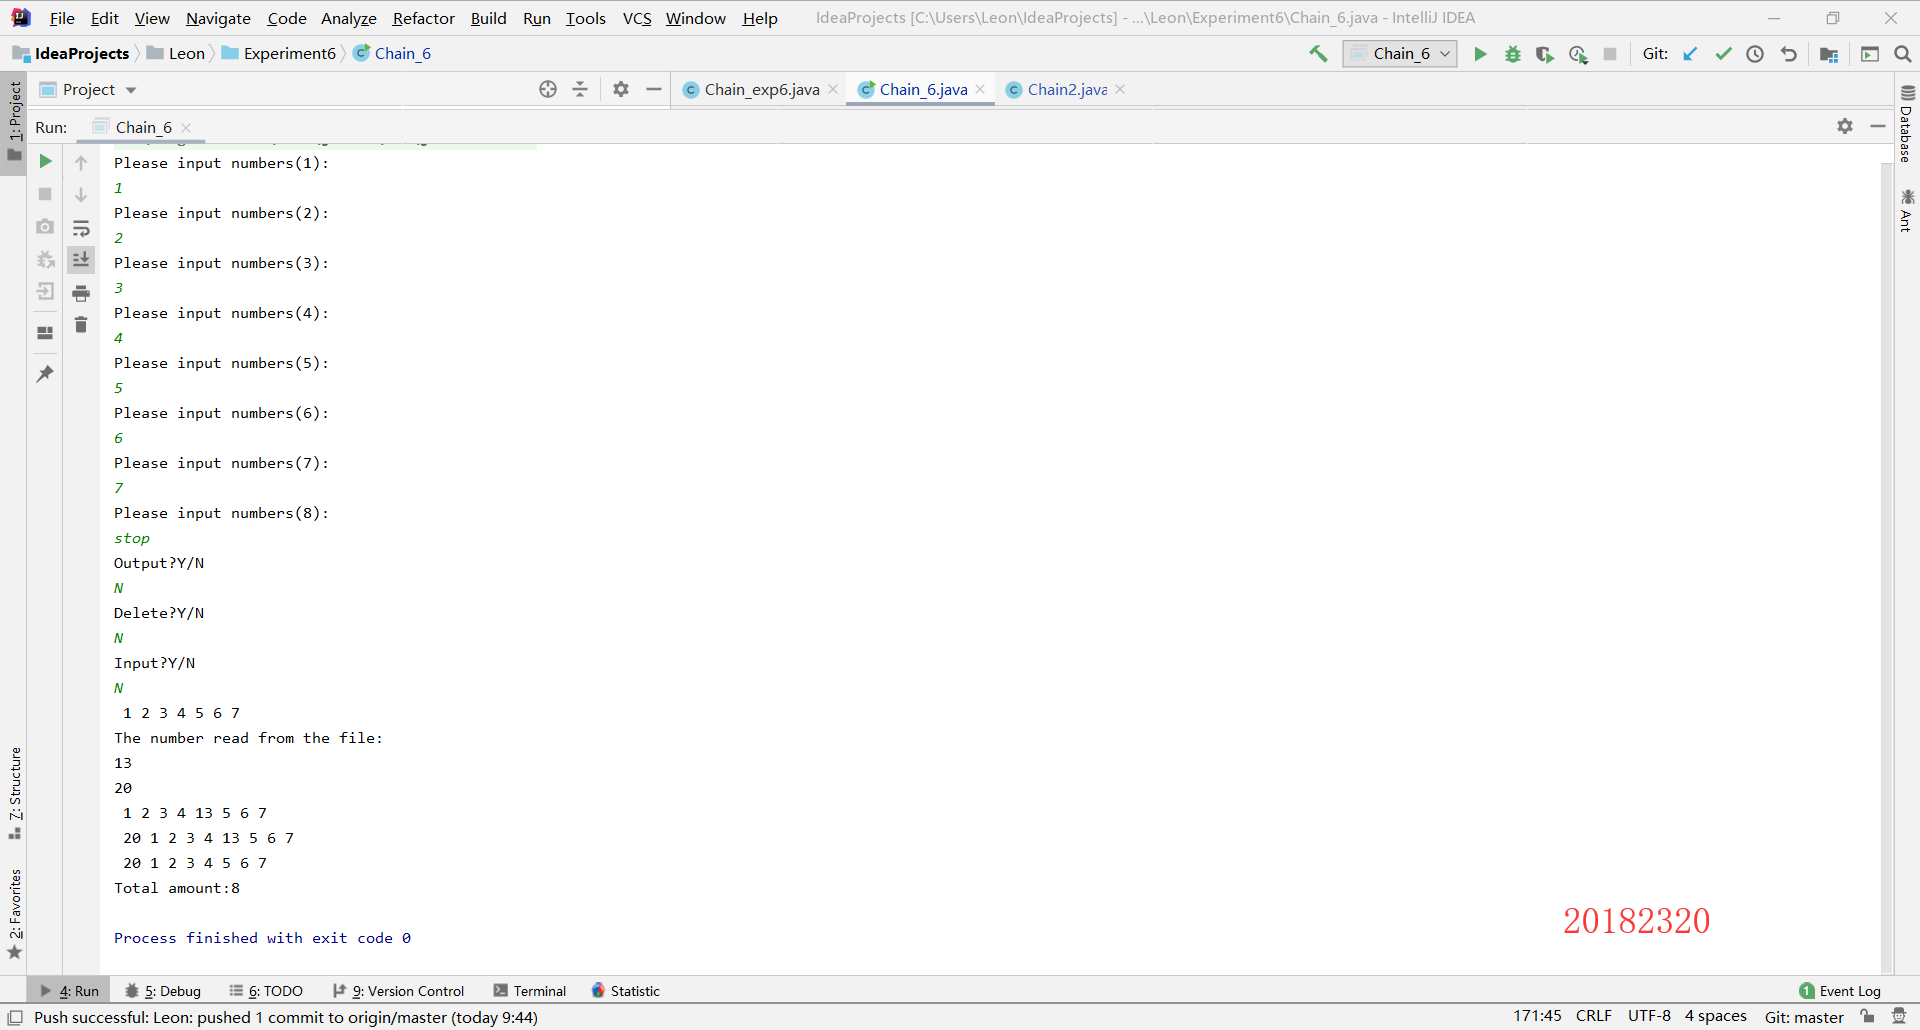
2.3
第一步:编写实现排序功能的静态方法(冒泡排序)
    public static void Rank(){
        Chain_exp6 temp=Chain_6.head;
        Chain_exp6 c1,c2;
        int i=0,j=0;

        if (temp==null||temp.getNext()==null){
            Output(Chain_6.head);
        }
        else {
            int x,y;
            for (i=1;i<nZhengLiyuan;i++){
                for (j=i+1;j<=nZhengLiyuan;j++){
                    c1=c2=Chain_6.head;

                    //通过数字,一个个摸到需要交换的两个节点
                    for (x=1;x<i;x++){
                        c1=c1.getNext();
                    }
                    for (y=1;y<j;y++){
                        c2=c2.getNext();
                    }

                    //只进行元素的交换
                    if (c1.getElement()<c2.getElement()){
                        int t;
                        t=c1.getElement();
                        c1.setElement(c2.getElement());
                        c2.setElement(t);
                        System.out.println("Context:");
                        Output(head);

                        //每次交换都输出一次链表和元素总数
                        System.out.println("Total amount:");
                        System.out.println(nZhengLiyuan);
                    }
                }
            }
        }
    }
第二步:在主方法中调用排序方法
Rank();
第三步:运行
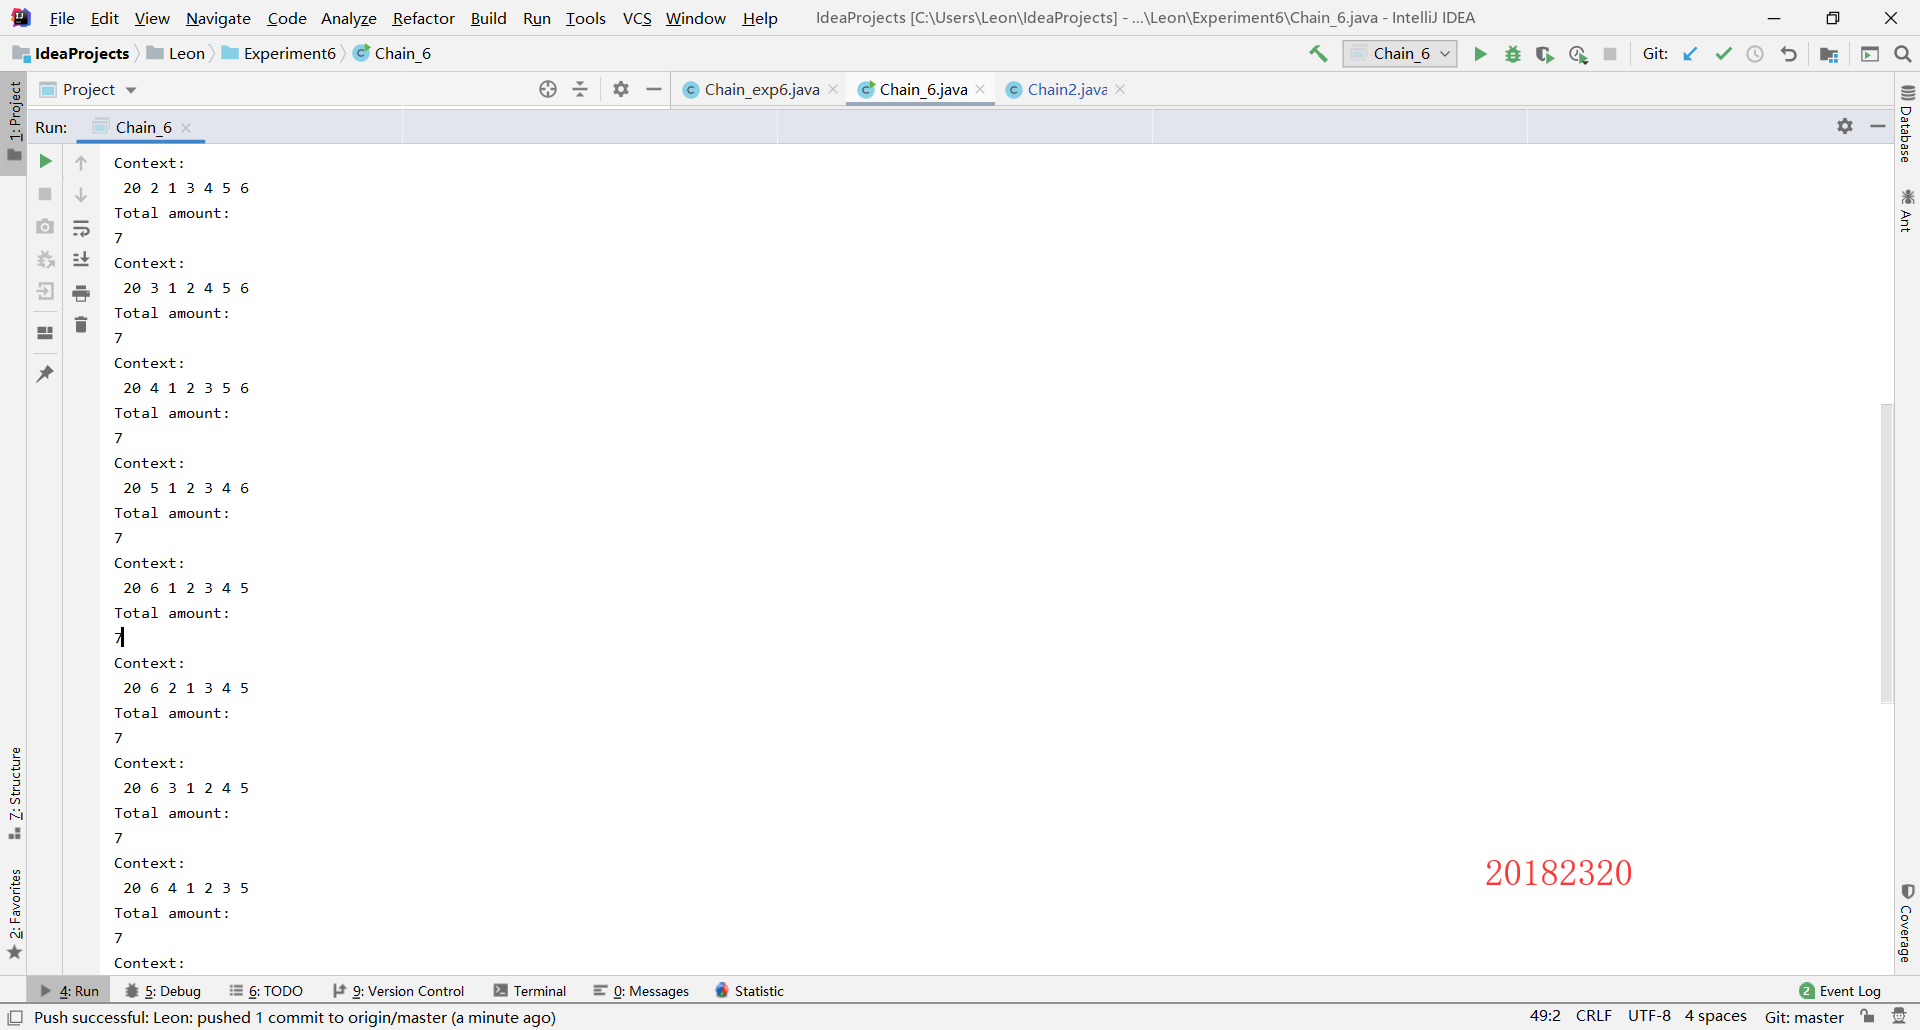
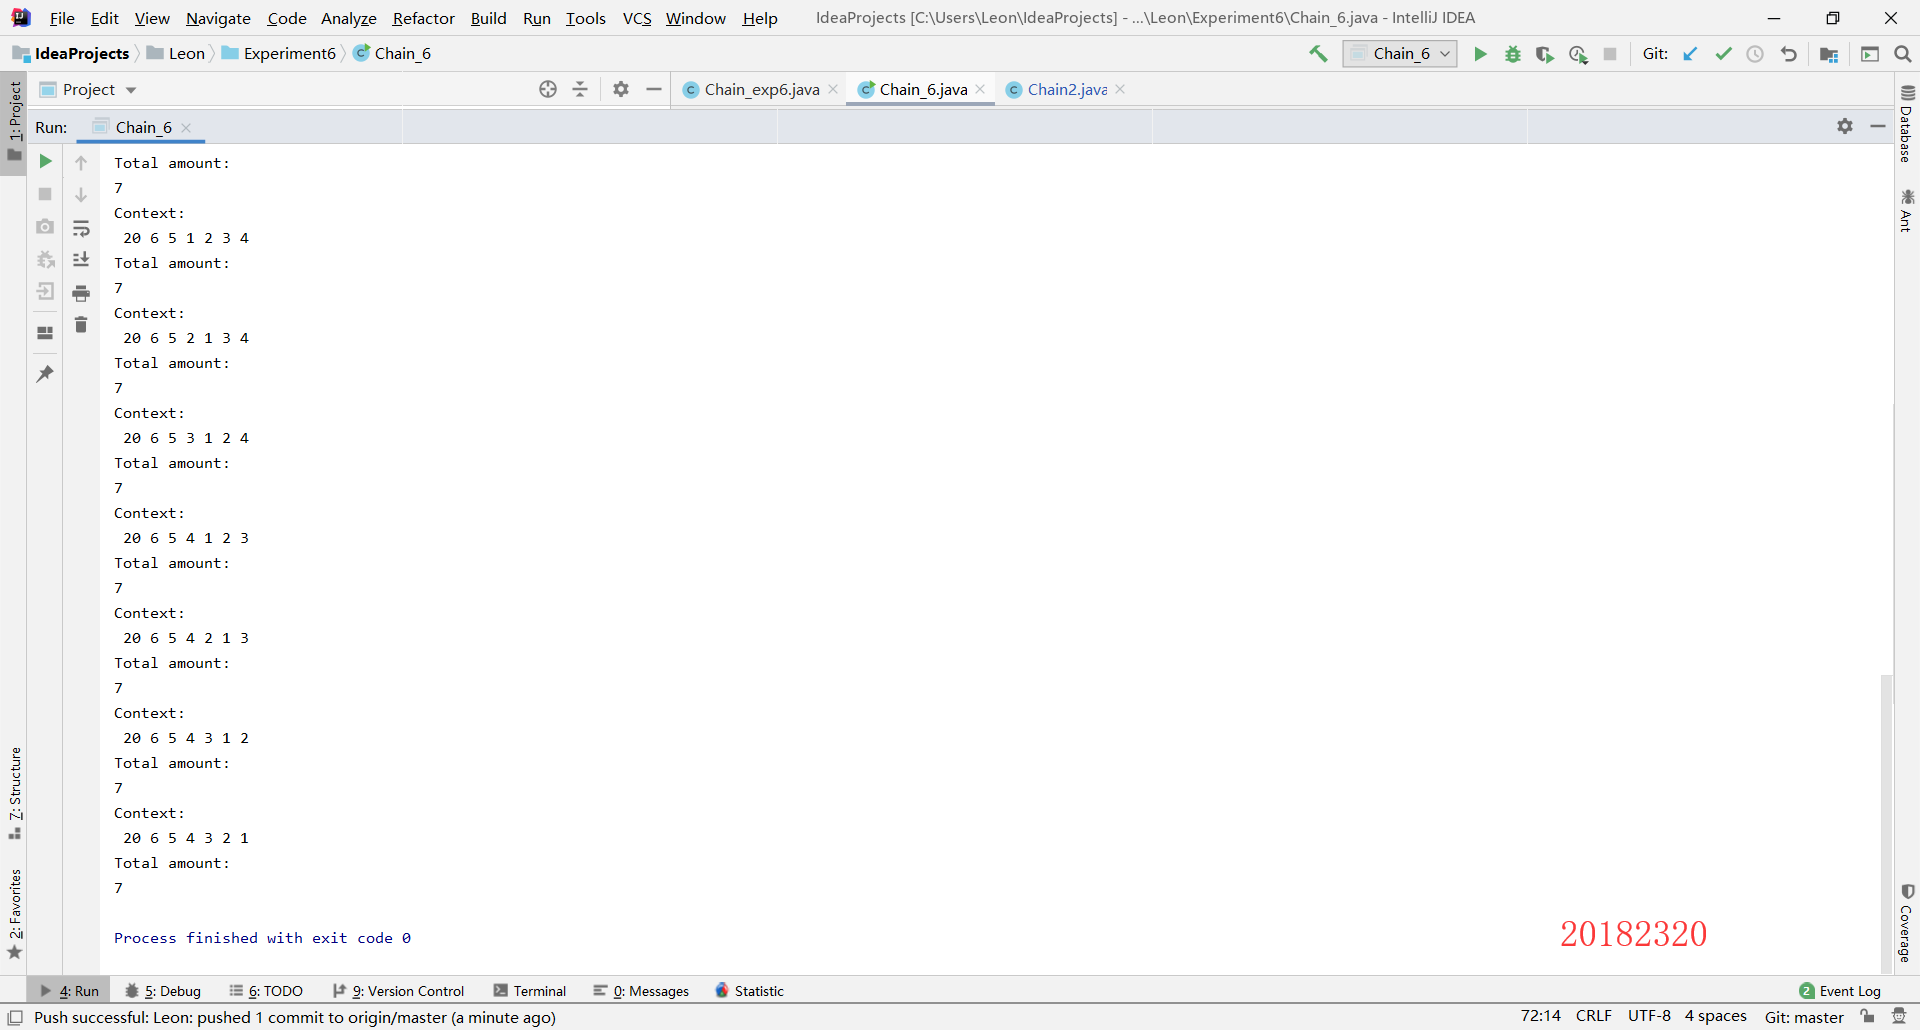
2.4
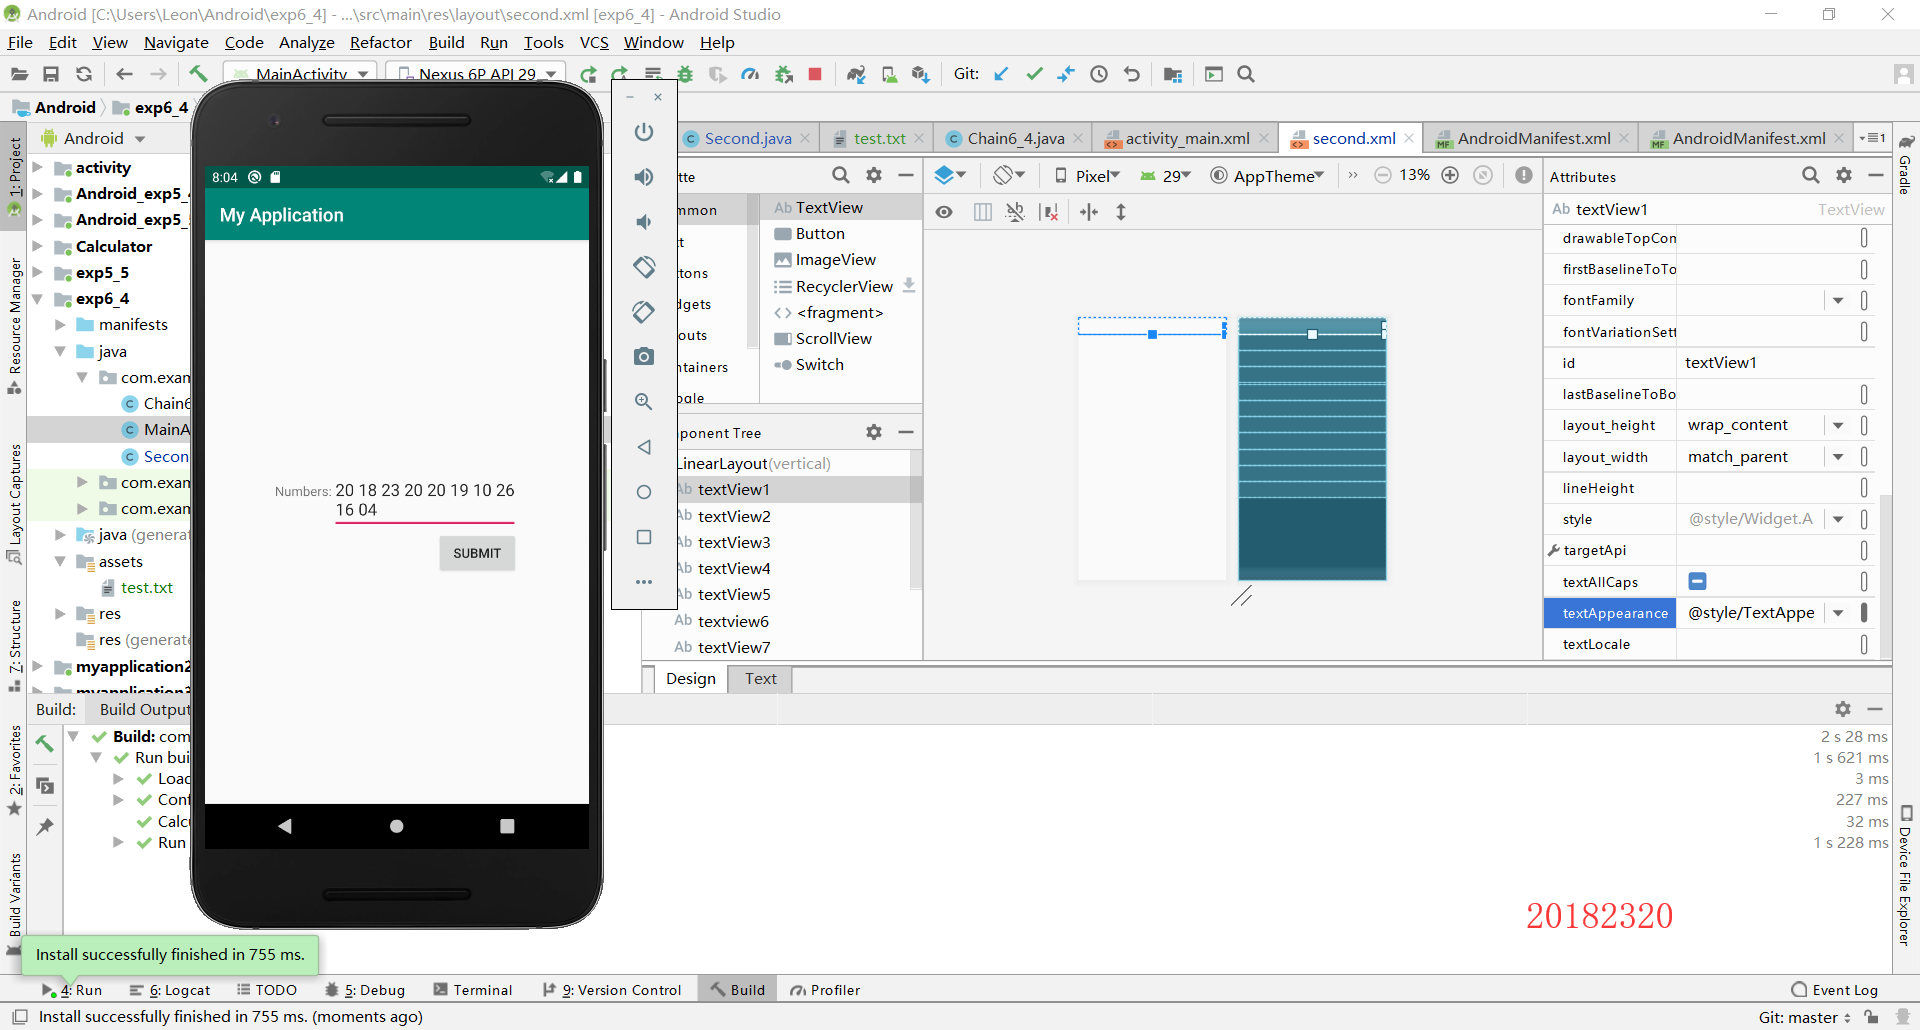
在安卓中实现idea,无非就是输入和输出的实现方式不同,需要转换,别的内容基本可以直接照着上面复制。
第一步:设置布局
因为这个实验涉及用户的输入以及对输入内容的处理,所以我设置了两个活动,由第一个活动实现链表的输入,并启动第二个活动,将链表传给第二个活动进行处理和输出。
布局1:主活动的布局
<GridLayout xmlns:android="http://schemas.android.com/apk/res/android"
    android:layout_width="wrap_content"
    android:layout_height="wrap_content"
    android:layout_gravity="center"
    android:columnCount="3"
    >

    //创建EditText组件来实现文本输入
    <TextView android:text="Numbers:"/>
    <EditText
        android:id="@+id/Numbers"
        android:layout_width="200dp"
        android:layout_columnSpan="2"/>

    //创建一个Button来启动第二个活动
    <Button
        android:id="@+id/Enter"
        android:layout_width="wrap_content"
        android:layout_height="wrap_content"
        android:layout_column="2"
        android:layout_gravity="right"
        android:text="Submit"
        android:onClick="Start"/>
</GridLayout>
布局2:第二个活动的布局
以下我创建了11个textView来实现文本的输出,并创建了一个布局LinearLayout来方便实现textView的动态创建。
<?xml version="1.0" encoding="utf-8"?>
<LinearLayout xmlns:android="http://schemas.android.com/apk/res/android"
    android:orientation="vertical"
    android:layout_width="match_parent"
    android:layout_height="match_parent">

    <LinearLayout
        android:id="@+id/Second"
        android:layout_width="fill_parent"
        android:layout_height="wrap_content"
        android:layout_marginBottom="9dp"
        android:orientation="vertical">
    </LinearLayout>

        <TextView
        android:id="@+id/textView1"
        android:layout_width="match_parent"
        android:layout_height="wrap_content"
        android:text=""
        android:textAppearance="@style/TextAppearance.AppCompat.Medium" />

    <TextView
        android:id="@+id/textView2"
        android:layout_width="match_parent"
        android:layout_height="wrap_content"
        android:text=""
        android:textAppearance="@style/TextAppearance.AppCompat.Medium" />

    <TextView
        android:id="@+id/textView3"
        android:layout_width="match_parent"
        android:layout_height="wrap_content"
        android:text=""
        android:textAppearance="@style/TextAppearance.AppCompat.Medium" />

    <TextView
        android:id="@+id/textView4"
        android:layout_width="match_parent"
        android:layout_height="wrap_content"
        android:text=""
        android:textAppearance="@style/TextAppearance.AppCompat.Medium" />

    <TextView
        android:id="@+id/textView5"
        android:layout_width="match_parent"
        android:layout_height="wrap_content"
        android:text=""
        android:textAppearance="@style/TextAppearance.AppCompat.Medium" />

    <TextView
        android:id="@+id/textview6"
        android:layout_width="match_parent"
        android:layout_height="wrap_content"
        android:text=""
        android:textAppearance="@style/TextAppearance.AppCompat.Medium" />

    <TextView
        android:id="@+id/textView7"
        android:layout_width="match_parent"
        android:layout_height="wrap_content"
        android:text=""
        android:textAppearance="@style/TextAppearance.AppCompat.Medium" />

    <TextView
        android:id="@+id/textView8"
        android:layout_width="match_parent"
        android:layout_height="wrap_content"
        android:text=""
        android:textAppearance="@style/TextAppearance.AppCompat.Medium" />

    <TextView
        android:id="@+id/textView9"
        android:layout_width="match_parent"
        android:layout_height="wrap_content"
        android:text=""
        android:textAppearance="@style/TextAppearance.AppCompat.Medium" />

    <TextView
        android:id="@+id/textView10"
        android:layout_width="match_parent"
        android:layout_height="wrap_content"
        android:text=""
        android:textAppearance="@style/TextAppearance.AppCompat.Medium" />

    <TextView
        android:id="@+id/textView11"
        android:layout_width="match_parent"
        android:layout_height="wrap_content"
        android:text=""
        android:textAppearance="@style/TextAppearance.AppCompat.Medium" />

</LinearLayout>
第二步:清单的编写
注意在清单中做好两个活动的注册,不然程序会闪退。
<?xml version="1.0" encoding="utf-8"?>
<manifest xmlns:android="http://schemas.android.com/apk/res/android"
    package="com.example.exp6_4">

    <application
        android:allowBackup="true"
        android:icon="@mipmap/ic_launcher"
        android:label="@string/app_name"
        android:roundIcon="@mipmap/ic_launcher_round"
        android:supportsRtl="true"
        android:theme="@style/AppTheme">
        <activity android:name=".MainActivity"
            android:label="@string/app_name">
            <intent-filter>
                <action android:name="android.intent.action.MAIN" />

                <category android:name="android.intent.category.LAUNCHER" />
            </intent-filter>
        </activity>

        <activity android:name=".Second"
            android:label="Activity">
        </activity>
    </application>

</manifest>
第三步:编写第一个活动和第二个活动的Java程序
主活动代码:
import androidx.appcompat.app.AppCompatActivity;
import android.content.Intent;
import android.os.Bundle;
import android.view.View;
import android.widget.Button;
import android.widget.EditText;

public class MainActivity extends AppCompatActivity {
    private EditText input;
    private Button enter;


    @Override
    protected void onCreate(Bundle savedInstanceState) {
        super.onCreate(savedInstanceState);
        setContentView(R.layout.activity_main);
        initView();
    }

    //创建方法完成组件的指向
    public void initView(){
        input=(EditText)findViewById(R.id.Numbers);
        enter=(Button)findViewById(R.id.Enter);
    }

    //创建方法来启动第二个活动
    public void Start(View view) {
        Intent intent=new Intent(MainActivity.this,Second.class);
        intent.putExtra("message",input.getText().toString());
        startActivity(intent);
    }
}
第二个活动的代码:
主体代码参考上面Idea,这里仅给出不太一样的地方:
输出方法
public void SOUT(int id,String content){
        ((TextView)findViewById(id)).setText(content);
    }
文件读入的实现
首先在单元文件夹下面创一个目录assets,并在里面创一个写有两个数字的txt文件
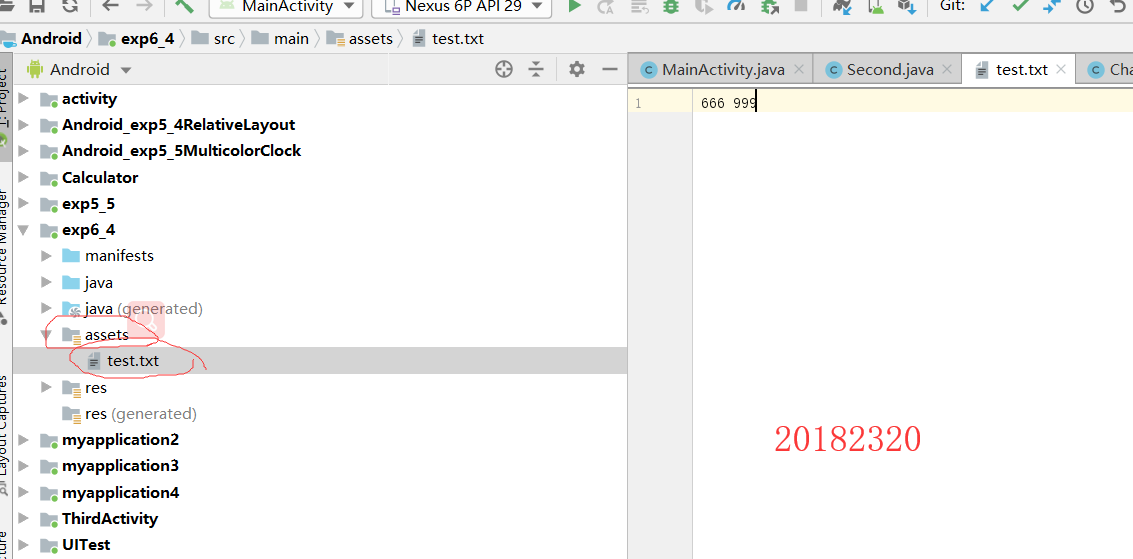
然后再第二个活动的Java文件中加入文件读取方法
    public void FileReader() throws IOException {

        //创建流,并使用getAssets方法读取文件内容,最后转换为字符串再转换为数字并输出
        InputStream inputStream =getAssets().open("test.txt");
        int size=inputStream.available();
        byte [] bytes=new byte[size];
        inputStream.read(bytes);
        inputStream.close();
        String str=new String(bytes);

        StringTokenizer stn=new StringTokenizer(str," ");

        Chain6_4 temp1=new Chain6_4(Integer.parseInt(stn.nextToken()));
        Second.Connect(head,temp1);
第四步:运行

2.5
这个实验只需要把再idea实现的排序方法再实现一次就行了,不过需要注意一下动态创建textView,方法如下:
动态输出的实现
        (动态创建textView,使用setText方法修改后,用addView方法加到布局中)
        TextView textViewi=new TextView(this);
        textViewi.setText("Context:");
        layout.addView(textViewi);
先实现排序,再辅以上面这个方法实现输出

3. 实验过程中遇到的问题和解决过程
问题1:
在idea实现文件读写时,出现路径被拒绝访问的情况

问题1解决:
因为创建在C盘的用户路径下,程序不具有访问权限,因此直接使用文件创建的方法,可以默认创建在当前project的文件路径下。
问题2:
本来想再第二个活动中像第一个布局一样用EditText实现用户的输入,但是发现程序会闪退。
问题2解决:
发现是涉及监听回调的问题
问题3:
在安卓中面临文件读取问题时,曾想着用idea中的文件读写方法创建文件、写入文件最后在读取,结果发现在Everything中都查不到本应该创建好了的txt文件。
问题3解决:
如上2.4
其他(感悟、思考等)
在Android Studio中,布局的熟练使用对开发软件非常重要。合理的布局不仅能让程序更好看,还能让你充分运用组件的功能,达到你的开发目的。因此布局需要我们认真学习。
链表的优点有可以无限扩展、灵活度高等,但是不适用于需要频繁读取写入的程序中。