1下载
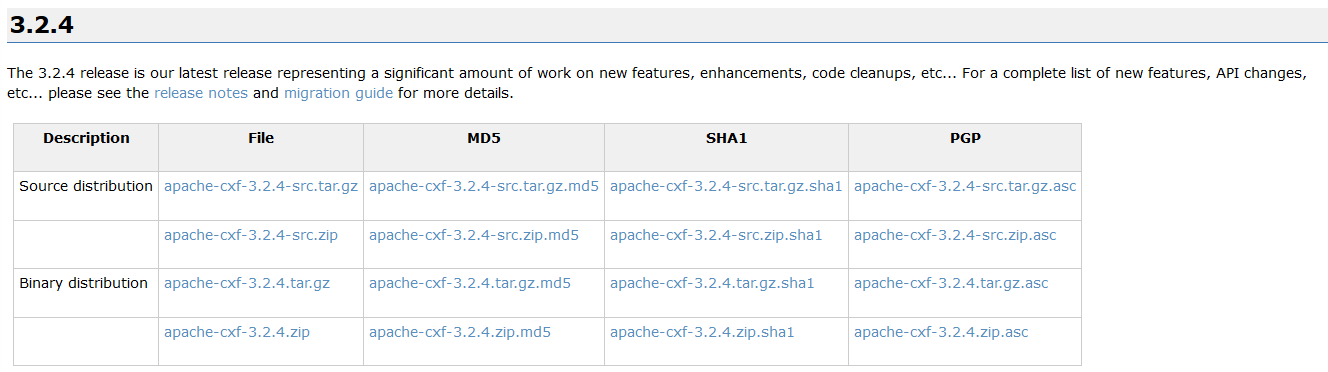
官网: cxf.apache.org
下载 CXF 的开发包:

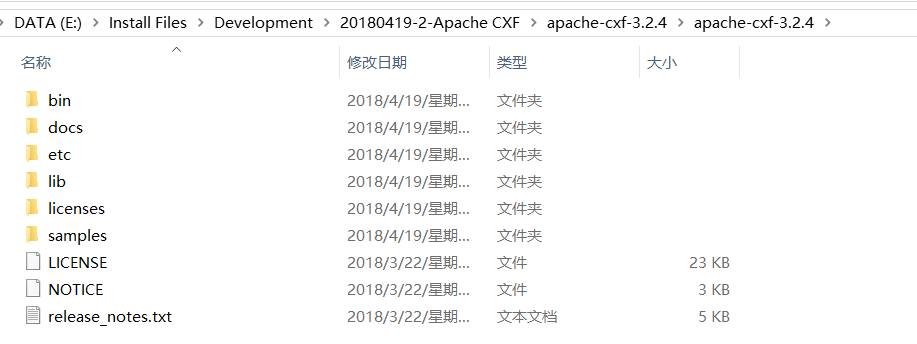
解压上面的 zip 文件 :
2介绍
1什么是cxf
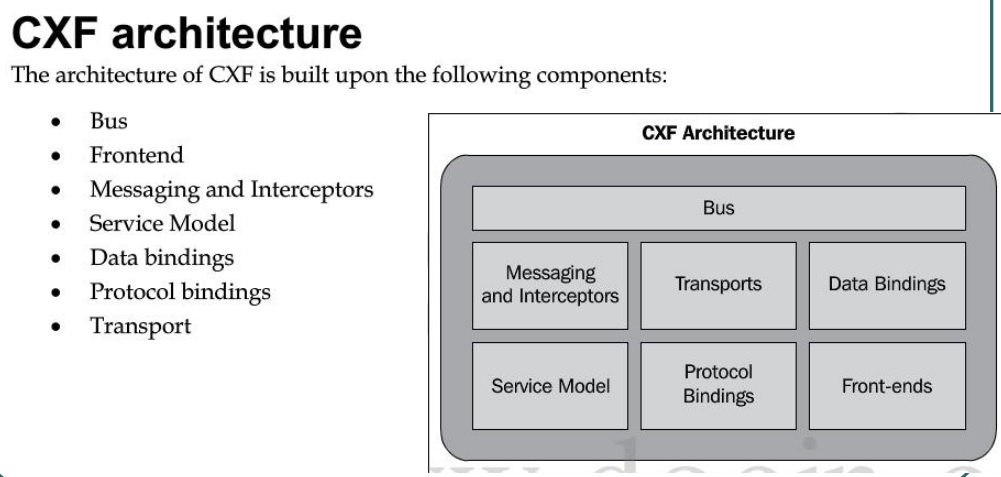
Apache CXF™ is an open source services framework. CXF helps you build and develop services using frontend programming APIs, like JAX-WS and JAX-RS. These services can speak a variety of protocols such as SOAP, XML/HTTP, RESTful HTTP, or CORBA and work over a variety of transports such as HTTP, JMS or JBI.

2cxf 结构
3 入门案例(服务端开发)
第一步: 创建动态 web 项目
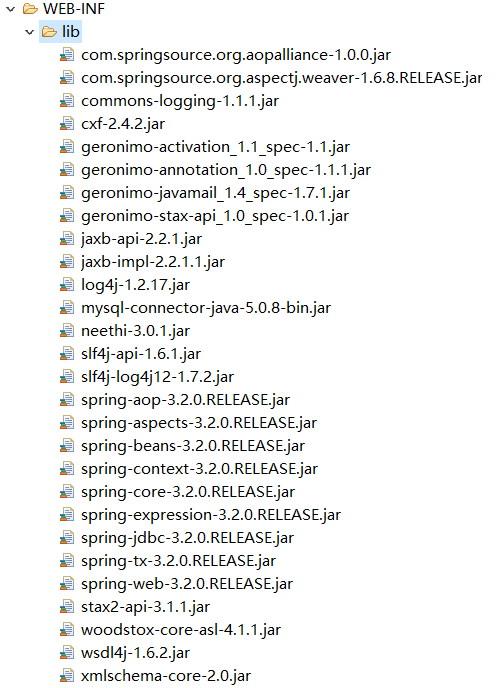
第二步: 导入 CXF 相关 jar 包
第三步: 在 web.xml 中配置 CXF 框架
配置cxf框架提供的一个servlet
<?xml version="1.0" encoding="UTF-8"?>
<web-app xmlns:xsi="http://www.w3.org/2001/XMLSchema-instance" xmlns="http://java.sun.com/xml/ns/javaee" xsi:schemaLocation="http://java.sun.com/xml/ns/javaee http://java.sun.com/xml/ns/javaee/web-app_2_5.xsd" id="WebApp_ID" version="2.5">
  <display-name>webservice_cxf_service</display-name>

  <!--配置 CXF 框架提供的 Servlet  -->
  <servlet>
      <servlet-name>cxf</servlet-name>
      <servlet-class>org.apache.cxf.transport.servlet.CXFServlet</servlet-class>
      <!-- 通过初始化参数指定 CXF 框架的配置文件位置 -->
      <init-param>
          <param-name>config-location</param-name>
          <param-value>classpath:cxf.xml</param-value>
      </init-param>
  </servlet>
  <servlet-mapping>
      <servlet-name>cxf</servlet-name>
      <url-pattern>/service/*</url-pattern>
  </servlet-mapping>

  <welcome-file-list>
    <welcome-file>index.html</welcome-file>
    <welcome-file>index.htm</welcome-file>
    <welcome-file>index.jsp</welcome-file>
    <welcome-file>default.html</welcome-file>
    <welcome-file>default.htm</welcome-file>
    <welcome-file>default.jsp</welcome-file>
  </welcome-file-list>
</web-app>
第四步: 在类路径下提供 cxf.xml
(其实就是一个 spring 配置文件)
<?xml version="1.0" encoding="UTF-8"?>
<beans xmlns="http://www.springframework.org/schema/beans"
xmlns:xsi="http://www.w3.org/2001/XMLSchema-instance"
xmlns:jaxws="http://cxf.apache.org/jaxws"
xmlns:soap="http://cxf.apache.org/bindings/soap"
xsi:schemaLocation="http://www.springframework.org/schema/beans
                    http://www.springframework.org/schema/beans/spring-beans.xsd
                    http://cxf.apache.org/bindings/soap
                    http://cxf.apache.org/schemas/configuration/soap.xsd
                    http://cxf.apache.org/jaxws
                    http://cxf.apache.org/schemas/jaxws.xsd">
    <!-- 引入CXF Bean定义如下,早期的版本中使用 -->
    <import resource="classpath:META-INF/cxf/cxf.xml" />
    <import resource="classpath:META-INF/cxf/cxf-extension-soap.xml" />
    <import resource="classpath:META-INF/cxf/cxf-servlet.xml" />

</beans>
第五步: 开发一个接口和实现类
注解必须放到接口上
package com.test.cxf;

import javax.jws.WebService;

@WebService
public interface IHelloService {

    public String sayHello(String name);
}
package com.test.cxf;

public class HelloServiceImpl implements IHelloService {

    @Override
    public String sayHello(String name) {

        System.out.println("基于CXF开发的服务端sayHello方法被调用了");

        return "hello:"+name;
    }

}
第六步: 在 cxf.xml 中注册服务
【最关键的一步】
<?xml version="1.0" encoding="UTF-8"?>
<beans xmlns="http://www.springframework.org/schema/beans"
xmlns:xsi="http://www.w3.org/2001/XMLSchema-instance"
xmlns:jaxws="http://cxf.apache.org/jaxws"
xmlns:soap="http://cxf.apache.org/bindings/soap"
xsi:schemaLocation="http://www.springframework.org/schema/beans
                    http://www.springframework.org/schema/beans/spring-beans.xsd
                    http://cxf.apache.org/bindings/soap
                    http://cxf.apache.org/schemas/configuration/soap.xsd
                    http://cxf.apache.org/jaxws
                    http://cxf.apache.org/schemas/jaxws.xsd">
    <!-- 引入CXF Bean定义如下,早期的版本中使用 -->
    <import resource="classpath:META-INF/cxf/cxf.xml" />
    <import resource="classpath:META-INF/cxf/cxf-extension-soap.xml" />
    <import resource="classpath:META-INF/cxf/cxf-servlet.xml" />

    <bean name="helloService" class="com.test.cxf.HelloServiceImpl"></bean>

    <!-- 注册服务 -->
    <jaxws:server id="myService" address="/cxfService">
        <jaxws:serviceBean>
            <ref bean="helloService"/>
        </jaxws:serviceBean>
    </jaxws:server>
</beans>
http://ip:port/projectName/service/address;上面配置的 address 只是这个路径的最后一部
分。
如果发布到 tomcat 上, 那访问地址就是:
http://localhost:8080/webservice_cxf_service/service/cxfService?wsdl;
第七步:发布项目到tomcat,查看效果
浏览器输入http://localhost:8080/webservice_cxf_service/service/cxfService?wsdl

4 入门案例(客户端开发)
方式一: 使用 jdk 提供的 wsimport 命令生成本地代码完成调用
方式二: 使用 CXF 提供的方式(重点)
第一步:创建项目导jar包
创建 Java 项目并导入 CXF 相关 jar 包
第二步:生成本地代码
使用 wsimport 或者 CXF 提供 wsdl2java 生成本地代码, 只需要生成接口文件
wsdl2java -d . -p com.test.cxf http://localhost:8080/webservice_cxf_service/service/cxfService?wsdl


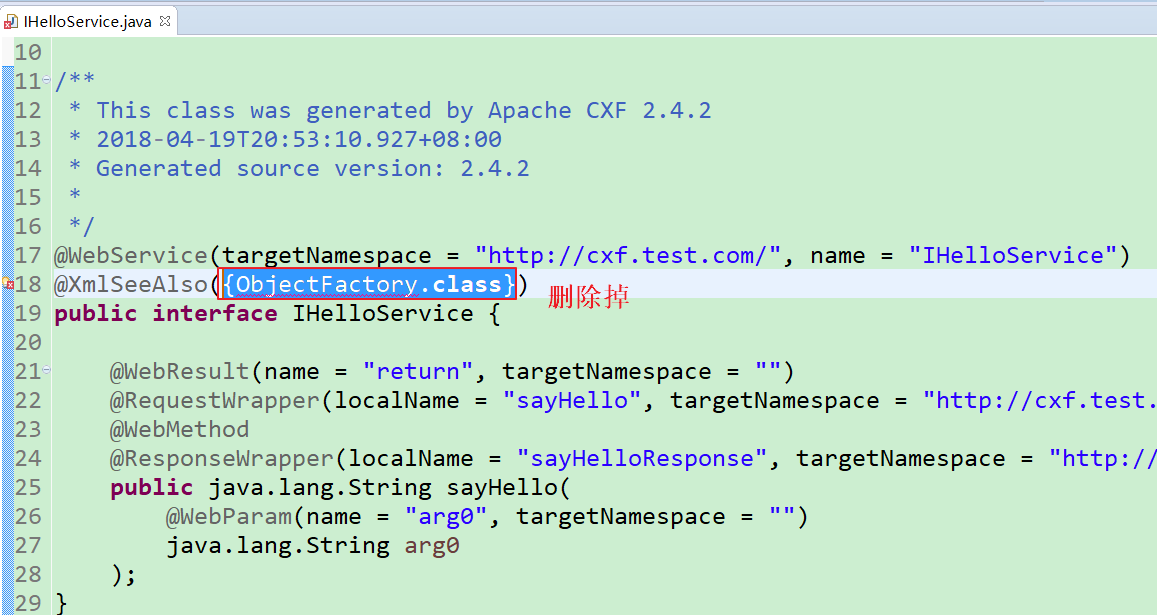
第三步: 将接口文件复制到项目中
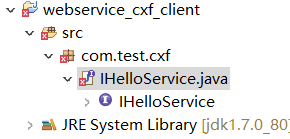
会报错,需要删除ObjectFactory.class

第四步:编写配置文件
提供 spring 配置文件, 注册客户端代理对象
xmlns:jaxws="http://cxf.apache.org/jaxws"
xmlns:soap="http://cxf.apache.org/bindings/soap"
xsi:schemaLocation="http://www.springframework.org/schema/beans
                    http://www.springframework.org/schema/beans/spring-beans.xsd
                    http://cxf.apache.org/bindings/soap
                    http://cxf.apache.org/schemas/configuration/soap.xsd
                    http://cxf.apache.org/jaxws
                    http://cxf.apache.org/schemas/jaxws.xsd">
    <!-- 引入CXF Bean定义如下,早期的版本中使用 -->
    <import resource="classpath:META-INF/cxf/cxf.xml" />
    <import resource="classpath:META-INF/cxf/cxf-extension-soap.xml" />
    <import resource="classpath:META-INF/cxf/cxf-servlet.xml" />

    <!-- 注册cxf客户端对象,通过spring框架创建这个代理对象,使用代理对象实现远程调用 -->
    <jaxws:client id="myClient"
            address="http://192.168.31.247:8080/webservice_cxf_service/service/cxfService"
            serviceClass="com.test.cxf.IHelloService">
    </jaxws:client>
</beans>
第五步:书写测试类
读取 spring 配置文件, 创建 spring 工厂, 从工厂中获取代理对象, 实现远程调用
package com.test.cxf;

import org.springframework.context.ApplicationContext;
import org.springframework.context.support.ClassPathXmlApplicationContext;

public class App {

    public static void main(String[] args) {
        ApplicationContext ac = new ClassPathXmlApplicationContext("cxf.xml");

        IHelloService proxy = (IHelloService) ac.getBean("myClient");

        String s = proxy.sayHello("cury");

        System.out.println(s);
    }
}
第六步:运行查看结果
客户端:
tomcat端:
