准备两台服务器,目录结构如下
| 主机名 | IP地址 | tomcat安装路径 | zookeeper安装路径 | solr安装路径 | java安装路径 |
| sht-sgmhadoopnn-01 | 172.16.101.55 | /usr/local/apache-tomcat-6.0.36 | /usr/local/contentplatform/zookeeper | /usr/local/contentplatform/solr/solr | /usr/java/jdk1.6.0_45 |
| sht-sgmhadoopnn-02 | 172.16.101.56 | /usr/local/apache-tomcat-6.0.36 | /usr/local/contentplatform/zookeeper | /usr/local/contentplatform/solr/solr | /usr/java/jdk1.6.0_45 |
软件准备
jdk
http://download.oracle.com/otn/java/jdk/6u45-b06/jdk-6u45-linux-x64.bin
zookeeper
http://archive.apache.org/dist/zookeeper/zookeeper-3.4.6/zookeeper-3.4.6.tar.gz
tomcat
http://archive.apache.org/dist/tomcat/tomcat-6/v6.0.36/bin/apache-tomcat-6.0.36.tar.gz
solr
https://archive.apache.org/dist/lucene/solr/4.4.0/solr-4.4.0.tgz
1.jdk安装
$ echo $JAVA_HOME
/usr/java/jdk1.6.0_45
2. zookeeper安装
$ wget http://archive.apache.org/dist/zookeeper/zookeeper-3.4.6/zookeeper-3.4.6.tar.gz
$ tar -zxf zookeeper-3.4.6.tar.gz
$ cd zookeeper-3.4.6
$ mkdir data
$ echo 1 > data/myid
$ cd conf
$ cp zoo_sample.cfg zoo.cfg
$ cat zoo.cfg
tickTime=2000
initLimit=10
syncLimit=5
dataDir=/usr/local/contentplatform/zookeeper-3.4.6/data
clientPort=9983
server.1=sht-sgmhadoopnn-01:2888:3888
server.2=sht-sgmhadoopnn-02:2888:3888
将zookeeper目录复制到sht-sgmhadoopnn-02上并将myid值修改为2
$ rsync -az --progress /usr/local/contentplatform/zookeeper-3.4.6 tnuser@sht-sgmhadoopnn-02:/usr/local/contentplatform/
分别启动两个节点的zookeeper
$ /usr/local/contentplatform/zookeeper-3.4.6/bin/zkServer.sh start
查看两节点的zookeeper角色
$ /usr/local/contentplatform/zookeeper-3.4.6/bin/zkServer.sh status
JMX enabled by default
Using config: /usr/local/contentplatform/zookeeper-3.4.6/bin/../conf/zoo.cfg
Mode: follower
$ /usr/local/contentplatform/zookeeper-3.4.6/bin/zkServer.sh status
JMX enabled by default
Using config: /usr/local/contentplatform/zookeeper-3.4.6/bin/../conf/zoo.cfg
Mode: leader
3.solr安装
$ wget https://archive.apache.org/dist/lucene/solr/4.4.0/solr-4.4.0.tgz
$ tar -zxf solr-4.4.0.tgz
$ mkdir solr
$ cp -r solr-4.4.0/example/* solr/
复制solr目录solr到sht-sgmhadoopnn-02上
$ rsync -az --progress /usr/local/contentplatform/solr tnuser@sht-sgmhadoopnn-02:/usr/local/contentplatform/
4. tomcat安装
$ wget http://archive.apache.org/dist/tomcat/tomcat-6/v6.0.36/bin/apache-tomcat-6.0.36.tar.gz
$ tar -zxf apache-tomcat-6.0.36.tar.gz
5. 配置solr与tomcat
tomcat配置文件catalina.sh,添加zookeeper交互
JAVA_HOME=/usr/java/jdk1.6.0_45
JAVA_OPTS="$JAVA_OPTS -Xms1000M -Xmx1000M -Duser.language=en -Dsolr.solr.home=/usr/local/contentplatform/solr/solr -DhostContext=solr -Dbootstrap_conf=true -Dhostport=8983 -DzkHost=sht-sgmhadoopnn-01:9983,sht-sgmhadoopnn-01:9983 -DnumShards=2"
echo "Java Options: $JAVA_OPTS"
tomcat配置文件server.xml,修改solr访问端口
    <Connector port="8983" protocol="HTTP/1.1"
               connectionTimeout="20000"
               redirectPort="8443" />
将solr的war包复制到tomcat目录
$ unzip /usr/local/contentplatform/solr/webapps/solr.war -d /usr/local/apache-tomcat-6.0.36/webapps/solr
添加solr常用的jar包到tomcat
$ cp -r /usr/local/contentplatform/solr-4.4.0/dist/*.jar /usr/local/apache-tomcat-6.0.36/webapps/solr/WEB-INF/lib/
$ cp -r /usr/local/contentplatform/solr-4.4.0/contrib/velocity/lib/*.jar /usr/local/apache-tomcat-6.0.36/webapps/solr/WEB-INF/lib/
$ cp -r /usr/local/contentplatform/solr-4.4.0/contrib/extraction/lib/*.jar /usr/local/apache-tomcat-6.0.36/webapps/solr/WEB-INF/lib/
$ cp -r /usr/local/contentplatform/solr-4.4.0/example/lib/*.jar /usr/local/apache-tomcat-6.0.36/webapps/solr/WEB-INF/lib/
$ cp -r /usr/local/contentplatform/solr-4.4.0/example/lib/ext/*.jar /usr/local/apache-tomcat-6.0.36/webapps/solr/WEB-INF/lib/
下载常用的mysql、postgresql的jdbc包到tomcat
$ wget https://jdbc.postgresql.org/download/postgresql-42.2.6.jre6.jar
$ wget https://dev.mysql.com/get/Downloads/Connector-J/mysql-connector-java-5.1.48.tar.gz
修改solr/WEB-INF/web.xml,添加solr的home目录
    <env-entry>
       <env-entry-name>solr/home</env-entry-name>
       <env-entry-value>/usr/local/contentplatform/solr/solr</env-entry-value>
       <env-entry-type>java.lang.String</env-entry-type>
    </env-entry>
复制tomcat目录到sht-sgmhadoopnn-02上
$ rsync -az --progress /usr/local/apache-tomcat-6.0.36 tnuser@sht-sgmhadoopnn-02:/usr/local/
启动tomcat
$ /usr/local/apache-tomcat-6.0.36/bin/catalina.sh start
6. 验证solrcloud
http://172.16.101.55:8983/solr
http://172.16.101.56:8983/solr/
新建collection
http://172.16.101.55:8983/solr/admin/collections?action=CREATE&name=collection2&numShards=2
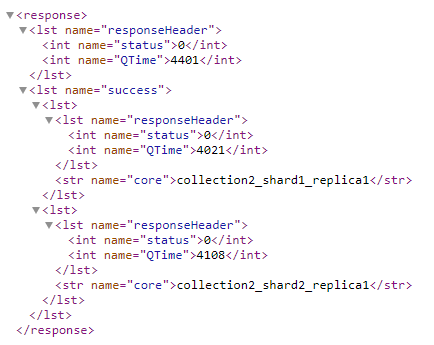
查看新建的collection

删除新建的collection
http://172.16.101.55:8983/solr/admin/collections?action=CREATE&name=content_datar&numShards=2&collection.configName=collection1
7. 将postgresql表导入到solrcloud
先查看postgresql表结构
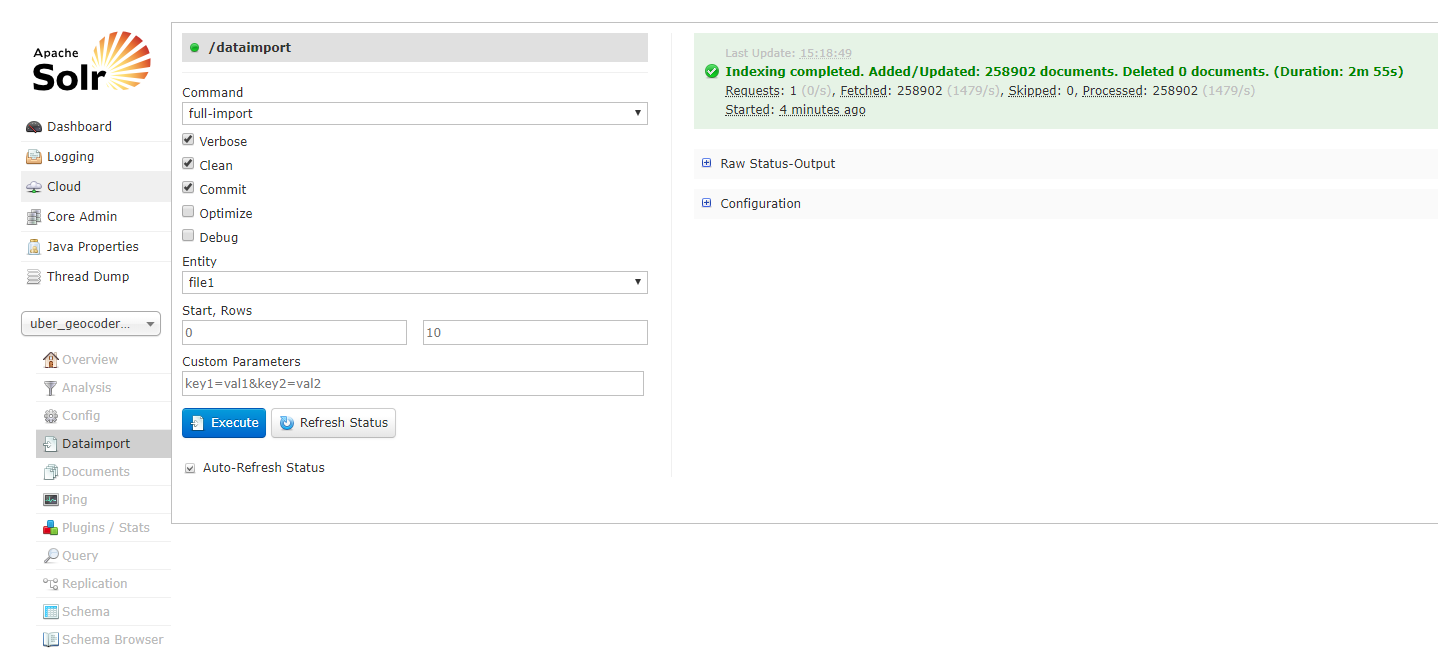
uber_geocoder=# d twn_addr_compact
Table "uber_geocoder_tw_15q3_v2.twn_addr_compact"
        Column        |     Type      | Modifiers
----------------------+---------------+-----------
 id                   | bigint        | not null
 door_range           | text[]        |
 address_points       | public.hstore |
 street_names         | public.hstore |
 country              | public.hstore |
 state                | public.hstore |
 county               | public.hstore |
 city                 | public.hstore |
 locality             | public.hstore |
 sub_locality         | public.hstore |
 neighbourhood        | public.hstore |
 postal_code          | text          |
 rich_postal_code     | text[]        |
 rich_postal_code_lat | text[]        |
 intersected_way_ids  | text          |
 hilbert_key          | bigint        |
 unidb_ids            | bigint[]      |
 md5                  | bigint        |
Indexes:
    "pk_twn_addr_compact" PRIMARY KEY, btree (id)
    "hilbert_uber_geocoder_tw_15q3_v2_twn_addr_compact" btree (hilbert_key)

uber_geocoder=# select count(*) from twn_addr_compact;
 count
--------
 258902
(1 row)
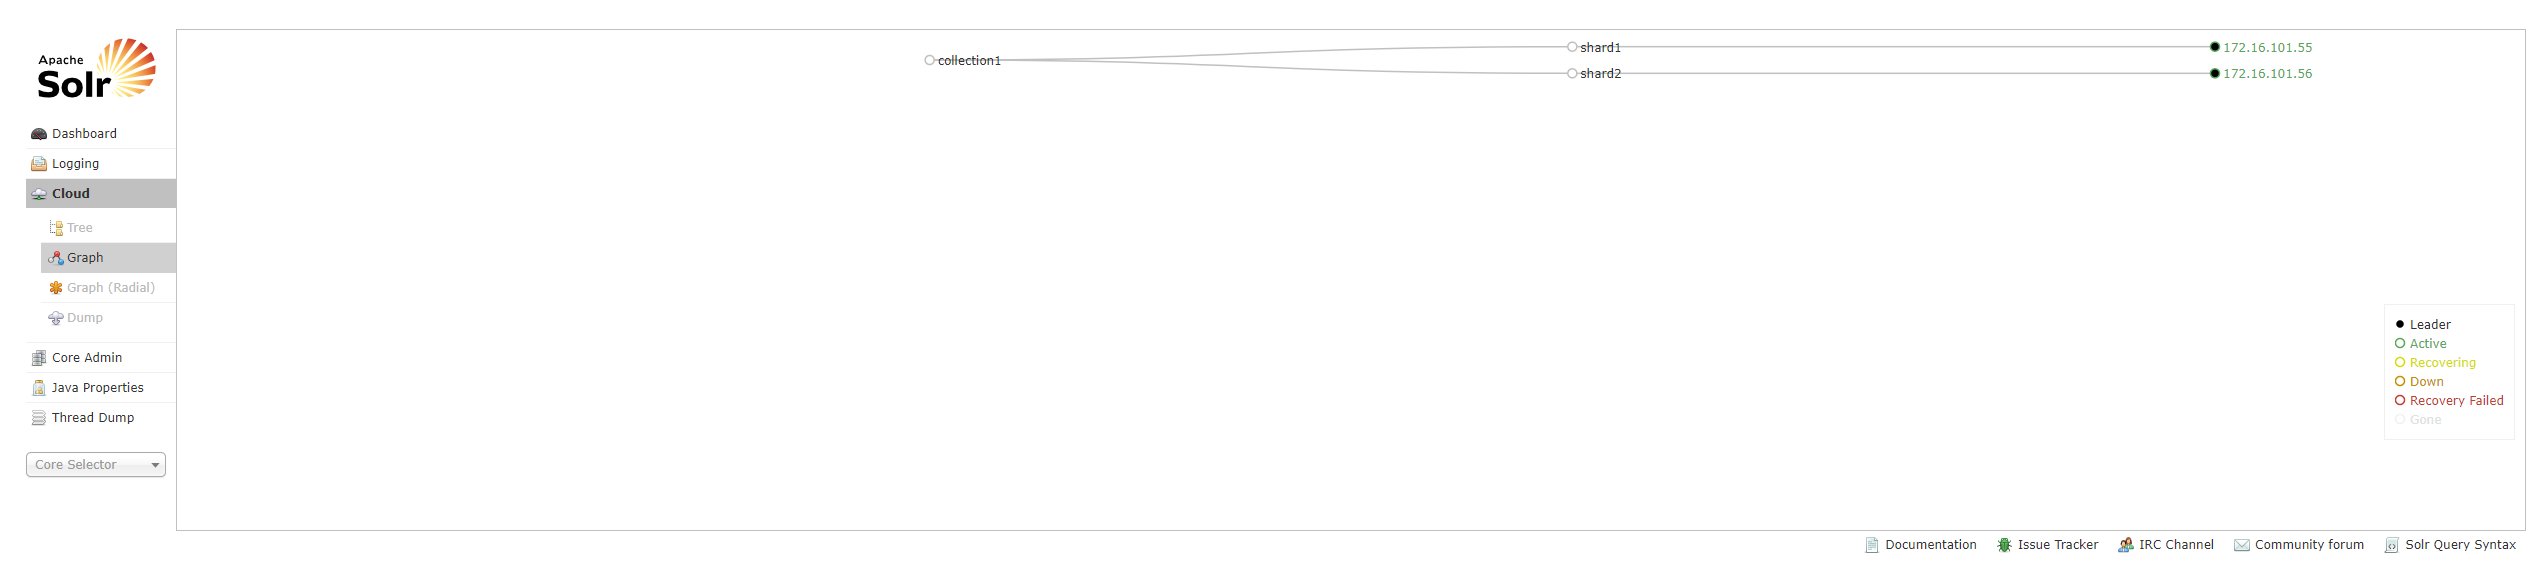
新建collection “uber_geocoder”
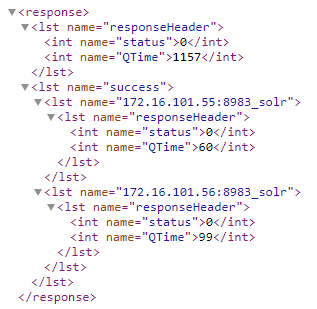
http://172.16.101.55:8983/solr/admin/collections?action=CREATE&name=uber_geocoder&numShards=2
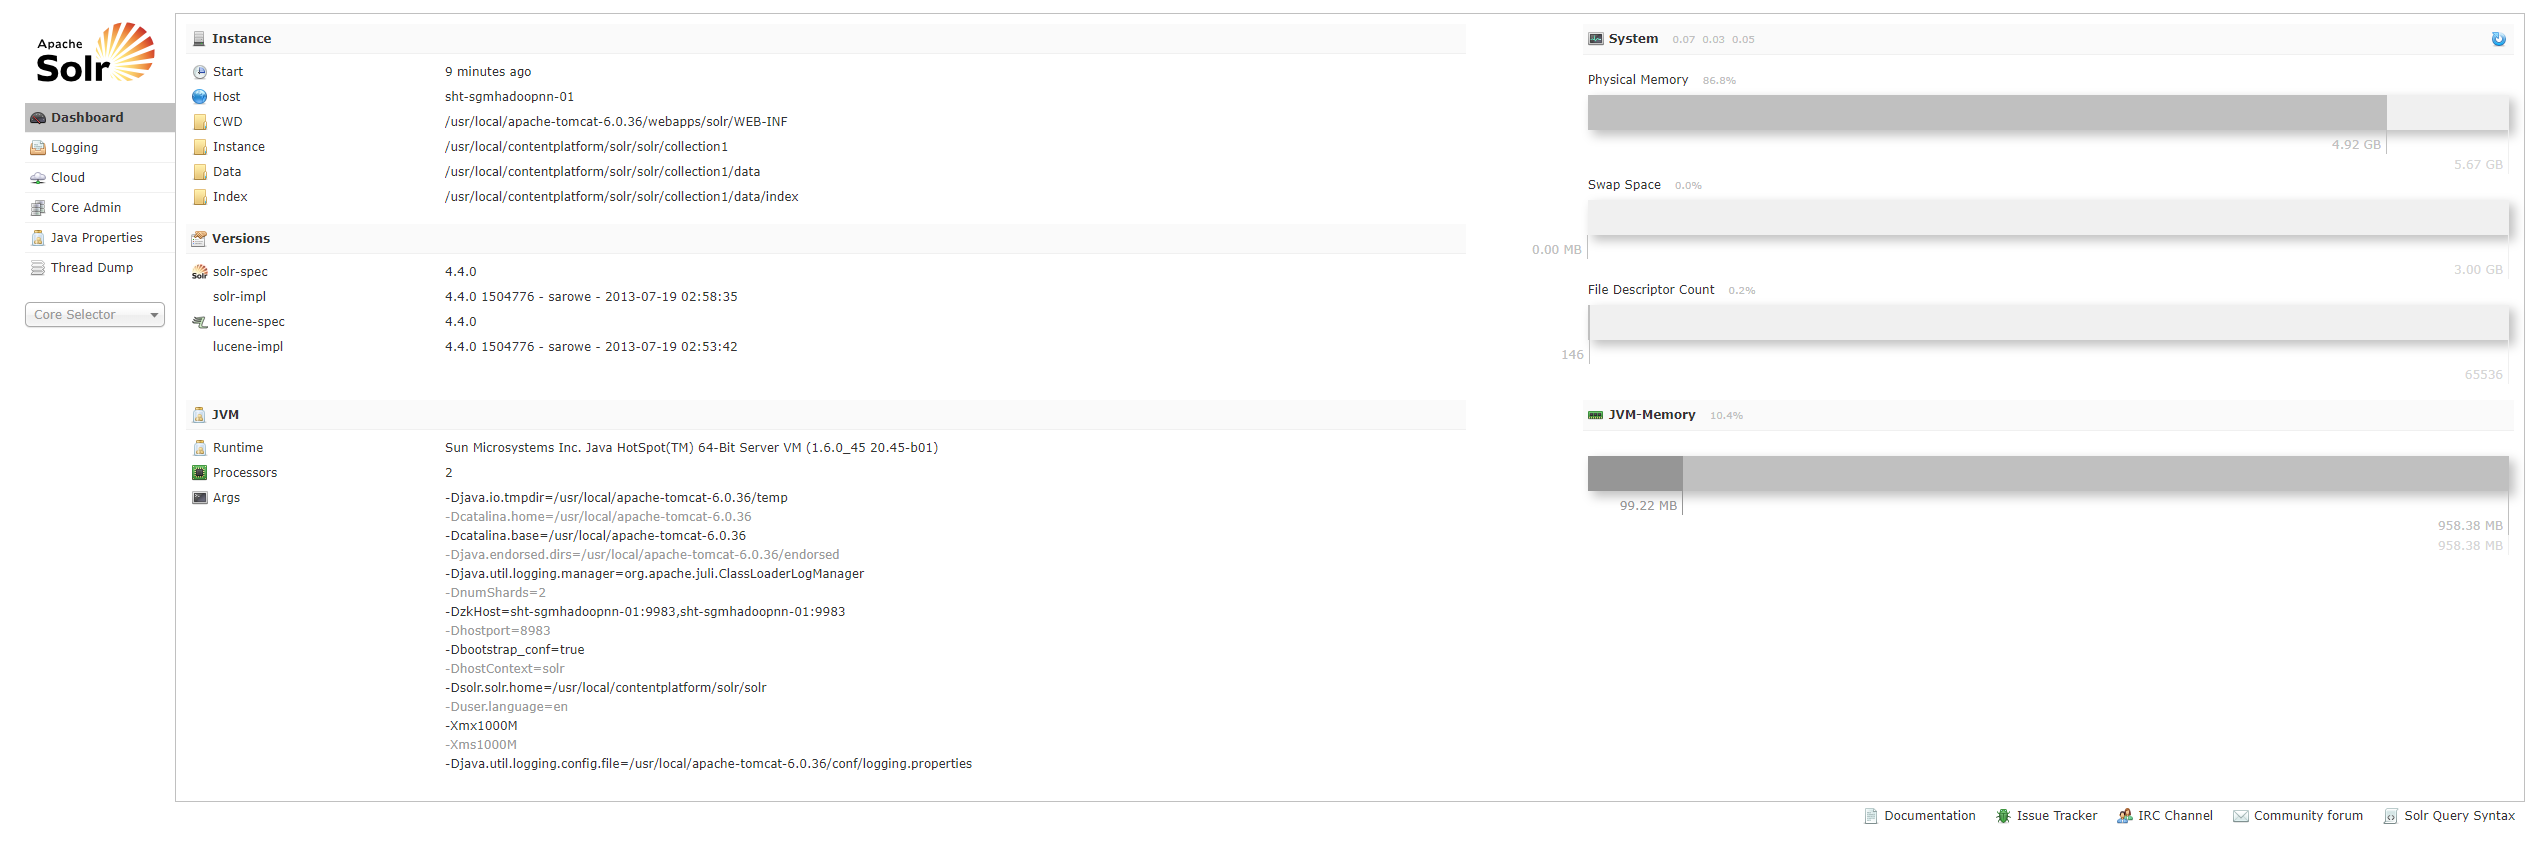
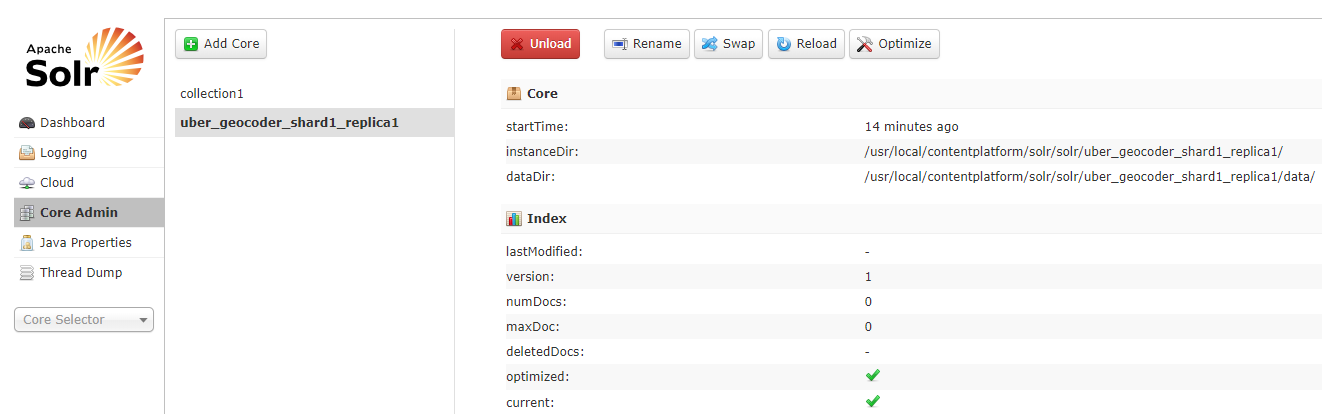
sht-sgmhadoopnn-01查看
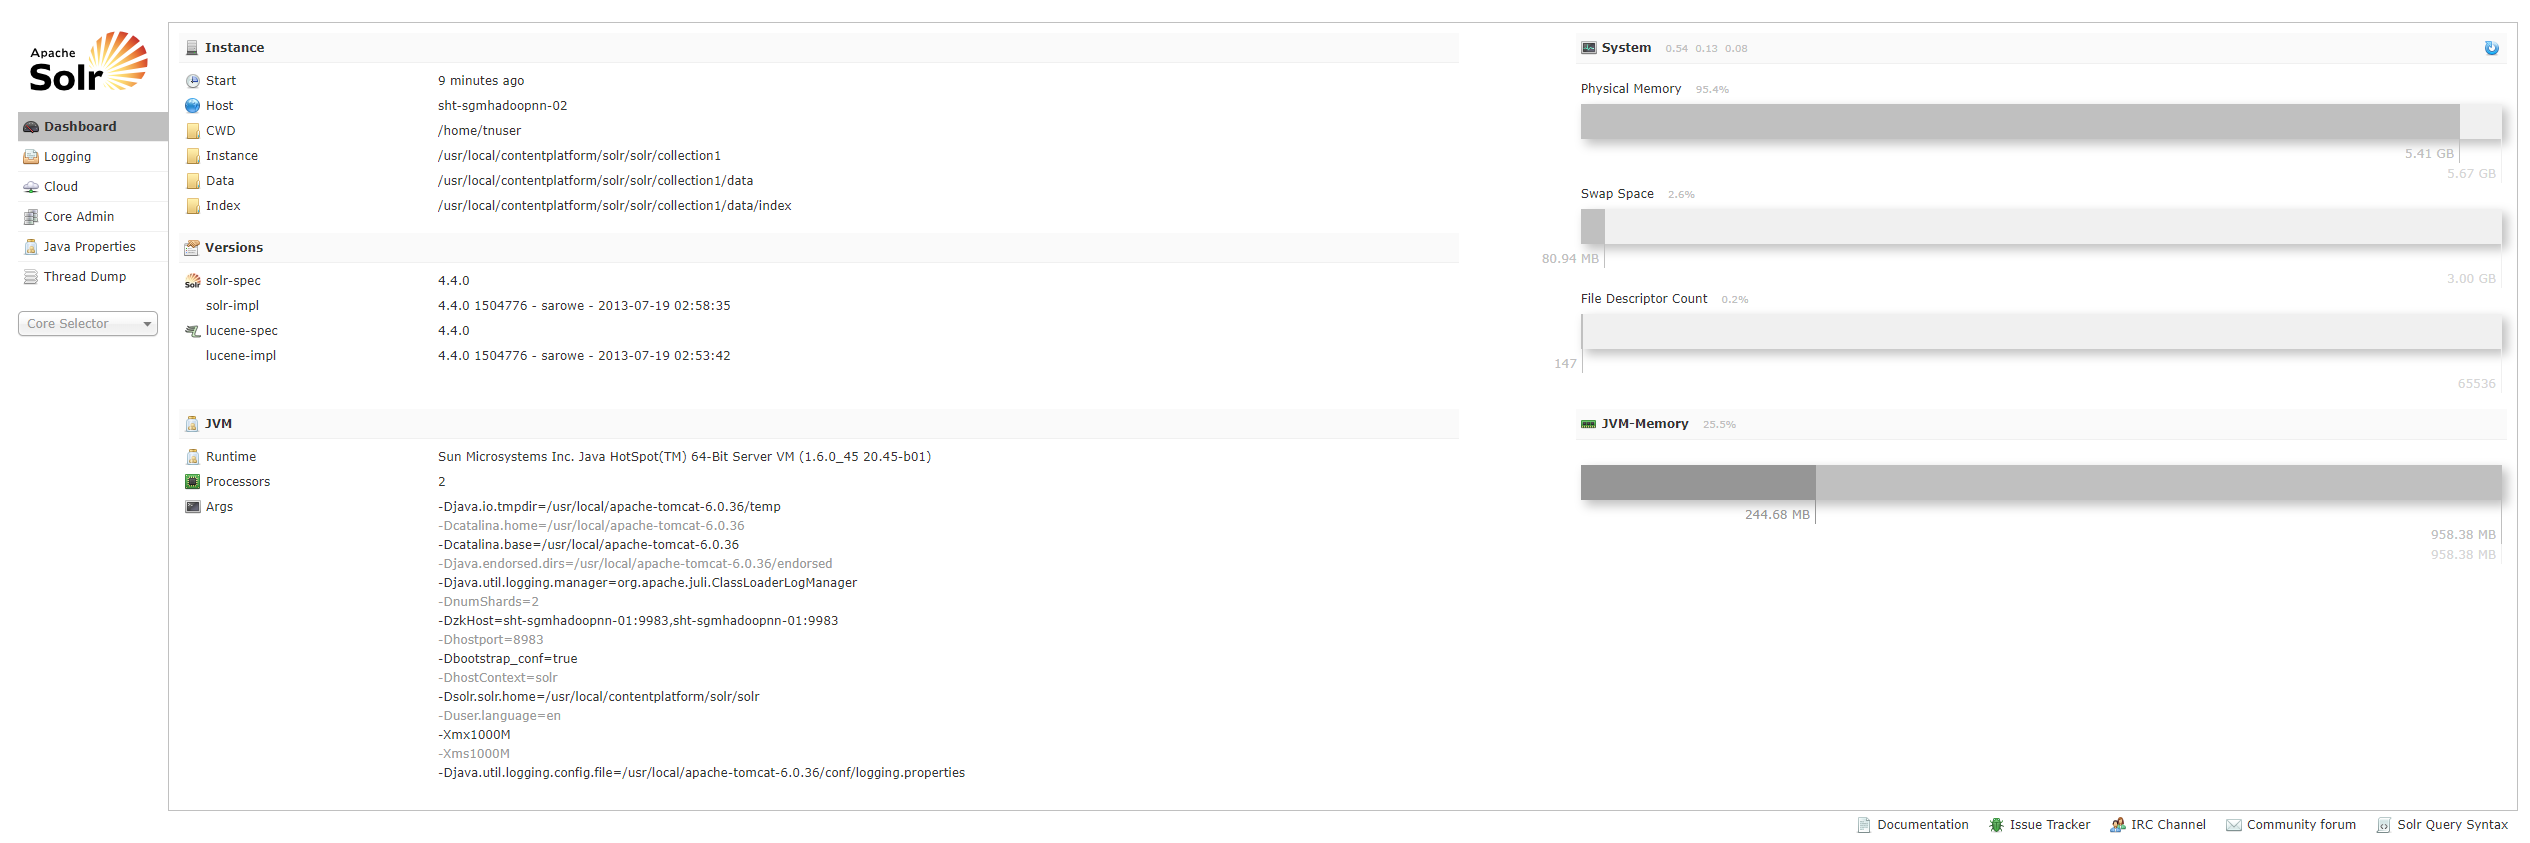
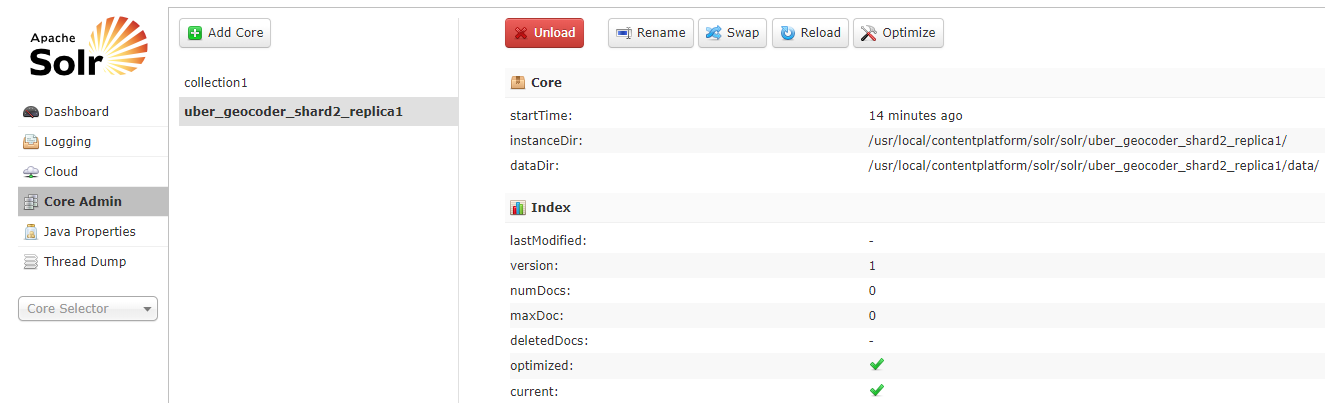
sht-sgmhadoopnn-02查看
将solr home的core collection1目录的conf复制到sht-sgmhadoopnn-01上新建的collection目录
$ cp -r /usr/local/contentplatform/solr/solr/collection1/conf /usr/local/contentplatform/solr/solr/uber_geocoder_shard1_replica1
修改solrconfig.xml文件添加如下
<requestHandler name="/dataimport" class="org.apache.solr.handler.dataimport.DataImportHandler">
    <lst name="defaults">
      <str name="config">data-config.xml</str>
    </lst>
  </requestHandler>
data-config.xml文件内容如下
<dataConfig>
    <dataSource name="source1" type="JdbcDataSource" driver="org.postgresql.Driver" url="jdbc:postgresql://172.16.101.66:5432/uber_geocoder" user="dbadmin" password="88888888" />
     <document>
      <entity name="file1" datasource="source1" query="SELECT * FROM uber_geocoder_tw_15q3_v2.twn_addr_compact">
        <field column="id" name="id" />
        <field column="door_range" name="door_range" />
        <field column="address_points" name="address_points" />
        <field column="street_names" name="street_names" />
        <field column="country" name="country" />
        <field column="state" name="state" />
        <field column="county" name="county" />
        <field column="city" name="city" />
        <field column="locality" name="locality" />
        <field column="sub_locality" name="sub_locality" />
        <field column="neighbourhood" name="neighbourhood" />
        <field column="postal_code" name="postal_code" />
        <field column="rich_postal_code" name="rich_postal_code" />
        <field column="rich_postal_code_lat" name="rich_postal_code_lat" />
        <field column="intersected_way_ids" name="intersected_way_ids" />
        <field column="hilbert_key" name="hilbert_key" />
        <field column="unidb_ids" name="unidb_ids" />
        <field column="md5" name="md5" />
      </entity>
     </document>
</dataConfig>
添加以下到schema.xml文件
   <field name="id" type="string" indexed="true" stored="true" required="true" multiValued="false" />
   <field name="door_range" type="text_general" indexed="true" stored="true"/>
   <field name="address_points" type="text_general" indexed="true" stored="true"/>
   <field name="street_names" type="text_general" indexed="true" stored="true"/>
   <field name="country" type="text_general" indexed="true" stored="true"/>
   <field name="state" type="text_general" indexed="true" stored="true"/>
   <field name="county" type="text_general" indexed="true" stored="true"/>
   <field name="city" type="text_general" indexed="true" stored="true"/>
   <field name="locality" type="text_general" indexed="true" stored="true"/>
   <field name="sub_locality" type="text_general" indexed="true" stored="true"/>
   <field name="neighbourhood" type="text_general" indexed="true" stored="true"/>
   <field name="postal_code" type="int" indexed="true" stored="true"/>
   <field name="rich_postal_code" type="text_general" indexed="true" stored="true"/>
   <field name="rich_postal_code_lat" type="text_general" indexed="true" stored="true"/>
   <field name="intersected_way_ids" type="text_general" indexed="true" stored="true"/>
   <field name="hilbert_key" type="string" indexed="true" stored="true"/>
   <field name="unidb_ids" type="text_general" indexed="true" stored="true"/>
   <field name="md5" type="text_general" indexed="true" stored="true"/>
将conf目录复制到sht-sgmhadoopnn-02,并重启两台机器的tomcat
$ rsync -az --progress conf tnuser@sht-sgmhadoopnn-02:/usr/local/contentplatform/solr/solr/uber_geocoder_shard2_replica1/