1. 创建带测试类库的项目解决方案(详细方法参见Nunit Quick Start),如图:

下面一个是供Nunit 进行单元测试的。
2 选中测试类库,鼠标右键选择属性,调试

在启动操作 选项中,选择启动外部程序,并设置好Nunit 单元测试 Nunit.exe程序位置
3 打开 Nunit 安装目录,找到Nunit.exe.config

修改配置文件如下:
<?xml version="1.0" encoding="utf-8"?>
<configuration>
<!--
The GUI only runs under .NET 2.0 or higher. The
useLegacyV2RuntimeActivationPolicy setting only
applies under .NET 4.0 and permits use of mixed
mode assemblies, which would otherwise not load
correctly.
-->
<startup useLegacyV2RuntimeActivationPolicy="true">
<!-- Comment out the next line to force use of .NET 4.0
<supportedRuntime version="v2.0.50727" />
<supportedRuntime version="v4.0.30319" /> -->
<requiredRuntime version="v4.0.30319" /> <!--添加该行配置,并只留这一个配置-->
</startup>
<runtime>
<!-- Ensure that test exceptions don't crash NUnit -->
<legacyUnhandledExceptionPolicy enabled="1" />
<!-- Run partial trust V2 assemblies in full trust under .NET 4.0 -->
<loadFromRemoteSources enabled="true" /> <!--该项配置为true-->
<!-- Look for addins in the addins directory for now -->
<assemblyBinding xmlns="urn:schemas-microsoft-com:asm.v1">
<probing privatePath="lib;addins" />
</assemblyBinding>
</runtime>
</configuration>
4 为要测试的方法打上断点,选中测试类库为启动项,按F5运行
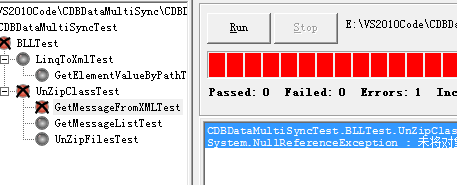
在Nunit 界面上运行要测试的方法,成功在断点上停下来
