Elasticsearch基于Lucene构建的开源搜索引擎,Java编写,提供restful API,支持横向拓展,能够完成海量数据处理。
应用场景:
1、海量数据分析引擎
2、站内搜索引擎
3、数据仓库
维基百科、GitHub、百度实时日志监控平台等互联网公司都在使用Elasticsearch
版本历史:
1.x-->2.x-->5.x-->6.x-->7.x,目前最新为7.3
Linux安装:6.4.2
PS:Elastic5.x到7.0以前, 需要 Java 8 环境,7.0以后需要jdk11
wget https://artifacts.elastic.co/downloads/elasticsearch/elasticsearch-6.4.2.tar.gz
配置:
修改config/elasticsearch.yml
network.host: 0.0.0.0
http.cors.enabled: true
http.cors.allow-origin: "*"
修改:vm.max_map_count = 262144
后台启动:./bin/elasticsearch -d
问题:Elasticsearch不允许Root用户启动?
解决:添加一个新的用户,并且通过root赋权限,然后切换新用户启动ES
adduser *
passwd *,然后输入两次密码
chown -R *:* es文件夹
chmod 777 es文件夹
*为用户名,自行修改
Elasticsearch
是面向文档(document oriented)的,这意味着它可以存储整个对象或文档(document),在Elasticsearch中,文档归属于一种类型(type),而这些类型存在于索引(index)中
ES和SQL类比:
  Relational DB -> Databases -> Tables -> Rows -> Columns

  Elasticsearch -> Indices -> Types -> Documents -> Fields
Head插件:
下载,然后启动,如果使用Chrome的直接下载拓展程序就可以了

可以看到集群健康值为yellow,也就是status字段
status字段三种颜色各自的含义:
颜色                    意义

green        所有主要分片和复制分片都可用

yellow        所有主要分片可用,但不是所有复制分片都可用

red            不是所有的主要分片都可用
概念:
集群:默认elasticsearch,就是cluster.name,就是一组具有相同cluster.name值的node集合
节点:一个ES实例就是一个node
索引:相同属性的文档集合,用来指向一个或多个分片(shards)的“逻辑命名空间(logical namespace)”
类型:索引可以定义一个或者多个类型,文档必须属于一个类型
文档:是可以被索引的基础数据单位,特指最顶层结构或者根对象(root object)序列化成的JSON数据(以唯一ID标识并存储于Elasticsearch中)。
分片number_of_shards:每个索引都有多个分片,每个分片是一个Lucene索引,并且它本身就是一个完整的搜索引擎,shard就是数据的容器。不能动态修改
备份number_of_replicas:拷贝一份分片就完成了分片的备份,可以动态修改
默认创建5个shard和1个replicas,当索引创建完成的时候,主分片的数量就固定了,但是复制分片的数量可以随时调整。默认情况下,一个索引被分配5个主分片
主要分片(primary shard):你索引中的每个文档属于一个单独的主分片,所以主分片的数量决定了索引最多能存储多少数据。
复制分片(replica shard):是主分片的一个副本,它可以防止硬件故障导致的数据丢失,同时可以提供读请求,比如搜索或者从别的shard取回文档。
Document:
包含数据和metadata,metadata为_index,_type,_id,通过这三个参数确定唯一的文档,_id可以自定义,否则ES自动生成
索引API:
1、手动创建索引:
PUT:http://ip:9200/house


{
    "settings": {
        "number_of_replicas": 1,
        "number_of_shards": 3
    },
    "mappings": {
        "room": {
            "dynamic": false,
            "properties": {
                "name": {
                    "type": "text"
                },
                "age": {
                    "type": "integer"
                },
                "price": {
                    "type": "integer"
                },
                "country": {
                    "type": "keyword"
                }
            }
        }
    }
}
结果:
{
    "_index": "house",
    "_type": "room",
    "_id": "YsS1UGwBFuU94SAr0W4c",
    "_version": 1,
    "result": "created",
    "_shards": {
        "total": 2,
        "successful": 1,
        "failed": 0
    },
    "_seq_no": 0,
    "_primary_term": 1
}
_index:house
_type:room
_id:自动生成,自动生成的ID有22个字符长,简写为UUIDs
2、通过put/post操作插入数据,自动创建索引:
PUT/POST:http://ip:9200/website/blog/123
{
    "title": "My first blog entry",
    "text": "Just trying this out...",
    "date": "2014/01/01"
}
自动生成索引结构如下:
{
    "state": "open",
    "settings": {
        "index": {
            "creation_date": "1564719889397",
            "number_of_shards": "5",
            "number_of_replicas": "1",
            "uuid": "C2zlsNnnQeeW42wZZAuKmw",
            "version": {
                "created": "6040299"
            },
            "provided_name": "website"
        }
    },
    "mappings": {
        "blog": {
            "properties": {
                "date": {
                    "format": "yyyy/MM/dd HH:mm:ss||yyyy/MM/dd||epoch_millis",
                    "type": "date"
                },
                "text": {
                    "type": "text",
                    "fields": {
                        "keyword": {
                            "ignore_above": 256,
                            "type": "keyword"
                        }
                    }
                },
                "title": {
                    "type": "text",
                    "fields": {
                        "keyword": {
                            "ignore_above": 256,
                            "type": "keyword"
                        }
                    }
                }
            }
        }
    }
}
PS:不指定ID的情况下,也就是自增情况下不再是put,而是post
http://ip:9200/websit/blog
{
  "title": "My second blog entry",
  "text":  "Still trying this out...",
  "date":  "2014/01/01"
}
查询API:GET
1、查询全部:
http://ip:9200/book/novel/_search
结果:
 "hits": {
        "total": 4,
        "max_score": 1.0,
        "hits": [
            {
                "_index": "book",
                "_type": "novel",
                "_id": "2",
                "_score": 1.0,
                "_source": {
                    "author": "jesen",
                    "title": "b",
                    "word_count": "10022",
                    "publish_date": "2014-01-01"
                }
            },
            {
                "_index": "book",
                "_type": "novel",
                "_id": "4",
                "_score": 1.0,
                "_source": {
                    "author": "tom",
                    "title": "hello",
                    "word_count": "11111",
                    "publish_date": "2018-01-12"
                }
            },
            {
                "_index": "book",
                "_type": "novel",
                "_id": "1",
                "_score": 1.0,
                "_source": {
                    "author": "sam",
                    "title": "a",
                    "word_count": "1002",
                    "publish_date": "2012-01-01"
                }
            },
            {
                "_index": "book",
                "_type": "novel",
                "_id": "3",
                "_score": 1.0,
                "_source": {
                    "author": "tom",
                    "title": "c",
                    "word_count": "100212",
                    "publish_date": "2014-01-12"
                }
            }
        ]
    }
hits.total为3,也就是查询出三条结果
2、查询id为123的Document数据:
GET:http://ip:9200/website/blog/123?pretty
结果:
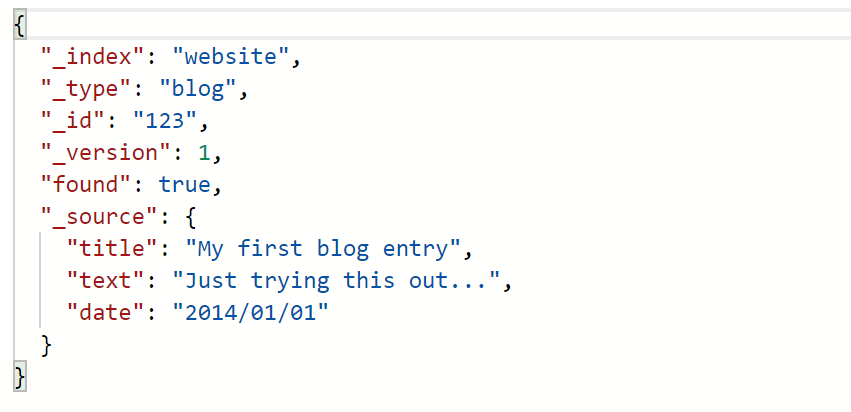
_source:对应Document的数据
pretty:输出美化
3、查询Document的部分字段:
/website/blog/123?_source=title,text

4、只得到_source部分:
/website/blog/123/_source

5、where条件查询
查询作者名为Tom的记录:/book/novel/_search?q=author:tom
6、使用DSL语句查询:
/book/novel/_search
{
	"query": {
		"match": {
			"author": "tom"
		}
	}
}
match为匹配,match_all为查询全部
{
	"query": {
		"match_all": {}
	}
}
7、过滤器filter:
filtered在5.5版本之后已经废弃,可以使用bool
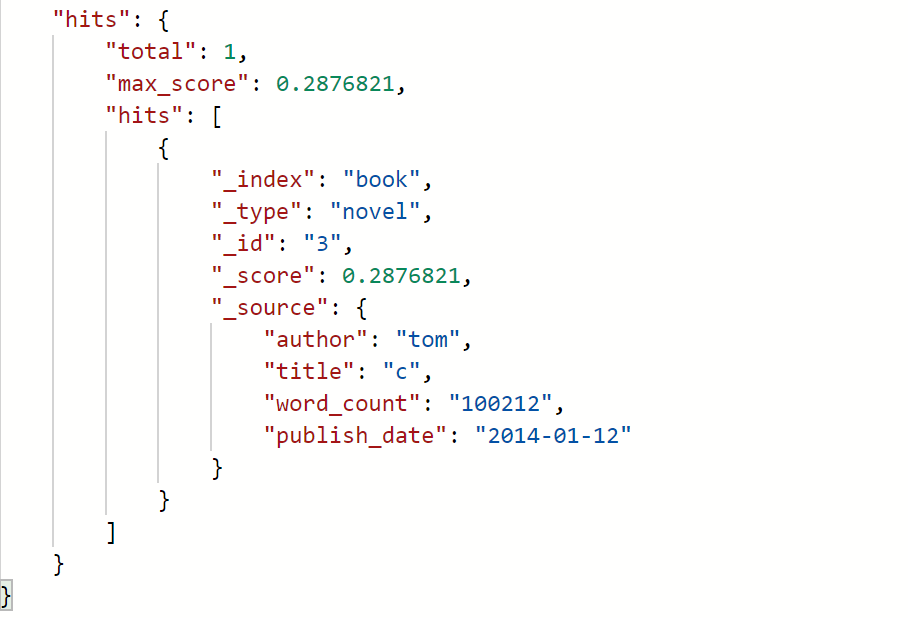
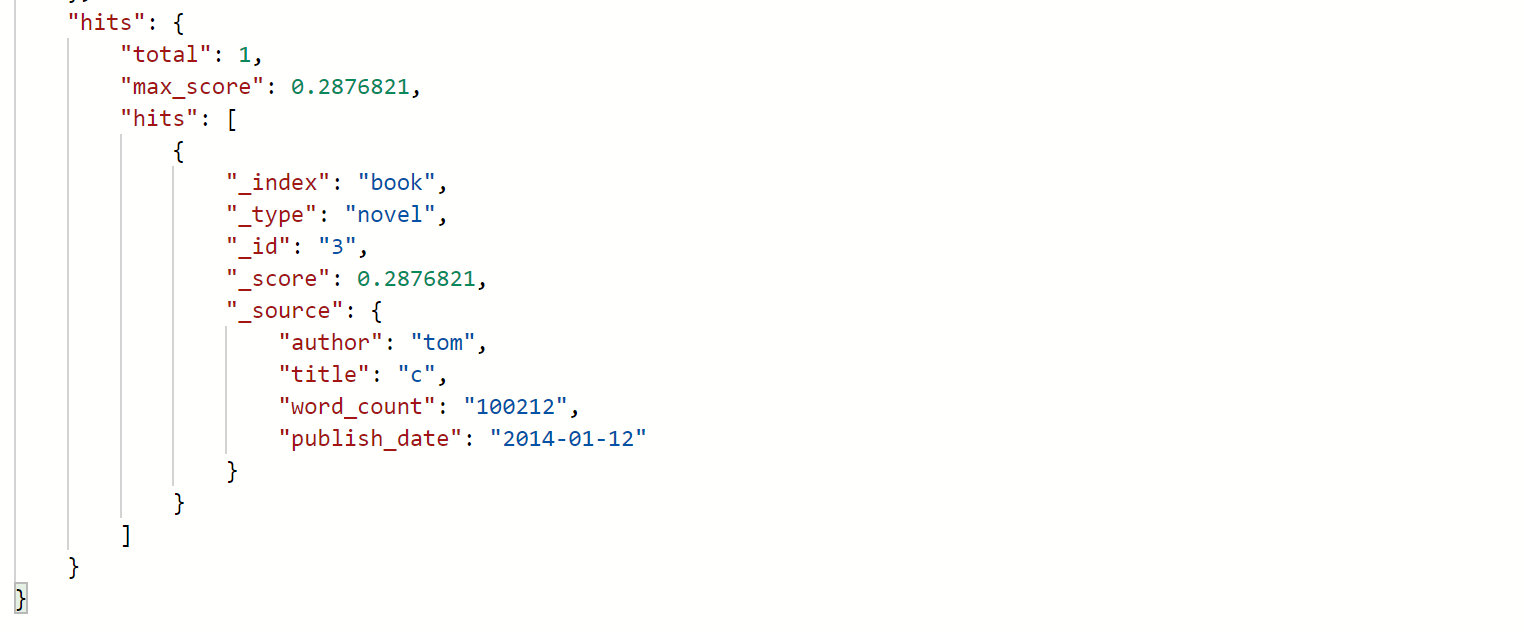
/book/novel/_search
{
    "query" : {
        "bool" : {
            "filter" : {
                "range" : {
                    "word_count" : { "gte" : 11111 }
                }
            },
            "must" : {
                "match" : {
                    "author" : "tom"
                }
            }
        }
    }
}
8、聚合aggregations:
{
    "aggs": {
        "all_author": {
            "terms": {
                "field": "author"
            }
        }
    }
}
结果:
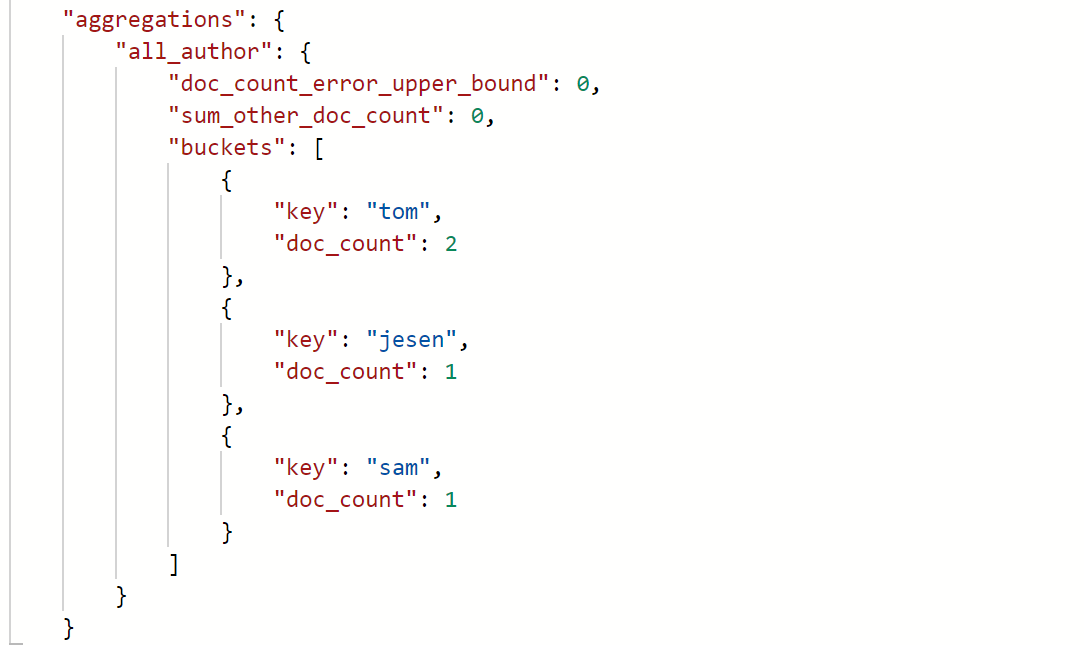
author名为Tom的两个,jesen一个,sam一个
聚合同样支持条件匹配:
{
    "query": {
        "match": {
            "title": "hello"
        }
    },
    "aggs": {
        "all_author": {
            "terms": {
                "field": "author"
            }
        }
    }
}
聚合也可以使用某些函数,例如max min sum avg等,详情可以参考:ES聚合分析(聚合分析简介、指标聚合、桶聚合)
{
    "aggs": {
        "all_author": {
            "terms": {
                "field": "author"
            },
            "aggs": {
                "avg_word": {
                    "min": {
                        "field": "word_count"
                    }
                }
            }
        }
    }
}

检查Document是否存在:
HEAD:/book/novel/1111,返回404就是不存在,200就是存在
更新API:
PUT/POST:/book/novel/4
{
    "author": "tom",
    "title": "hello world",
    "word_count": "11111",
    "publish_date": "2018-01-12"
}

每次更新version都会+1,result为updated
PS:必须写全字段,即使这里只是更新title,如果其他字段不写,就会被update为空
使用POST/PUT都是可以的
更新过程如下:
1、从旧文档中检索JSON
2、修改它
3、删除旧文档
4、索引新文档
创建API:
在最开始索引API已经说了,不指定ID只能用POST操作,指定ID使用PUT和POST都可以,如果ID存在,就变成了update操作,相当于hibernate中的saveorupdate()
如果只是create操作:
POST/PUT:/book/novel/122231?op_type=create或者是/book/novel/1223/_create
这时,如果id存在409 Conflict异常,不存在可以create成功,上面两种方式都是可以的
删除API:
删除某条数据:/book/novel/1223
如果ID存在就返回200 OK,不存在返回404
删除type下所有的数据:
POST:/book/novel/_delete_by_query?conflicts=proceed
{
  "query": {
    "match_all": {}
  }
}
直接删除索引:/house
总结:
1、创建index:
1).手动创建索引,只能用PUT
2).不指定ID的情况下,只能用POST,可以自动创建索引,但是这种情况下,创建索引的语句会被当做为一条数据
3).指定ID的情况下,通过POST/PUT操作保存数据,都可以自动创建索引
索引最好还是手动创建
2、新增:
1).不指定ID的情况下,只能用POST
2).指定ID的情况下,通过POST/PUT操作保存数据,如果ID存在,就变成update
可以通过id/_create或者id?op_type=create,指定为create操作
3、修改:
指定ID,通过POST/PUT都可以
4、删除:
可以删除id或者index以及type下所有的数据