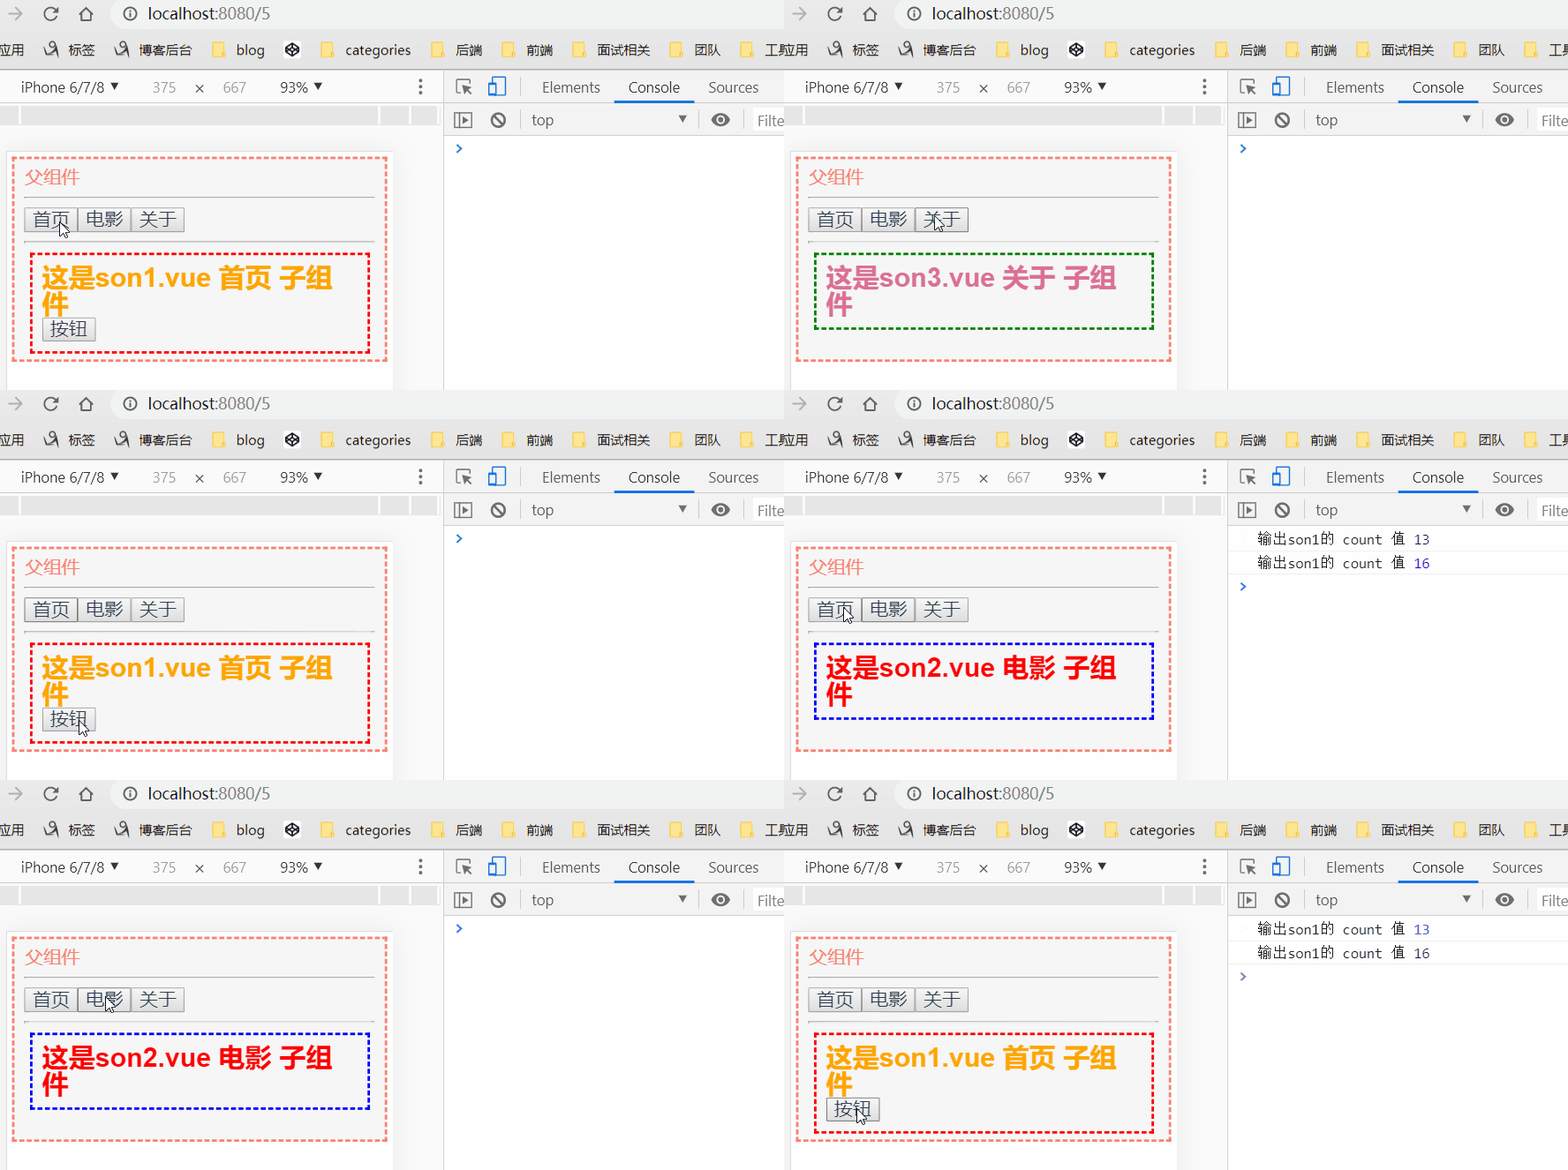
1. 使用 <component>标签实现组件切换
<component> 是Vue提供的标签语法;有一个is属性,is的作用就是显示指定的组件
<template>
  <div class="detail">
    <p>父组件</p>
    <hr>
    <button  @click="componentName='my-son1'">首页</button>
    <button  @click="componentName='my-son2'">电影</button>
    <button  @click="componentName='my-son3'">关于</button>
    <hr>
    <component :is="componentName"></component>
  </div>
</template>

<script>
import son1 from './son1.vue'
import son2 from './son2.vue'
import son3 from './son3.vue'
export default {
  name: "order",
  components: {
    'my-son1': son1,
    'my-son2': son2,
    'my-son3': son3
  },
  data() {
    return {
      componentName: 'my-son1' // 默认展示第一个子组件
    }
  }
}
</script>

<style lang="less" scoped>
.detail {
  margin: 5px;
  padding: 10px;
  border: 2px dashed salmon;
  height: 200px;
  background-color: #f6f6f6;
  p {
    color: salmon;
  }
}
</style>

总结:使用 component 标签切换组件时,没有触发路由的改变,而且当组件切换时,不会记录组件中的数据变化
2. 原生实现SPA
使用 component 标签的:is属性来切换组件
总结:单页面应用程序中,实现组件切换的技术点,就是 监听 window.onhashchange 事件:只要浏览器监听到 Hash 值的变化,就会触发指定的事件处理函数
<template>
  <div>
    <h1>App根组件</h1>

    <a href="#/home">首页</a>
    <a href="#/movie">电影</a>
    <a href="#/about">关于</a>

    <component :is="comName"></component>
  </div>
</template>

<script>
// 导入需要的子组件
import Home from './Home.vue'
import Movie from './Movie.vue'
import About from './About.vue'

export default {
  data() {
    return {
      comName: 'my-home'
    }
  },
  created() {
    // 只要浏览器监听到 Hash 值的变化,就会触发指定的事件处理函数
    window.onhashchange = () => {
      const hashStr = window.location.hash.slice(1)
      switch (hashStr) {
        case '/home':
          this.comName = 'my-home'
          break
        case '/movie':
          this.comName = 'my-movie'
          break
        case '/about':
          this.comName = 'my-about'
          break
      }
    }
  },
  // 注册私有子组件
  components: {
    'my-home': Home,
    'my-movie': Movie,
    'my-about': About
  }
}
</script>