一、环境搭建
1.安装node 去官网https://nodejs.org/en/下载安装包,安装完成后,输入node -v 看下是否成功


二、安装vue4.0
1.卸载旧版本vue-cli (如果第一次安装跳过既可)

注:如果卸载有问题,检查C:Users用户.npmrc文件,删除以下代码
cache=C:Program Files
odejs
ode_cache
prefix=C:Program Files
odejs
ode_global
2.安装新版本
npm install @vue/cli -g ///-g表达全局安装,这是4.0安装方式
cnpm install vue-cli-g ///这个是3.0以下版本安装方式
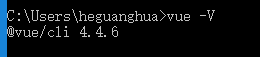
3.安装以后查看版本号:
vue -V
三.创建项目
1.创建项目
vue create project-name

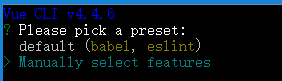
default:是使用默认配置
Manually select features:是自定义配置
2.选择配置(自定义配置)

1 ? Check the features needed for your project: (Press <space> to select, <a> to toggle all, <i> to invert selection)
2 >( ) Babel //转码器,可以将ES6代码转为ES5代码,从而在现有环境执行。
3  ( ) TypeScript// TypeScript是一个JavaScript(后缀.js)的超集(后缀.ts)包含并扩展了 JavaScript 的语法,需要被编译输出为 JavaScript在浏览器运行,目前较少人再用
4  ( ) Progressive Web App (PWA) Support// 渐进式Web应用程序
5  ( ) Router // vue-router(vue路由)
6  ( ) Vuex // vuex(vue的状态管理模式)
7  ( ) CSS Pre-processors // CSS 预处理器(如:less、sass)
8  ( ) Linter / Formatter // 代码风格检查和格式化(如:ESlint)
9  ( ) Unit Testing // 单元测试(unit tests)10 ( ) E2E Testing // e2e(end to end) 测试
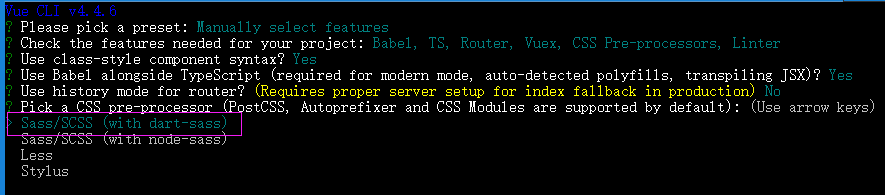
3.是否使用class风格的组件语法

4.是否使用babel做转义:Use Babel alongside TypeScript for auto-detected polyfills?

5.选择是否使用路由 history router

6.css 的预处理器我选择的是 Sass/SCSS(with dart-sass) 。node-sass是自动编译实时的,dart-sass需要保存后才会生效
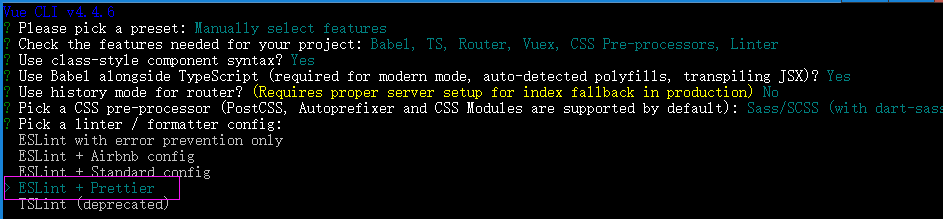
7.语法检测工具,这里我选择ESLint + Prettier
8.然后选择什么时候进行代码校验,Lint on save 保存就检查,Lint and fix on commit fix 或者 commit 的时候检查,建议第一个

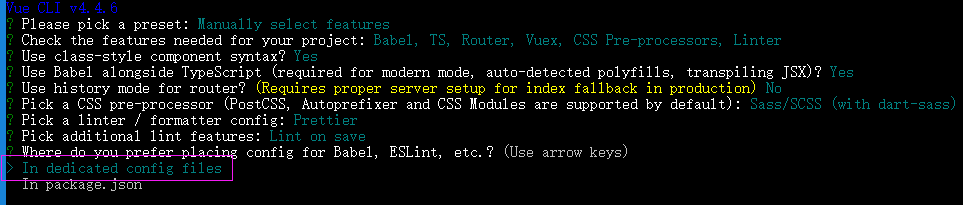
9.下面就是如何存放配置了,In dedicated config files 存放到独立文件中,In package.json 存放到 package.json 中
本着项目结构简单的想法,我选择了第二个
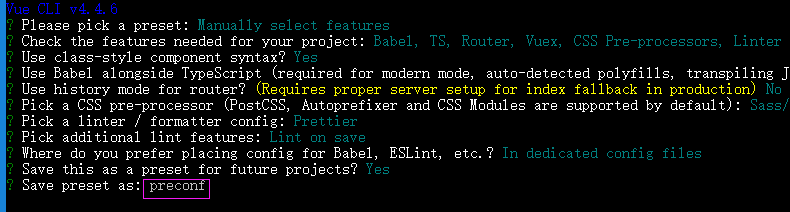
10.保存为预设项目配置

11.项目创建好后
$ cd project-name
$ npm run serve

12.然后在浏览器输入http://localhost:8080,就可以看到运行的界面了
