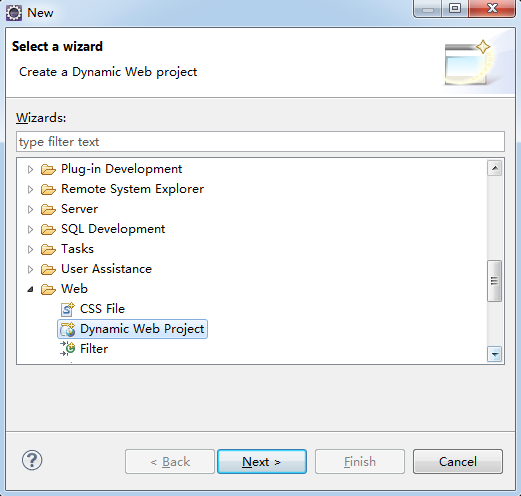
一、新建一个web项目
CTRL+N新建一个web项目
下一步
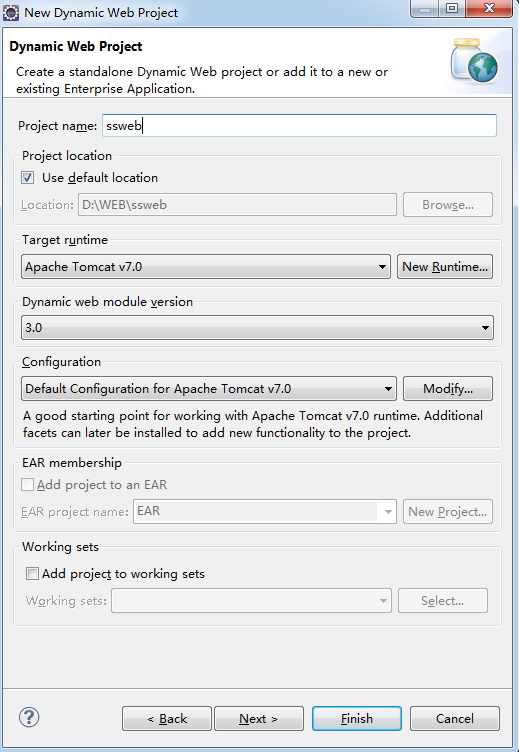
下一步、下一步
自动生成web.xml文件,我叫它入口文件

完成
--------------------------------------------------------------------------------------------------------------------------------------------------------------------------------------------------------------------------------------------------
二、导入所有jar包

把以前项目的jar包全部拷贝过来,或者自己从网上一个一个的找
对着项目点右键-》build path-》configure..


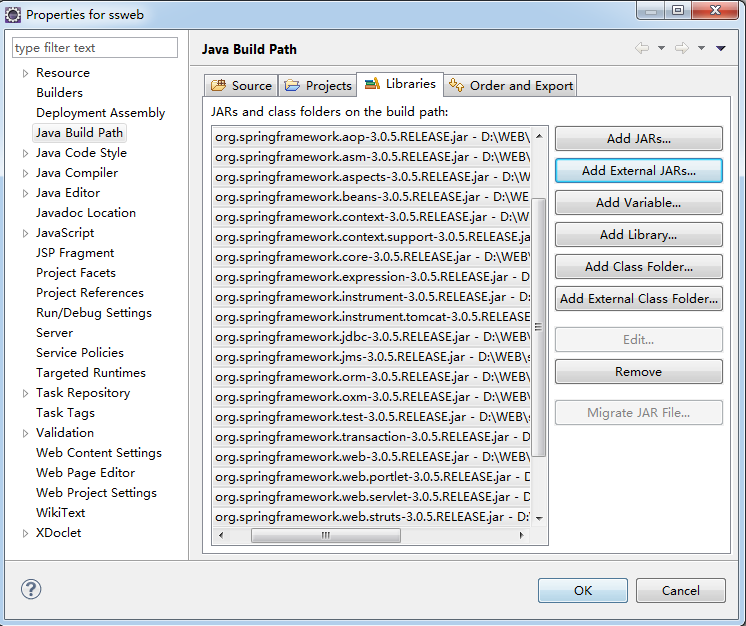
选定里面所有的jar包

然后去tomcat/lib里把jstl、servlet-api、standard也选择进来,不够再补
--------------------------------------------------------------------------------------------------------------------------------------------------------------------------------------------------------------------------------------------------
三、修改入口文件
至此,所有的准备工作就都做完了

修改入口文件web.xml
<?xml version="1.0" encoding="UTF-8"?>
<web-app version="2.5" xmlns="http://java.sun.com/xml/ns/javaee"
    xmlns:xsi="http://www.w3.org/2001/XMLSchema-instance"
    xsi:schemaLocation="http://java.sun.com/xml/ns/javaee
    http://java.sun.com/xml/ns/javaee/web-app_2_5.xsd">

    <!-- 引入spring配置文件的路径, classpath关键字是指在类路径下加载spring配置文件 -->
    <context-param>
        <param-name>contextConfigLocation</param-name>
        <param-value>classpath:applicationContext.xml</param-value>
    </context-param>

    <!-- 负责启动spring容器的监听器,他将根据上面的contextConfigLoaction上下文参数获得spring配置文件的地址 -->
    <listener>
        <listener-class>org.springframework.web.context.ContextLoaderListener</listener-class>
    </listener>

    <!-- 配置spring mvc的主控servlet -->
    <servlet>
        <servlet-name>springmvc</servlet-name>
        <servlet-class>org.springframework.web.servlet.DispatcherServlet</servlet-class>
    </servlet>

    <!-- 配置spring mvc处理的url -->
    <servlet-mapping>
        <servlet-name>springmvc</servlet-name>
        <url-pattern>*.mvc</url-pattern>
    </servlet-mapping>
</web-app>
可以看出,万变不离其宗,都是基于的servlet的这个web.xml入口文件进行的配置,只是顺序有先后,配置完spring,再配置springmvc
--------------------------------------------------------------------------------------------------------------------------------------------------------------------------------------------------------------------------------------------------
四、配置applicationContext.xml文件,即spring的配置文件
从第三步(其实是程序上的第一步)可以看出,web.xml引入了一个applicationContext.xml文件,我给它补上

修改里面的内容,我是菜鸟,我直接抄了
<?xml version="1.0" encoding="UTF-8"?>
<beans xmlns="http://www.springframework.org/schema/beans"
    xmlns:xsi="http://www.w3.org/2001/XMLSchema-instance"
    xmlns:context="http://www.springframework.org/schema/context"
    xmlns:jms="http://www.springframework.org/schema/jms"
    xmlns:tx="http://www.springframework.org/schema/tx"
    xmlns:aop="http://www.springframework.org/schema/aop"
    xsi:schemaLocation="
    http://www.springframework.org/schema/beans http://www.springframework.org/schema/beans/spring-beans-3.0.xsd
    http://www.springframework.org/schema/context http://www.springframework.org/schema/context/spring-context-3.0.xsd
    http://www.springframework.org/schema/jms http://www.springframework.org/schema/jms/spring-jms-3.0.xsd
    http://www.springframework.org/schema/tx http://www.springframework.org/schema/tx/spring-tx-3.0.xsd
    http://www.springframework.org/schema/aop http://www.springframework.org/schema/aop/spring-aop-3.0.xsd">

    <!-- 扫描service和dao包, 将标注spring注解的类自动转化为bean, 同时完成bean的注入 -->
    <context:component-scan base-package="com.ilucky.spring.demo.service" />
    <context:component-scan base-package="com.ilucky.spring.demo.dao"/>

    <!-- 定义一个使用DBCP实现的数据源bean -->
    <bean id="dataSource" class="org.apache.commons.dbcp.BasicDataSource"
        destroy-method="close">
        <property name="driverClassName" value="com.mysql.jdbc.Driver" />
        <property name="url" value="jdbc:mysql://127.0.0.1:3306/spring_demo" />
        <property name="username" value="root" />
        <property name="password" value="root" />
    </bean>

    <!-- 定义jdbc模板bean -->
    <bean id="jdbcTemplate" class="org.springframework.jdbc.core.JdbcTemplate">
        <property name="dataSource" ref="dataSource" />
    </bean>

    <!-- 配置事务管理器 -->
    <bean id="transactionManager"
        class="org.springframework.jdbc.datasource.DataSourceTransactionManager">
        <property name="dataSource" ref="dataSource" />
    </bean>

    <!-- 通过aop配置让所有service包下所有bean的方法拥有事务 -->
    <tx:advice id="txAdvice" transaction-manager="transactionManager">
        <tx:attributes>
            <tx:method name="*"></tx:method>
        </tx:attributes>
    </tx:advice>

    <!--  pointcut中expression的意思是:
    第一个*表示方法的返回值可以是任意的.
    第一个..表示service包下任意的class.
    第二个*表示service包下任意class中的任意方法.
    第一个..表示service包下任意class中的任意方法中的参数可以是任意的.
    (注意第一个星号后面必须要有一个空格,否则会报错误)-->
    <aop:config proxy-target-class="true">
        <aop:pointcut id="serviceMethod"
            expression="execution(* com.iluck.spring.demo.service..*(..))"></aop:pointcut>
        <aop:advisor pointcut-ref="serviceMethod" advice-ref="txAdvice"></aop:advisor>
    </aop:config>
</beans>
里面有个aop,估计是切面的意思
最后添加springmvc的配置文件,我是直接拷贝了

<?xml version="1.0" encoding="UTF-8"?>
<beans xmlns="http://www.springframework.org/schema/beans"
    xmlns:xsi="http://www.w3.org/2001/XMLSchema-instance" xmlns:context="http://www.springframework.org/schema/context"
    xmlns:jms="http://www.springframework.org/schema/jms" xmlns:tx="http://www.springframework.org/schema/tx"
    xmlns:aop="http://www.springframework.org/schema/aop"
    xsi:schemaLocation="
    http://www.springframework.org/schema/beans http://www.springframework.org/schema/beans/spring-beans-3.0.xsd
    http://www.springframework.org/schema/context http://www.springframework.org/schema/context/spring-context-3.0.xsd
    http://www.springframework.org/schema/jms http://www.springframework.org/schema/jms/spring-jms-3.0.xsd
    http://www.springframework.org/schema/tx http://www.springframework.org/schema/tx/spring-tx-3.0.xsd
    http://www.springframework.org/schema/aop http://www.springframework.org/schema/aop/spring-aop-3.0.xsd">

    <!-- spring mvc拥有一个配置文件, 该配置文件的名称和web.xml中配置的主控servlet中的servlet-name有一个契约,
        即采用<Servlet名>+-servlet.xml, 所以此spring mvc配置文件的名称是spring-mvc-servlet.xml -->
    <!-- 扫描web包, 将标注spring注解的类自动转化为bean, 同时完成bean的注入 -->
    <context:component-scan base-package="com.ilucky.spring.demo.web" />

    <!-- 配置spring mvc视图解析器,将ModelAndView及字符串解析成具体的页面 ,
    在这里通过使用InternalResourceViewResolver为视图添加前后缀的方式进行解析-->
    <bean class="org.springframework.web.servlet.view.InternalResourceViewResolver">
        <property name="viewClass" >
            <value>org.springframework.web.servlet.view.JstlView</value>
        </property>
        <property name="prefix" >
            <value>/jsp/</value>
        </property>
        <property name="suffix" >
            <value>.jsp</value>
        </property>
    </bean>
</beans>
跑一下(我其实每一步都会跑一下,看报错,然后百度),木啥报错,估计配置是木问题,要说的话,这就整合完了(jar包、web.xml、sring的xml、springmvc的xml)
--------------------------------------------------------------------------------------------------------------------------------------------------------------------------------------------------------------------------------------------------
四、测试一下,看能不能跑起来

package com.fleam.test;

import javax.servlet.http.HttpServletRequest;
import org.springframework.stereotype.Controller;
import org.springframework.web.bind.annotation.RequestMapping;
import org.springframework.web.servlet.ModelAndView;

/**
 * @author IluckySi
 * @date 20140419
 */
@Controller
public class test {


        //娉ㄦ剰: ModelAndView鏄痵pring-web-servlet鍖呬腑鐨刢lass, 骞朵笉鏄痵pring-web鍖呬腑鐨刢lass, 浠栦滑鏄�袱涓�被搴�.
        //璐熻矗澶勭悊/login.mvc鐨勮�姹�.
        @RequestMapping(value="/login.mvc")
        public ModelAndView login(HttpServletRequest request, String userName, String userPassword) {
            return new ModelAndView("Login", "error", "失败!");
        }
}
跑一下,http://localhost:8080/ssweb/login.mvc
报错

404,没这个资源的意思
看下代码

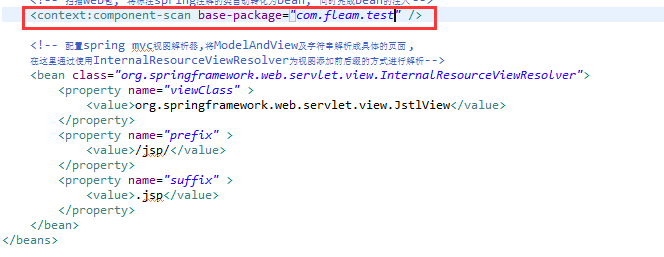
就是说login这个东西在哪呢?控制器里就这点代码,去springmvc的配置文件里看看
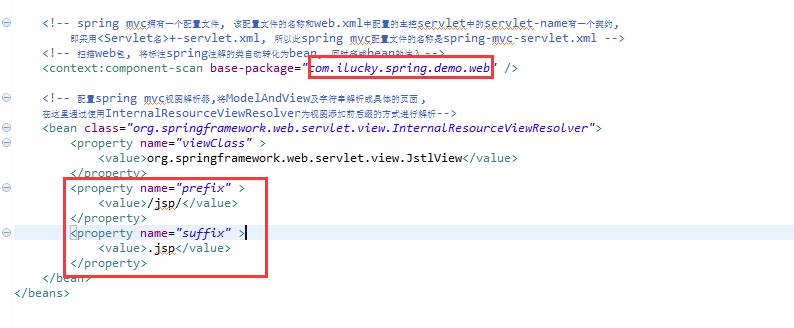
第一个直接复制的别人的,得改成自己的,第二个是资源存放的目录

资源存放的文件
再跑一下

ok啦!