前言
在前面的博客Android 开发 VectorDrawable 矢量图 (三)矢量图动画里,了解了group动画与path动画的实现。但是,可能有些人会觉得这些动画的实现的xml文件实在是太多了。此篇博客就将说明如何将所有的矢量图与动画全放到一个xml中。我们将还是用举例的方式说明。
颜色渐变group动画
效果图:

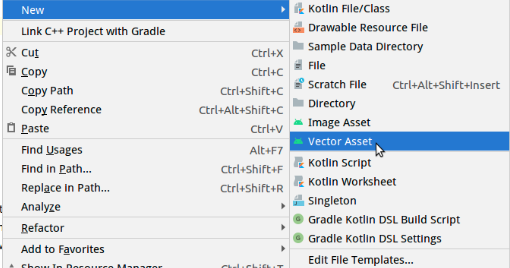
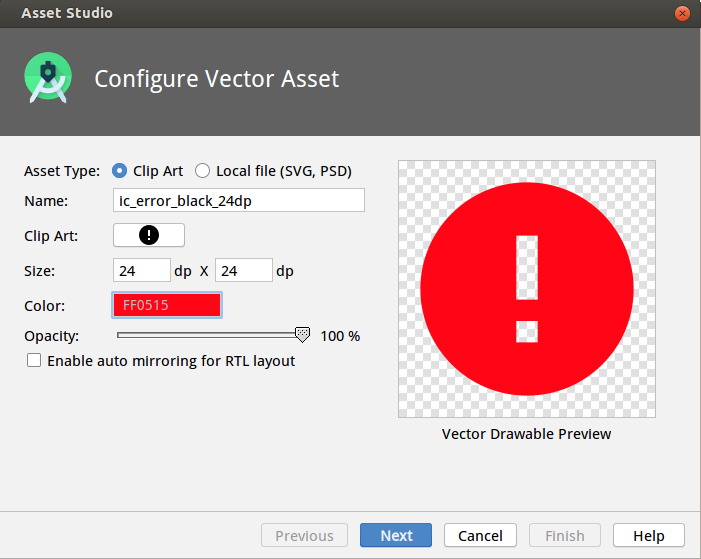
1.首先,老规矩找一个现成的矢量图,我们在Android studio自带的矢量图库里找一个矢量图
2.在drawable文件夹里,创建一个我们要放矢量图加动画组合的一个xml。并且先写入下面这些属性。
请注意!
xmlns:android="http://schemas.android.com/apk/res/android"
xmlns:aapt="http://schemas.android.com/aapt
这2个属性不是默认的,并且没有代码提示,需要你手动输入或者复制黏贴,取代默认的xmlns:android 属性。 另外 aapt:attr 这个属性也是没有代码提示的。
ic_color_anim.xml
<animated-vector
    xmlns:android="http://schemas.android.com/apk/res/android"
    xmlns:aapt="http://schemas.android.com/aapt">
    <aapt:attr name="android:drawable">

    </aapt:attr>

</animated-vector>
3.将矢量图的xml代码复制到<aapt:attr > 属性里
<?xml version="1.0" encoding="utf-8"?>
<animated-vector
    xmlns:android="http://schemas.android.com/apk/res/android"
    xmlns:aapt="http://schemas.android.com/aapt">
    <aapt:attr name="android:drawable">
        <vector android:height="24dp"
            android:viewportHeight="24.0"
            android:viewportWidth="24.0"
            android:width="24dp">

            <path
                android:name="path"
                android:fillColor="#F44336"
                android:pathData="
                    M12,2
                    C6.48,2 2,6.48 2,12s4.48,10 10,10 10,-4.48 10,-10S17.52,2 12,2
                    z
                    M13,17
                    h-2v-2h2v2zM13,13h-2L11,7h2v6
                    z"/>

        </vector>

    </aapt:attr>

</animated-vector>
4.实现颜色渐变动画
<?xml version="1.0" encoding="utf-8"?>
<animated-vector
    xmlns:android="http://schemas.android.com/apk/res/android"
    xmlns:aapt="http://schemas.android.com/aapt">
    <aapt:attr name="android:drawable">
        <vector android:height="24dp"
            android:viewportHeight="24.0"
            android:viewportWidth="24.0"
            android:width="24dp">

            <path
                android:name="path"
                android:fillColor="#F44336"
                android:pathData="
                    M12,2
                    C6.48,2 2,6.48 2,12s4.48,10 10,10 10,-4.48 10,-10S17.52,2 12,2
                    z
                    M13,17
                    h-2v-2h2v2zM13,13h-2L11,7h2v6
                    z"/>

        </vector>

    </aapt:attr>

    <target
        android:name="path">
        <aapt:attr name="android:animation">
            <objectAnimator
                android:propertyName="fillColor"
                android:valueFrom="#F44336"
                android:valueTo="#FF9800"
                android:duration="3000"
                android:valueType="colorType"
                android:interpolator="@android:interpolator/fast_out_slow_in"/>
        </aapt:attr>
    </target>

</animated-vector>
请注意,<target android:name="path_1"> 因为fillColor算是属性动画,所以直接使用path的名称
5.在Activity的布局里使用它
    <ImageView
        android:id="@+id/image_view"
        android:layout_width="match_parent"
        android:layout_height="match_parent"
        android:src="@drawable/ic_color_anim"/>
只能用src属性设置
6.代码里启动动画
        mImageView = findViewById(R.id.image_view);
        mImageView.setOnClickListener(new View.OnClickListener() {
            @Override
            public void onClick(View v) {
                Drawable drawable = mImageView.getDrawable();
                if (drawable instanceof Animatable) {
                    ((Animatable) drawable).start();

                }
            }
        });
End